Oct 31, 2026
How to Photograph a Collectible Sample for an Approval Decision
Photograph collectible samples with repeatable views, consistent lighting, clear revisions and a defined scope for each approval decision.
Photograph a collectible sample with a repeatable camera position, consistent lighting, identifiable sample revision and views chosen for the decision being requested. An approval photograph should help a customer locate and judge a feature. It should also make clear when the photograph cannot settle that feature without physical inspection.
Two pictures can start an argument before anyone has established whether the product changed. One portrait may be photographed from above, the other at eye level. A warmer image may make skin look different, while a reflection can conceal the edge that needs review. These possibilities do not excuse a genuine production difference. They explain why the first response should often be a comparable photograph rather than an immediate paint or sculpt correction.
Define the question before choosing the photograph
A photograph for overall silhouette, a close-up for a paint boundary and a view of an assembled connection serve different purposes. Specify the feature and applicable sample revision in the internal review request. Keep those identifiers with the images rather than relying on filenames that become ambiguous after forwarding.
For an overall review, include the complete figure and base without clipping projecting parts. For a local correction, provide enough surrounding structure that the recipient can locate it on the product. A tightly cropped elbow may show a mark very clearly while leaving the customer unsure which arm or viewing direction is involved.
Ask for a decision that the image can support: the position of a visible line, the relationship between two shapes or the appearance from a specified view. A photograph does not establish connection strength, movement resistance or the feel of a surface.
Match camera position when comparing shape
Keep the sample orientation, camera height and distance consistent when comparing revisions. Filling the frame to a similar extent is not sufficient if one photograph was taken much closer than the other.
Fujifilm's explanation of perspective distinguishes camera position from the lens itself. Distance changes the apparent relationship between near and far features. For a collectible, that matters when a projecting hand appears larger, a face seems broader or a base looks shallower in one image.
Use a stable position and a repeatable reference view where practical. If a different angle is needed to reveal a feature, add that view rather than silently replacing the comparison view. Keep a neutral front, side and rear record alongside any dramatic presentation photograph.
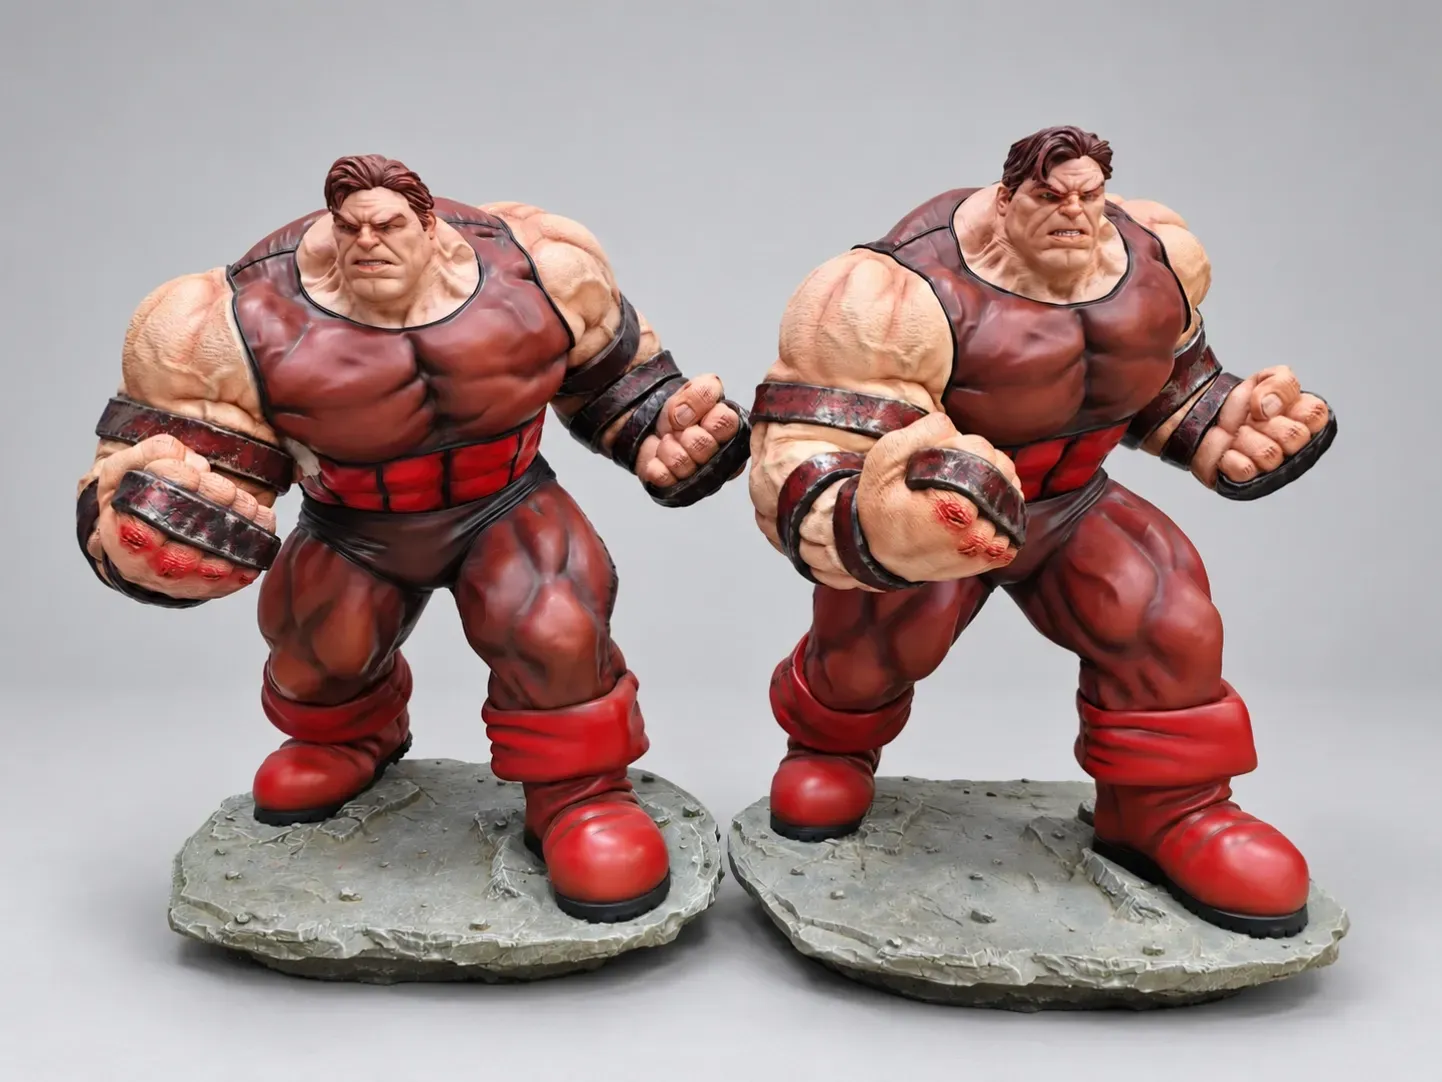
The accompanying photograph shows two painted collectibles together. It illustrates a comparison arrangement, not a controlled experiment. Their revisions, camera geometry and approval outcomes are not established by the photograph, and no manufacturing difference is diagnosed from it.
Keep lighting and white balance understandable
Use consistent light placement for a comparison and avoid mixing a strongly colored room light with a different light on the sample. Preserve useful detail in both highlights and shadows. A bright reflection that turns a cheek white can hide the finish the customer needs to evaluate.
Nikon's white-balance guidance describes measuring a reference under the light used for the photograph. The practical implication is to keep color capture consistent instead of correcting each image independently until it looks pleasing.
This does not turn a screen image into a color measurement. Displays, image processing and viewing conditions remain part of the chain. If an important color or sheen decision remains disputed, return to the agreed physical reference and appropriate inspection conditions. Do not keep adjusting the photograph to obtain approval for an unchanged physical sample.
Show the assembled relationship and the local detail
Start with the whole piece, then add the views needed for the open decisions. A finish boundary on a loose arm may need a second image with the arm fitted, because adjacent surfaces change how the boundary reads.
For a suspected misalignment, show the relevant connection from more than one direction. For a portrait issue, maintain the agreed head angle before introducing an additional close-up. For a surface mark, use a view that reveals it without confusing a reflection with the mark itself.
The aim is not to produce the greatest number of images. It is to give each image a clear role. A brief turning video can help explain continuity between views, but it still needs a known sample identity and does not replace every physical check.
Preserve the evidence while making it easy to read
Retain the original files and produce separate review copies when cropping or destination sizing is needed. Do not reshape a face, remove a questionable paint mark or smooth a seam in an approval image. That would change the evidence for the very decision under discussion.
Place arrows or annotations in a separate marked review copy when helpful, and keep an unmarked image available. Use the same orientation across related images. If exposure or white balance was corrected, apply a consistent approach and disclose a correction that could affect the interpretation.
Keep internal identifiers, customer information and commercial records out of photographs intended for public use. A useful approval record and an anonymous public manufacturing photograph are different deliverables.
Record exactly what was approved
Connect the decision to the sample revision, image set and feature reviewed. If approval is limited to appearance, retain that scope rather than treating it as a release of unreviewed fit, function or packing.
This complements the guide to controlling paint consistency: that guide concerns production alignment with the master; this one concerns whether a photographic comparison is dependable enough to inform a decision. Both belong within the development and production process.
When a comparison is unclear, make the evidence clearer before changing the product. A better photograph may resolve a misunderstanding; a confirmed physical difference still needs its own development decision.
Frequently asked questions
Can photographs replace the physical approval sample?
They can support specified appearance decisions. They cannot establish every color, tactile, structural or functional requirement. Record the limits of the review.
Should every approval photograph use the same angle?
Keep repeatable reference views, then add angles that reveal the specific feature. Different views are useful when their purpose is clear.
Is a side-by-side image proof that production matches the master?
No. Identify the samples and conditions, inspect the actual differences and retain the applicable approval record. A comparison layout alone does not prove acceptance.