Oct 20, 2026
How to Specify Surface Finishes for a Collectible Before Sampling
Define collectible surface finishes with a finish map, clear color and sheen references, treatment boundaries and representative samples before approval.

Specify a collectible's surface finishes with an annotated finish map, separate references for color and sheen, and clear boundaries between treatments. Confirm the intended appearance on representative parts before approving the finished sample. Words such as “matte,” “metallic” or “realistic” need a reference and a defined location to become useful production instructions.
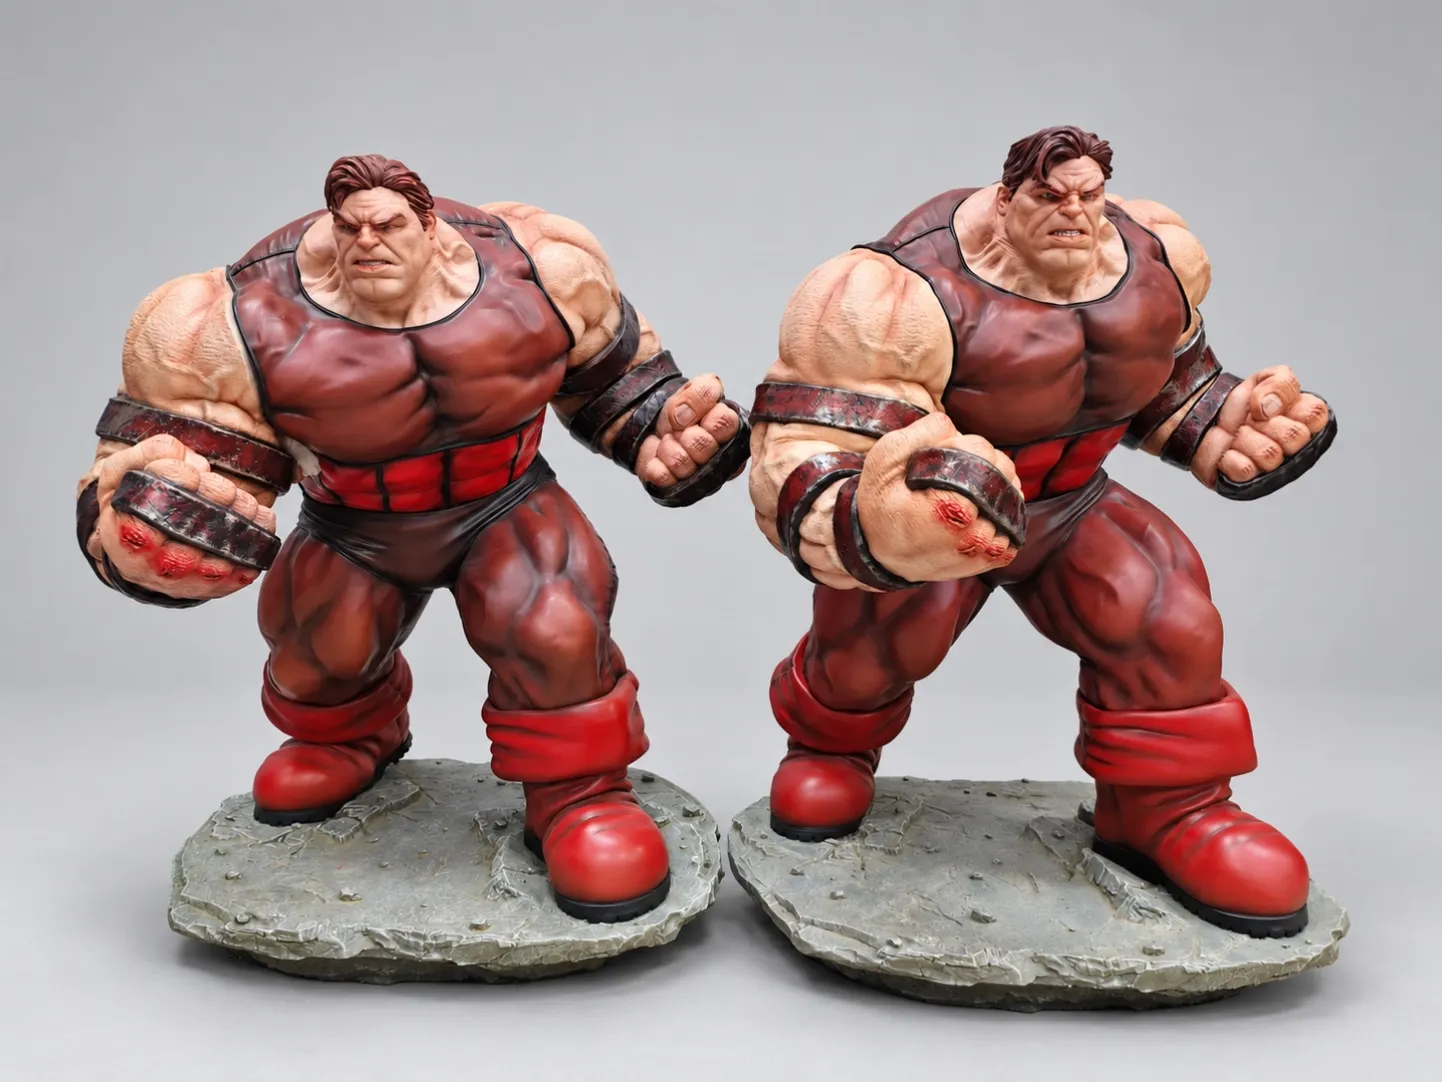
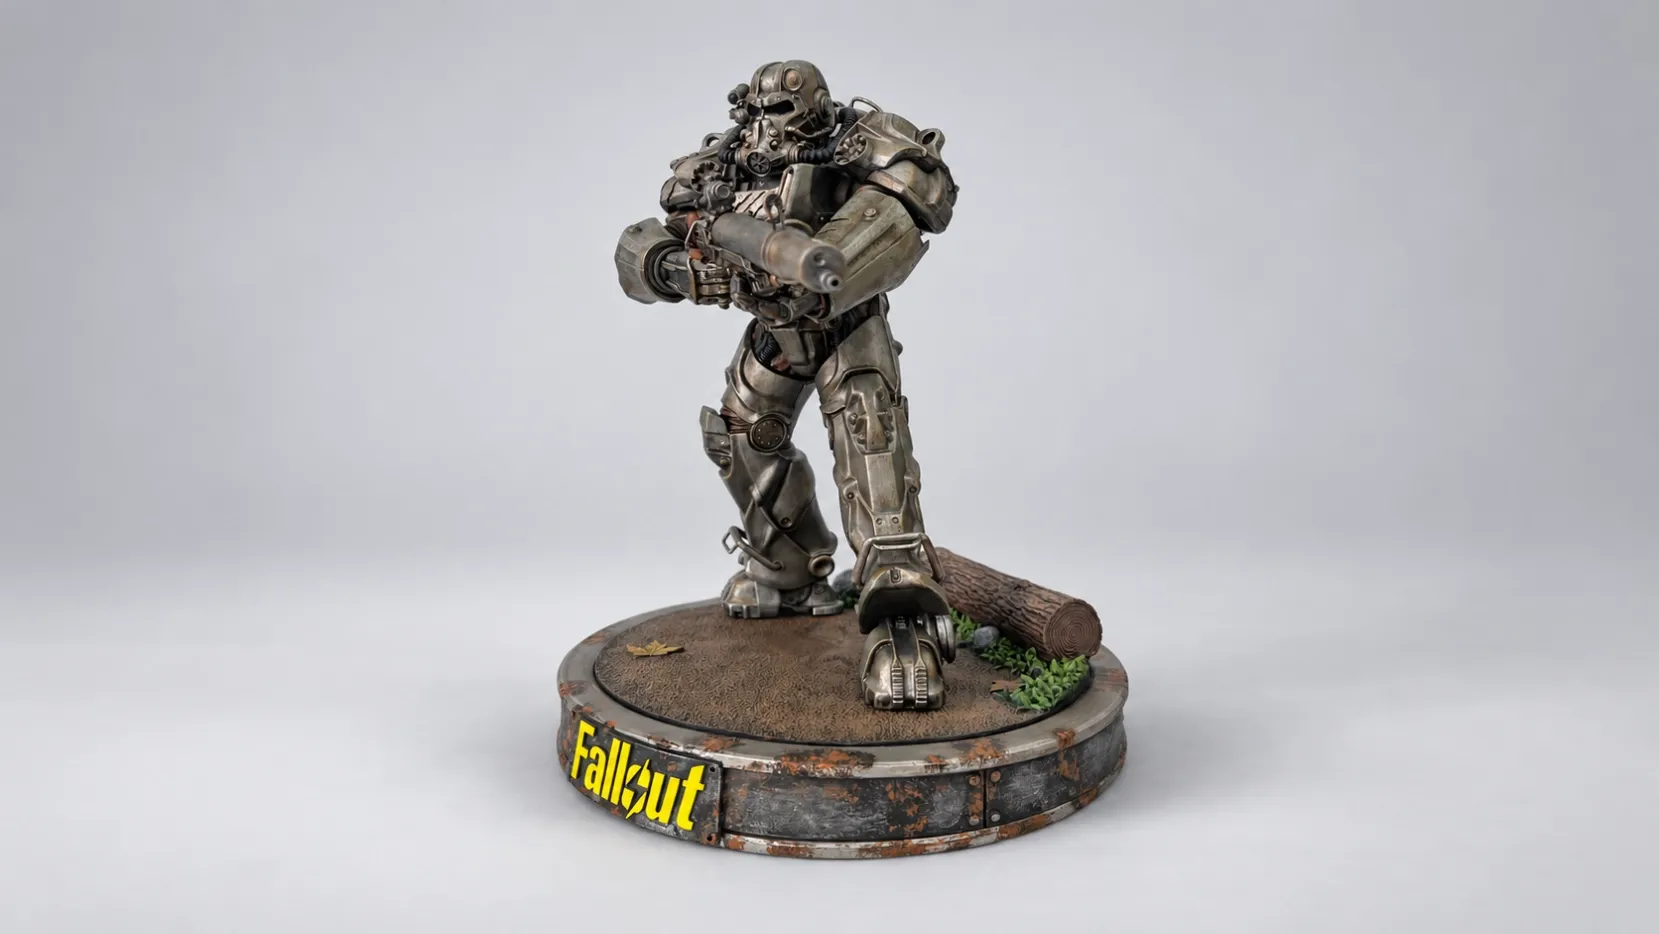
A figure can combine skin, hair, cloth-like surfaces, armor and decorative effects within one silhouette. If the brief describes only a color palette, the sample maker still has to interpret how each surface should reflect light and how neighboring areas should differ. A finish specification makes those decisions visible before revisions become difficult to isolate.
Start with a map of visible surfaces
Mark the intended treatments on front, rear and detail views. Give each region a stable identifier, then connect that identifier to a short finish description and its reference. Include recessed areas, the underside of overhanging features and surfaces revealed by removable accessories.
For a fantasy figure, skin, fur, bone-like ornaments and armor may require different appearances even when several regions share a similar brown or gray. Identify which contrasts carry the design: a softer skin sheen beside a brighter armor edge, for example. The map should explain the intended visual relationship without prescribing an unverified paint recipe.
Record whether a note describes sculpted texture, applied color, surface sheen or a combination. Painting can emphasize existing relief; it cannot reliably substitute for missing sculpted detail.
Separate color, sheen, texture and effects
Treat these as distinct approval questions. A color reference identifies the intended hue and lightness. A sheen reference shows how reflective the surface should appear. Texture describes the physical relief or visible grain. Effects describe additional appearances such as metallic sparkle, translucency or a localized pearlescent shift.
“Black armor” leaves several choices open. A smooth glossy panel, a subdued satin panel and a rough low-sheen panel can read differently despite a similar base color. Specify the relevant combination rather than expecting a color code to communicate the whole appearance.
Avoid applying one finish instruction to an entire assembly when the design relies on contrast. A shared protective finish may affect previously approved highlights or soften differences between adjacent regions. Ask how the proposed finishing sequence will retain those differences, then review the resulting sample.
Establish a reference hierarchy
Use physical references where practical, supported by labeled photographs and written notes. State which reference governs color, which governs sheen and which illustrates only an artistic effect. A mood image should not silently override an approved physical sample.
Digital renders are useful for placement and overall direction, but screen settings, lighting and rendering choices influence the apparent result. Photographs also change with exposure, white balance and viewing angle. A bright highlight in a render does not necessarily mean the entire surface should be glossy.
Agree on comparable viewing conditions for reviews. Look at the object from more than one angle, including its intended display orientation. For effect finishes, record the appearance being judged under the agreed light rather than selecting one flattering photograph as the complete acceptance reference.
Review the finish on representative geometry
A flat swatch can help narrow color and sheen, but it does not show how a finish will read across a face, a curved armor plate or deep sculpted folds. Review representative geometry before treating the finish direction as settled.
The underlying material, surface preparation and texture can influence the visible result. If the same apparent finish crosses separate resin, PVC/ABS or other approved components, ask to review those components together. A common color instruction alone does not establish that their final appearance will match.
This is also the point to discuss feasibility. A very bright surface can make small surface irregularities more noticeable; a heavy effect can obscure fine relief. Resolve that trade-off against the intended artwork rather than requesting an unspecified increase in “quality.” See the range of collectible formats and capabilities when defining which parts need separate review.
Define boundaries and interfaces
Show where each treatment starts and stops. Decide whether the transition follows a sculpted ridge, a part joint or a marked boundary on a continuous surface. Identify areas where a misplaced glossy or metallic treatment would change the character's expression or the reading of a costume.
Keep visible appearance requirements distinct from functional interfaces. Pegs, sockets, joint contact areas and bonding surfaces may need different preparation or protection. The finish map should flag these locations for engineering review rather than treating every hidden surface as another painted zone.
Discuss removable parts and accessories in their assembled position. A satisfactory separate component may reflect differently, rub a neighboring finish or expose an unfinished area when fitted. Review those interactions within the development and production process.
Release an approved version, not a collection of comments
Bring the final map, references and sample decisions into one versioned package. Record which sample was approved, any accepted limitations, outstanding corrections and who can authorize a change. Replace superseded instructions so a later message cannot be mistaken for the current requirement.
Separate an artistic revision from a correction against the agreed specification. Changing the sheen of all armor after sample approval is a design change; correcting one incorrectly glossy area is a different task. That distinction helps the team assess the affected parts and the need for another review.
Before release, check the complete sample under the agreed conditions and confirm that the finish descriptions still explain what was approved. For a new project, share the finish map and reference priorities alongside the design files so appearance questions can be discussed before sampling.
FAQs
Is a color code enough to specify a collectible finish?
No. Add the intended sheen, texture, effect and location. A color reference does not define how a curved or textured surface should reflect light.
Can one physical swatch approve every part?
A swatch is a useful reference, but representative parts should also be reviewed. Geometry, surface texture and underlying materials can change the visible appearance.
When should the finish specification be finalized?
Establish it before sampling, refine it through sample review and release the approved version before production. Reopen approval when a later change affects the intended appearance.