Oct 20, 2026
What Should Be Checked on Articulated Collectible Joints Before Packing?
Check articulated collectible joints for intended movement, consistent resistance, pose retention and clothing interference before returning the figure to its packing position.
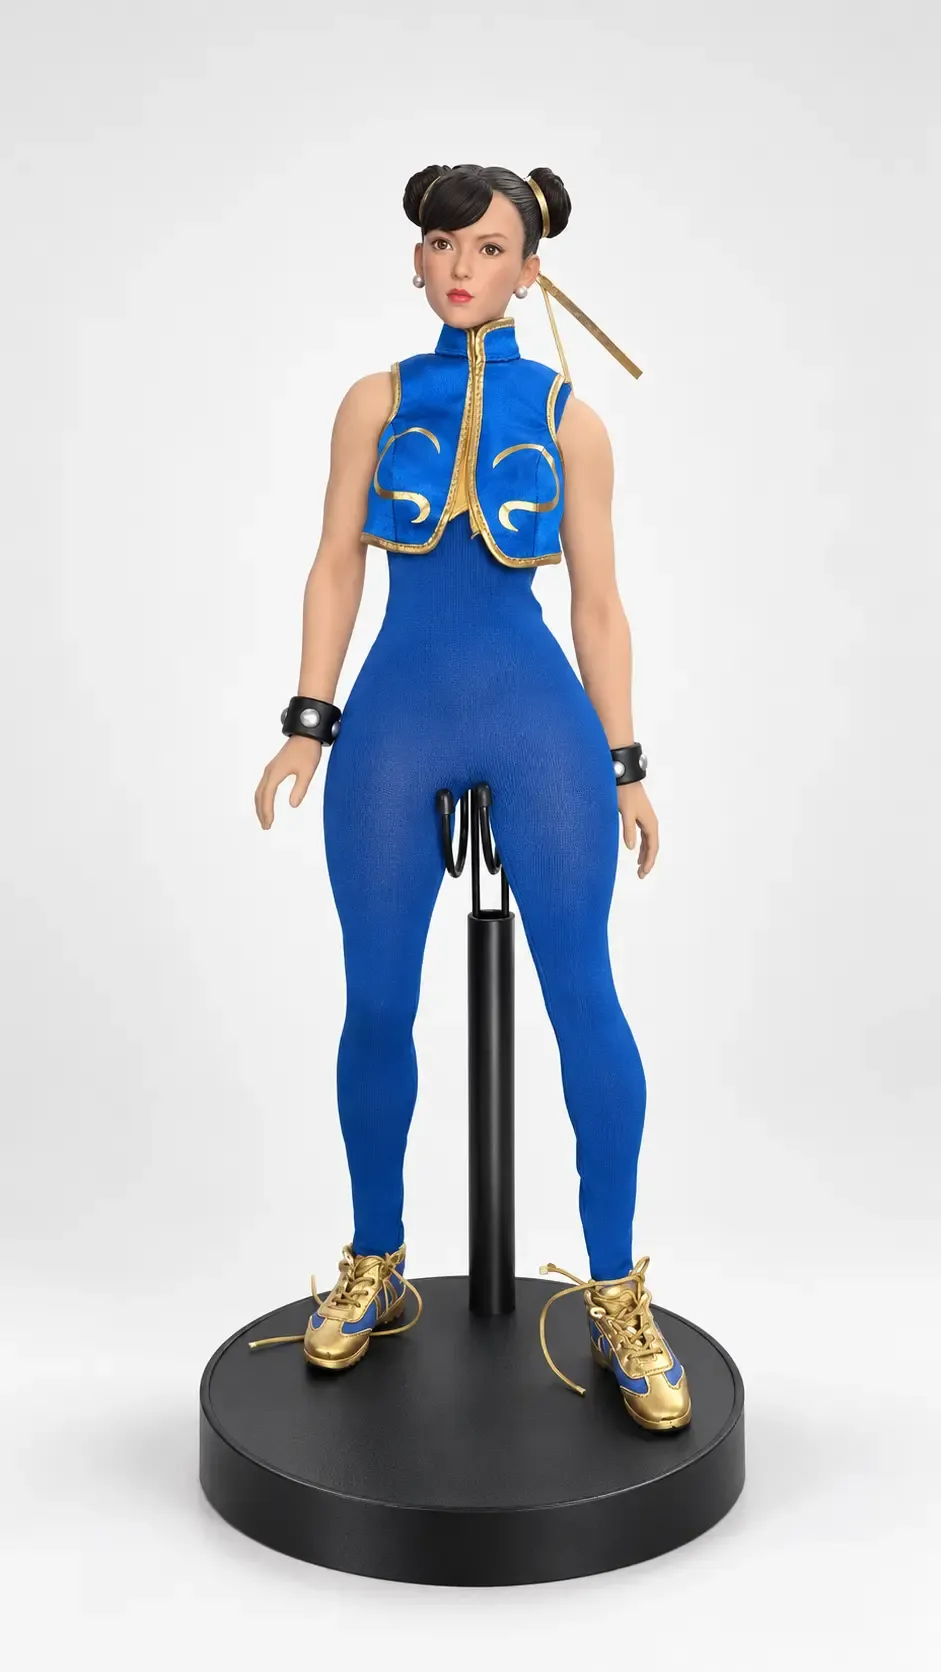
Before packing an articulated collectible, check that each intended joint moves in the correct direction, has consistent resistance and holds the agreed poses without unwanted movement. Repeat the relevant checks with the finished clothing and accessories in place, then return the figure to its approved packing position. A photograph of one supported pose does not establish that its joints work correctly.
The useful question is not simply whether an arm or leg can move. It is whether the finished product behaves as intended when someone handles it. That requires a defined movement sequence and a reference for acceptable behavior.
Work from the approved movement map
Identify which joints are intended to move, their permitted directions and any deliberate limits. A sculpted seam does not necessarily indicate articulation, and a hidden joint should not be twisted in a guessed direction.
Use an approved sample and clear views to show the required poses. Separate normal movement from removable-part replacement. A wrist rotation and a hand change may involve different actions even when they meet at the same location.
At the checking station, support the part close to the joint and move it slowly through the agreed range. If resistance changes unexpectedly, stop and identify the cause rather than forcing the part farther.
Distinguish useful resistance from binding
A joint needs enough resistance for its intended use, but “tighter” is not a complete acceptance rule. Excessive resistance can make posing difficult or transfer force into a small peg, thin shell or nearby decoration.
Look for abrupt sticking, uneven movement, an unintended gap opening or a part turning somewhere other than the intended interface. Compare equivalent left and right joints against the reference while allowing for deliberate construction differences.
Record the affected joint and the point in the movement where the problem appears. “Right elbow catches near the agreed bent position” gives a clearer investigation starting point than “arm feels bad.” Do not introduce ad hoc lubricants or modifications to make an uncertain joint pass.
Check pose retention in the intended configuration
Set the agreed representative poses, release hand support and observe whether the relevant joints hold their positions. Define the review conditions in the project instructions, including any required observation period or movement repetitions; there is no single useful count for every figure.
Include the intended accessory where its weight affects the wrist, elbow or shoulder. A hand that stays raised without an accessory may behave differently when the approved item is fitted.
Use the supplied stand where the product requires one. Distinguish a stand supporting the figure's overall balance from a support that is also holding a limb in place. Otherwise, the setup may hide the joint behavior being assessed.
Repeat the check after dressing and finishing
Clothing, cuffs, boots and layered costume parts can change access to a joint or restrict its usable range. Check the completed arrangement rather than relying only on an earlier bare-body review.
Watch whether moving the limb pulls a closure open, traps fabric or pushes a hard costume edge against a painted surface. Return through the same movement and look for fresh rubbing or displaced parts. Separate an intentional costume limit from an assembly issue using the approved reference.
This check concerns mechanical behavior and interference. Sewing appearance and general outfit fit need their own review. For projects combining fabric work and articulated bodies, review the relevant collectible development capabilities together.
Return the figure to a defined packing state
After movement checks, place the joints, hands and accessories in the documented packing arrangement. Confirm that the tray or restraint does not require a joint to be forced beyond that arrangement.
Check that packing has not concealed a partially seated hand or left a limb under unintended pressure. Where the product instructions call for accessories to travel separately, follow that arrangement rather than using the figure's grip as a transport restraint.
A representative packing and unpacking review can reveal whether the buyer can release the figure without pulling on a small joint. It complements joint inspection; it does not replace the agreed shipment or packaging validation.
Keep failures traceable through recheck
Record the joint, observed behavior, configuration and disposition when a unit is held for correction. After an approved correction, repeat the affected movement and inspect neighboring surfaces before releasing it.
If the same behavior recurs, review the relevant parts and assembly step instead of repeatedly adjusting finished figures without a documented cause. Link the check to the wider production process, and share required poses and accessory arrangements early when planning a new articulated collectible.
FAQs
Should every joint be moved to its maximum possible angle?
No. Use the approved directions and range. A mechanical stop or costume restriction is not an invitation to apply more force.
Does a figure holding one pose prove that its joints pass?
No. That pose may use stand support or place little load on the joint. Check the agreed movement and pose conditions in the intended configuration.
Should joint checks happen before or after dressing?
Check the body when access is needed, then repeat the relevant functional checks after dressing and fitting accessories. The finished configuration can introduce interference.