Oct 13, 2026
How to Set the Overall Size of a Collectible Before Prototyping
Set collectible dimensions before prototyping by separating scale, assembled size, base footprint, projecting parts and packaging clearance.
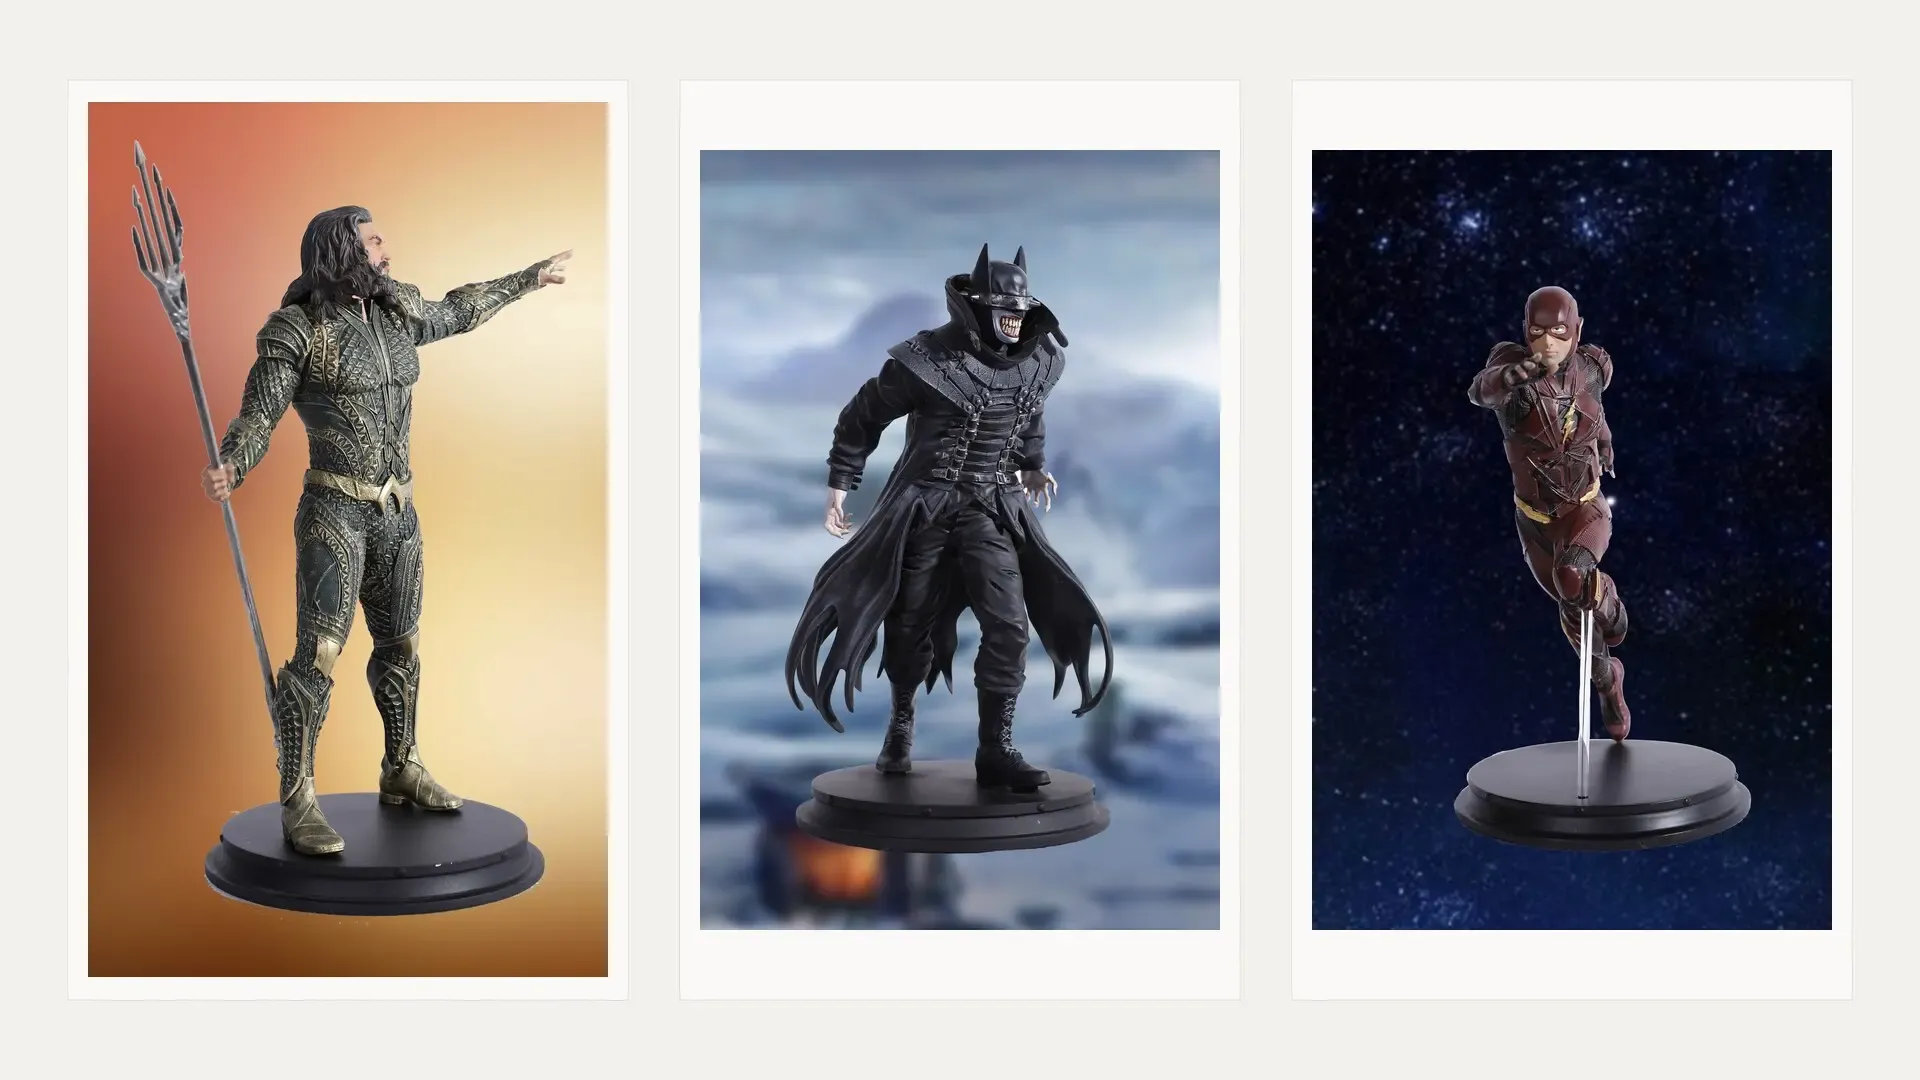
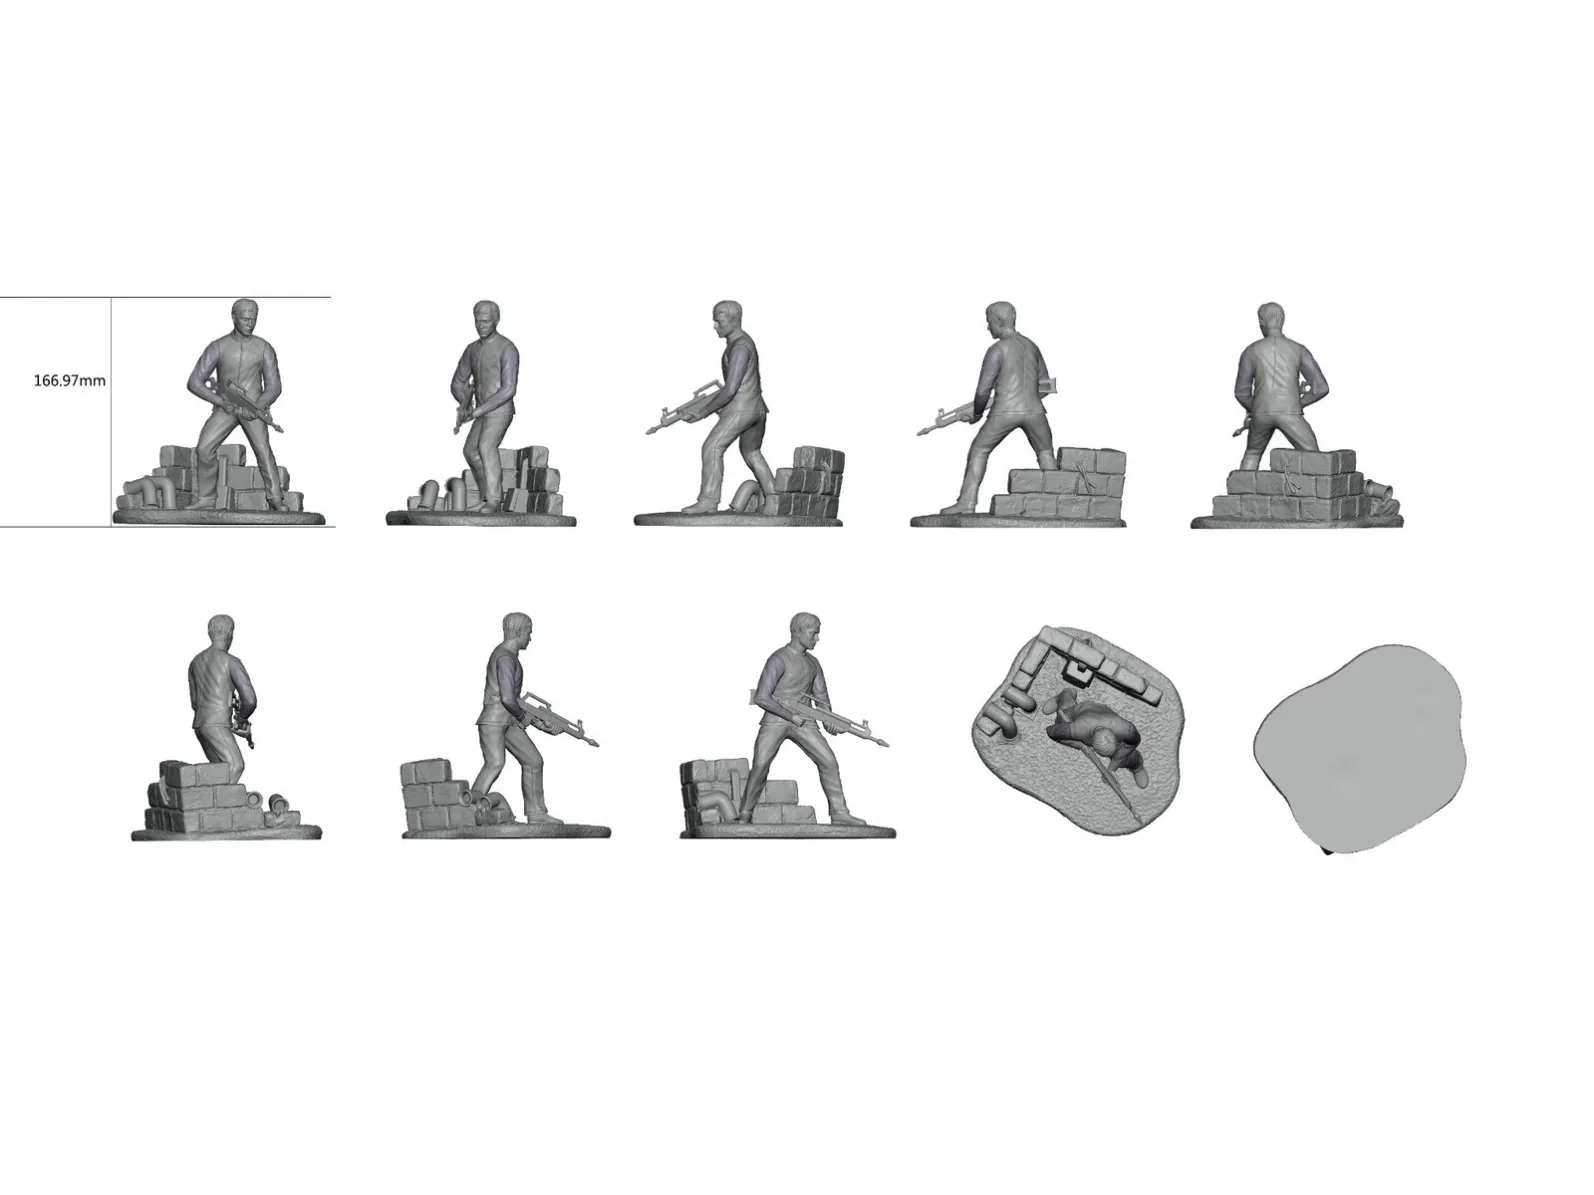
Set the overall size of a collectible by agreeing its fully assembled height, width and depth, including the base and every projecting part, before making the first physical prototype. Record the intended scale separately. A scale label describes proportions; it does not tell the team how much display space the finished piece occupies. The dimensional brief should also state which features may change and which limits must remain fixed.
This decision affects the sculpt, structural review, surface detail and packaging layout. When different teams use different meanings of “size,” a visually approved model can still be too wide for the intended display or too tall once its base is included.
Separate nominal scale from the assembled envelope
For a character figure, nominal scale generally relates to the subject's reference dimensions. A crouching pose, raised arm or elevated scenic base changes the finished height without necessarily changing that scale. A bust needs an equally clear reference: the portrait, shoulders, pedestal and full object can each suggest a different measurement.
Agree what the scale applies to, then specify the assembled envelope independently. Define height from the supporting surface to the highest point, width between the outermost left and right points, and depth between the frontmost and rearmost points in the approved display orientation. Include hair, fabric, accessories and effects that extend beyond the main body.
Use consistent units and an identified front view. A width measured from a presentation angle can differ from a width measured square to the base. The brief should make that distinction easy to resolve.
Decide whether display space or artistic proportion leads
Some projects begin with a scale requirement; others begin with a maximum shelf or display-case envelope. These are different starting conditions. If the display space is fixed, the sculpt and base must work inside it. If scale is fixed, the team should assess the resulting envelope before promising a finished product size.
Review the silhouette from the front, side and above. A pose that looks compact in a front render may occupy considerable depth. A scenic base can become the widest element even when the figure itself fits comfortably. Allow room for handling and viewing rather than assuming an object that just clears a shelf will be convenient to place there.
When the limits conflict, discuss a pose adjustment, a different base outline or a change to an accessory's orientation. Each can preserve more of the intended composition than uniformly shrinking the whole model. Confirm artistic approval for the chosen adjustment.
Review small details at the intended physical size
Reducing a digital sculpt scales down thin edges, recessed marks and connection features as well as the main form. A detail that reads clearly on a large monitor may become difficult to reproduce or finish at the intended size. Enlarging the model introduces a different concern: joints, supports and surfaces become more exposed, and projecting components may impose greater loads on their connections.
Review facial features, fingers, hair tips, costume edges and accessory attachments at the target physical size. Identify details that should be retained, simplified or thickened locally. A local change may protect the visual character while keeping the overall envelope intact; a global resize can create new issues elsewhere.
Mancheng's collectible product capabilities include resin statues and busts, PVC/ABS figures, articulated figures and mixed-material collectibles. Their dimensional briefs need different references. For example, an articulated figure's neutral standing height does not define every posed display envelope, and fabric can extend beyond the underlying body.
Include the base and the actual support arrangement
Treat the base as part of the product's size, rather than an addition made after the figure is approved. Its height affects the top of the piece; its footprint affects display space and packaging. A narrow base may suit the presentation but restrict the support arrangement for a leaning or elevated pose.
Review the intended contact points and the direction in which the pose loads them. Reducing the footprint or increasing the height should trigger a fresh structural discussion. More base area can provide useful space for support, but it does not by itself prove stability. The assembled prototype still needs review in its intended display configuration.
If the product includes interchangeable accessories or display options, identify the configuration used for the published dimensions. Record the largest approved configuration as well when it changes the space a buyer needs.
Check the packed envelope before locking the display size
The assembled envelope and the packed envelope serve different purposes. A removable projecting accessory may reduce the size of the package, while introducing an extra handling and assembly step. Keeping it attached avoids that step but can require more clearance and a different support layout inside the packaging.
Discuss where protective packaging can support the product without loading fragile tips or finished surfaces. Space around the silhouette is not automatically usable cushioning space: access for placing and removing the piece also matters. Avoid promising a final box size from the sculpt's bounding dimensions alone.
An early packaging layout can expose conflicts while the base and pose are still adjustable. Revisit that layout with the physical prototype through the development and production process.
Approve a dimensional brief and verify the prototype
Before prototyping, approve a brief with the nominal scale reference, assembled envelope, base footprint, display orientation, optional configurations and any fixed space limits. Distinguish target dimensions from hard maximums. Identify which change would require a new review rather than allowing a size adjustment to pass as a cosmetic edit.
At the prototype stage, measure the assembled piece in the same orientation and configuration used in the brief. Check the widest and deepest projections, the highest point and the base footprint. Record deviations and agree whether to revise the model or the specification before progressing. Send the intended scale and display-space constraints through project enquiries so the size discussion can begin before physical sample work.
Frequently asked questions
Does the stated height include the base?
It should if it describes the overall assembled product. State explicitly whether the measurement includes the base, accessories and the highest projecting feature.
Can a scaled digital model be sent straight to prototyping?
First review thin details, connections, support and the full display envelope at that size. Uniform scaling can change whether these features are practical to reproduce and assemble.
Should packaging determine the collectible's size?
Packaging constraints should inform the early review. Resolve conflicts with the artistic and structural requirements before locking the prototype dimensions, rather than changing the size after approval.