Oct 12, 2026
What Should Be Checked After Collectible Assembly Before Packing?
A practical final-assembly check for collectible alignment, secure connections, stability, surface condition, accessory fit and functions before packing.
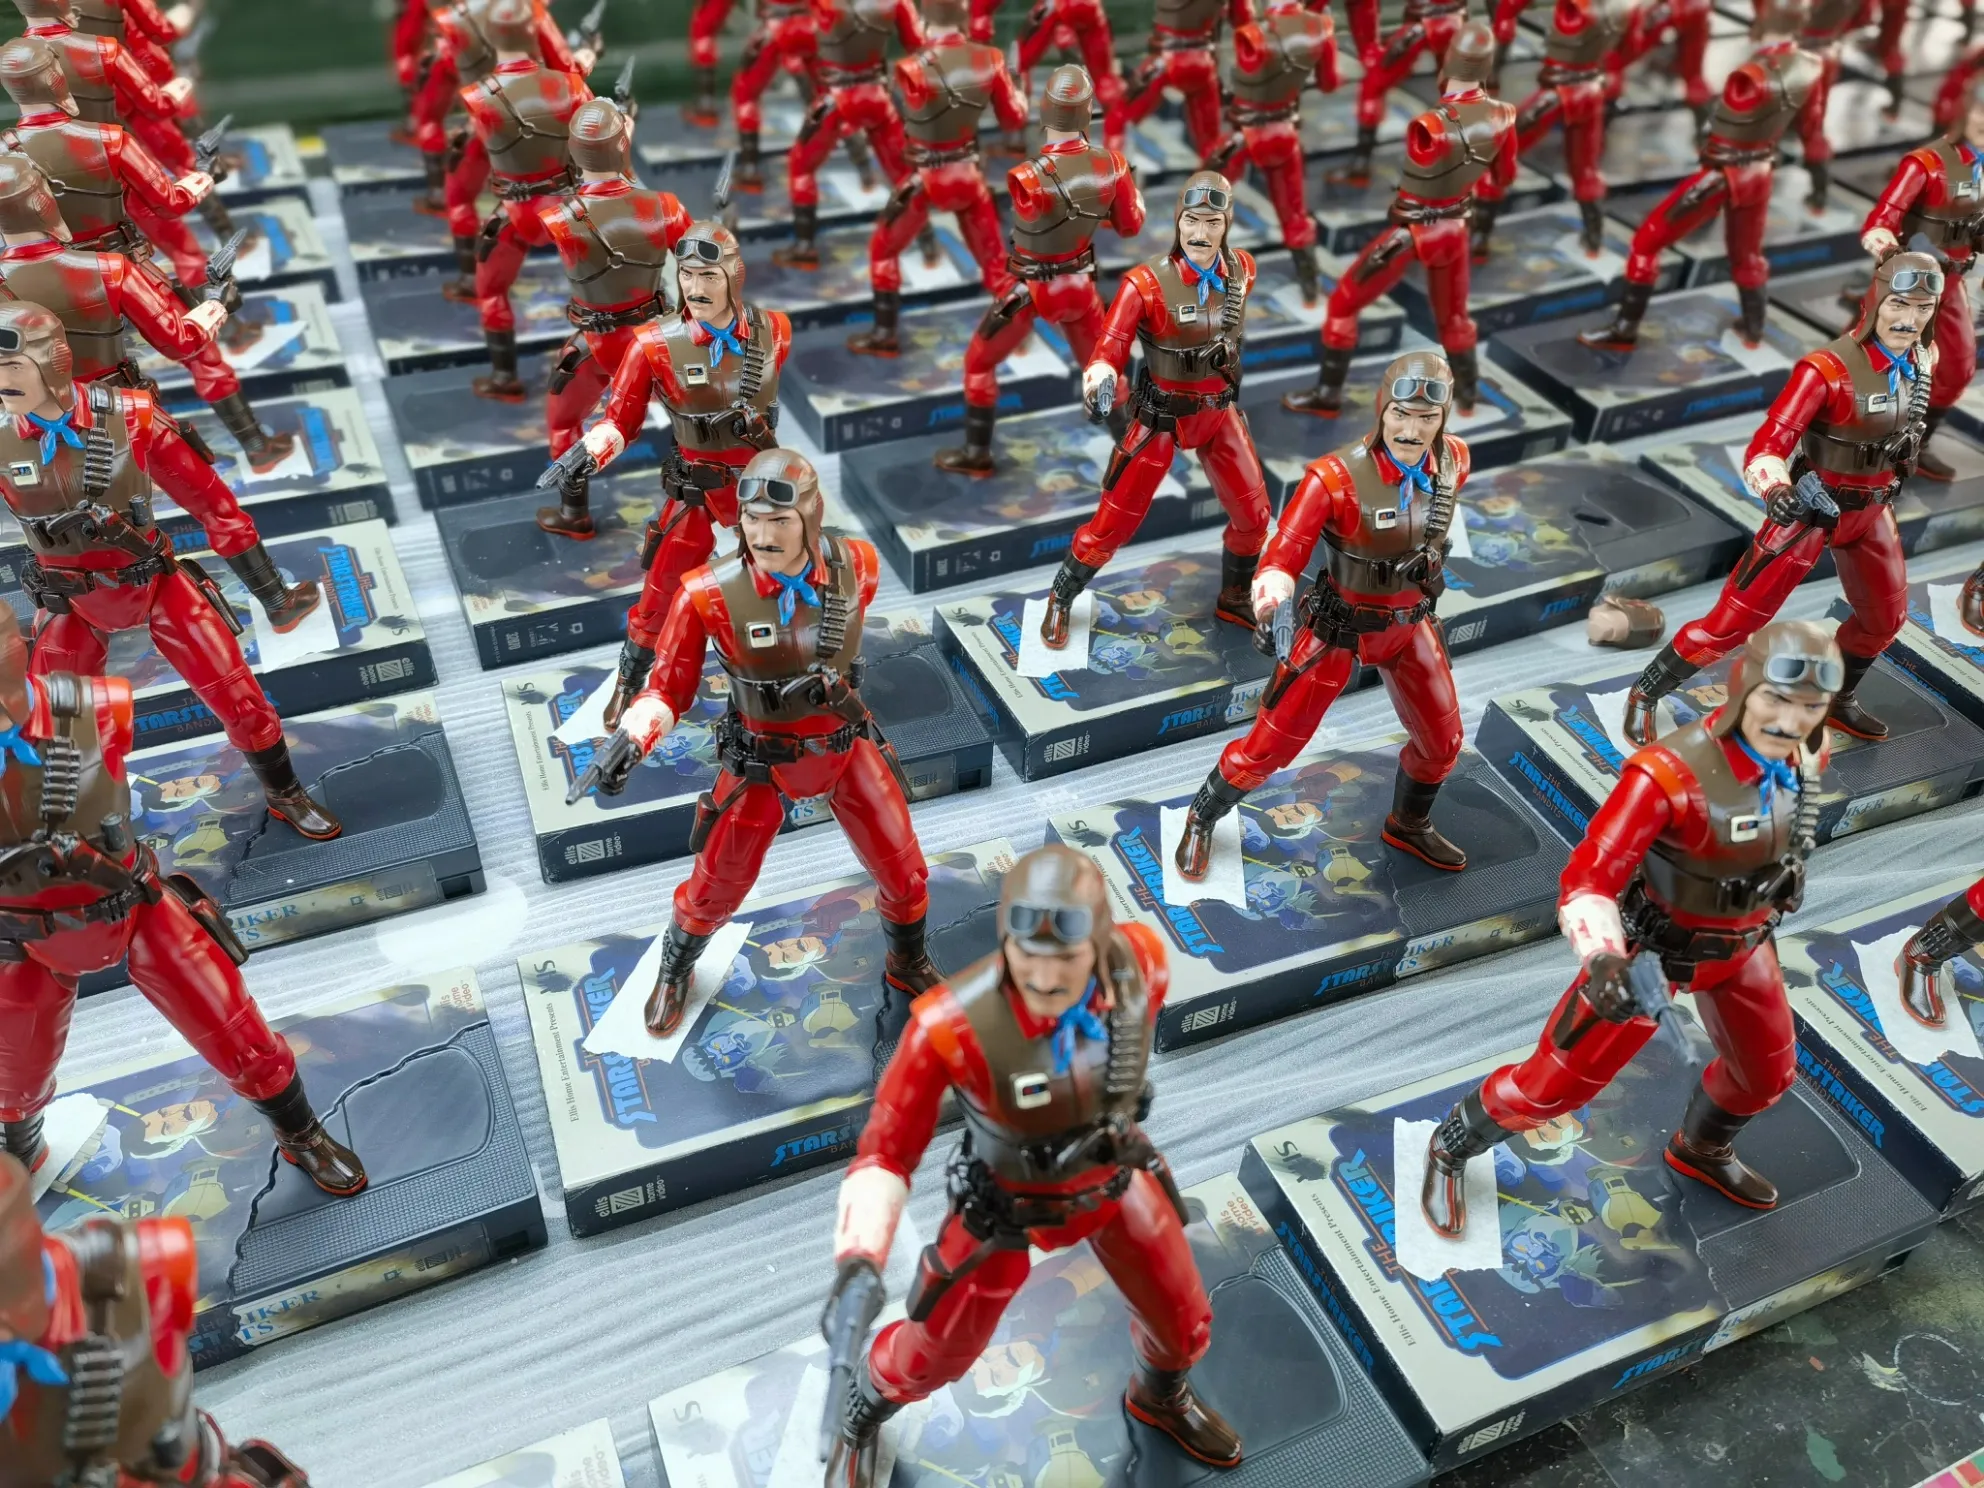
Before a finished collectible is packed, check the assembled product for alignment, fully seated connections, stability, surface damage and correct accessory fit. Where the product includes moving parts or electronics, verify their operation in the final assembled condition. A clean paint finish does not establish that the product is ready to pack: assembly can introduce faults after the components have passed their earlier checks.
What a production photograph can and cannot show
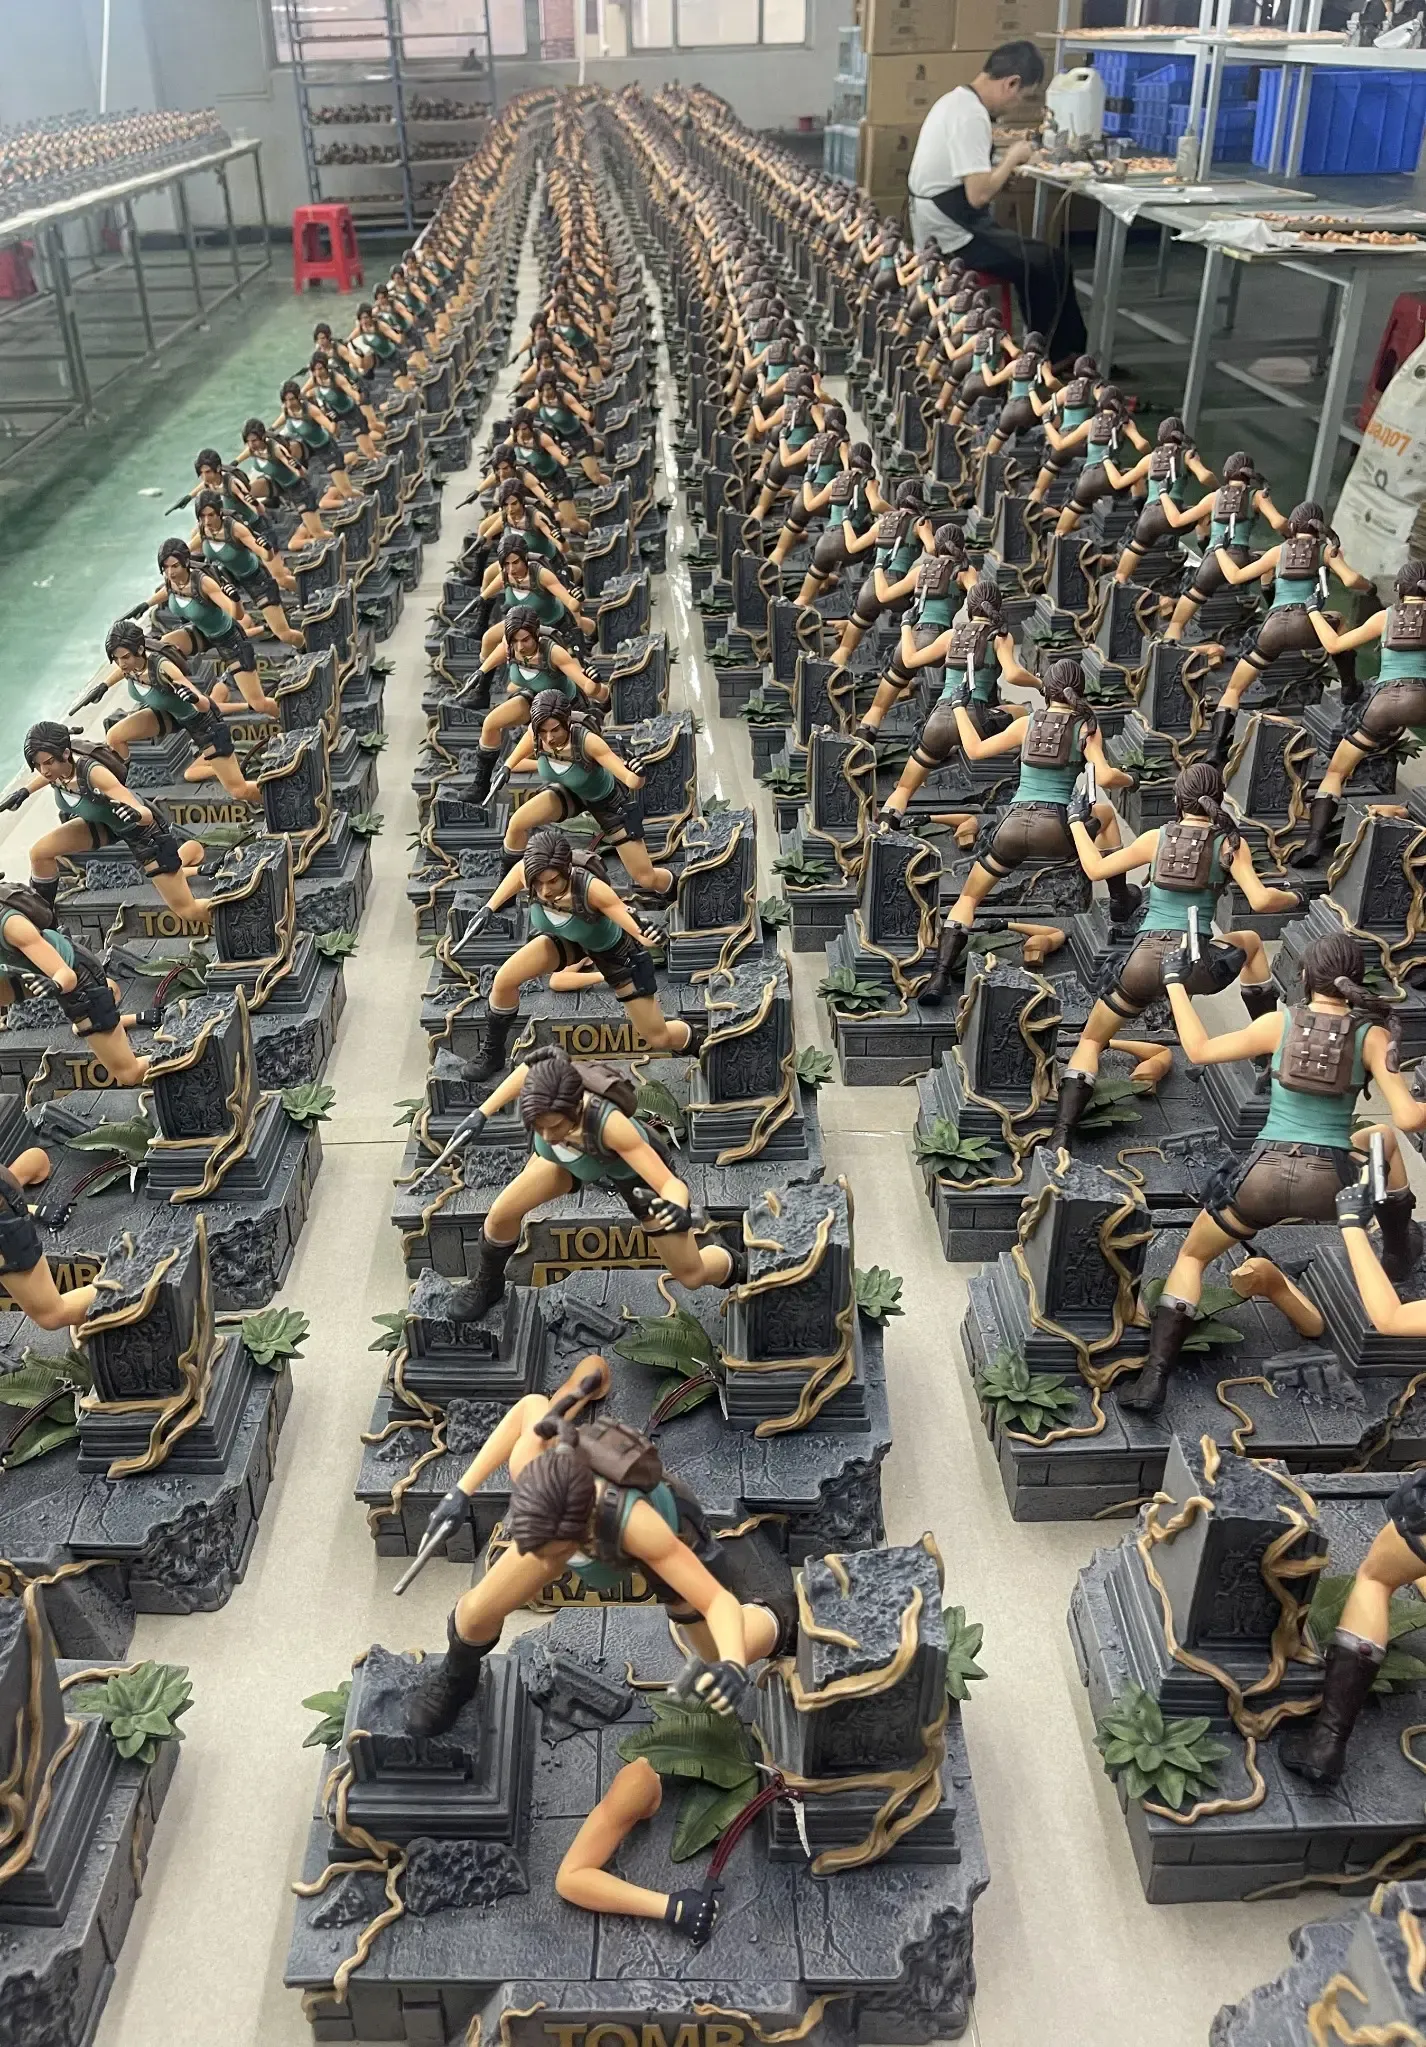
The real Mancheng image accompanying this article shows painted statues assembled on their bases in a production arrangement. It makes orientation, stance and visible assembly useful subjects for discussion. It does not prove that every product shown has passed inspection.
For a brand or development team, the useful question is what happens between painted components and a packed collectible. Assembly belongs to the development and production process, and its acceptance standard should be agreed before the packing team receives the product.
Check alignment from the intended display angles
Review the assembled silhouette against the approved physical reference. A head, arm, accessory or base connection can seat enough to look complete while still holding the part at the wrong angle.
Separate alignment from connection security
A display-angle photograph helps reveal orientation and visible gaps. It cannot establish that a hidden connection is secure. Check the relevant seating surfaces and fastening method as well, using the agreed inspection approach. Avoid forcing a painted connection into place: resistance can come from paint buildup, incorrect engagement or a distorted component.
If a joint needs repeated hand correction, record the issue and investigate the cause. Quietly adjusting each product can hide a recurring assembly problem and make the result dependent on the individual operator.
Review the surfaces touched during assembly
A painted component may leave finishing in good condition and acquire marks when another part is installed. Inspect edges around joints, accessory contact areas, handled surfaces and locations where a tool or fixture touches the product.
Look for paint rubbing, chips, adhesive residue and unintended gaps. Compare cosmetic acceptance with the approved finish rather than assuming that a hidden area has no relevance. A surface initially concealed by a removable part may become visible when the owner changes the display.
Inspect after the assembly step that creates the risk
Check vulnerable areas immediately after the relevant operation, while correction is still practical. Reaching a completed product before discovering that an earlier step damaged the finish can require disassembly and create additional marks. The inspection sequence should follow the actual assembly sequence.
Confirm stability and removable-part fit
Place the product on the intended support surface and review its contact with the base. Check rocking, unexpected tilt and whether removable parts remain correctly positioned during normal handling according to the agreed product instructions.
An accessory should fit without excessive force, while its engagement should suit the intended use. Do not assign a universal force or clearance to every collectible: material, coating, geometry and connection design differ. Use a project-specific reference and test method.
For a 1/6 articulated figure, also consider whether clothing or accessories restrict the approved movement or pull parts out of position. For a statue, focus on its intended display arrangement and the support of heavier elements.
Test functions in the final configuration
Where LEDs, sound or mechanical features are included, the final assembly can affect operation. A wire can be trapped, a switch obstructed, a speaker opening covered or a moving component restricted even when the individual parts worked before closure.
Follow the approved operating sequence in the final configuration. Check accessible controls, required responses and the fit of covers or access panels. Earlier component testing remains useful, but it does not replace this final check. The appropriate tests depend on the features actually specified for the product.
Make the handoff to packing explicit
Record which checks are complete and identify products requiring correction before they reach packing. Keep corrected pieces distinguishable until the affected areas have been inspected again.
Then check the relationship between the assembled product and its internal pack. Confirm that supports contact the intended areas, removable accessories use the correct spaces, and packing does not apply pressure to delicate projections or finished surfaces. A product that passes assembly inspection can still be damaged by an unsuitable packing arrangement.
For a project approaching final assembly, contact Mancheng with the approved reference, intended display configuration and the connections or functions that need particular attention.
Frequently asked questions
Is checking painted parts enough before packing?
No. Assembly can change alignment, fit, stability and surface condition. Inspect the assembled product and verify any specified functions before the packing handoff.
Should every removable accessory use the same fit standard?
No. The appropriate fit depends on the material, coating and connection design. Agree on a physical reference and a repeatable inspection method for the actual product.
Does a production photograph prove that final QC is complete?
No. It documents the visible production stage. Inspection records and the agreed acceptance checks are needed to establish the product's status.