What Should Be Checked on Resin Castings Before Painting?
A practical inspection guide for resin castings before paint, covering surface repair, sculpted detail, dry-fit and coating readiness.
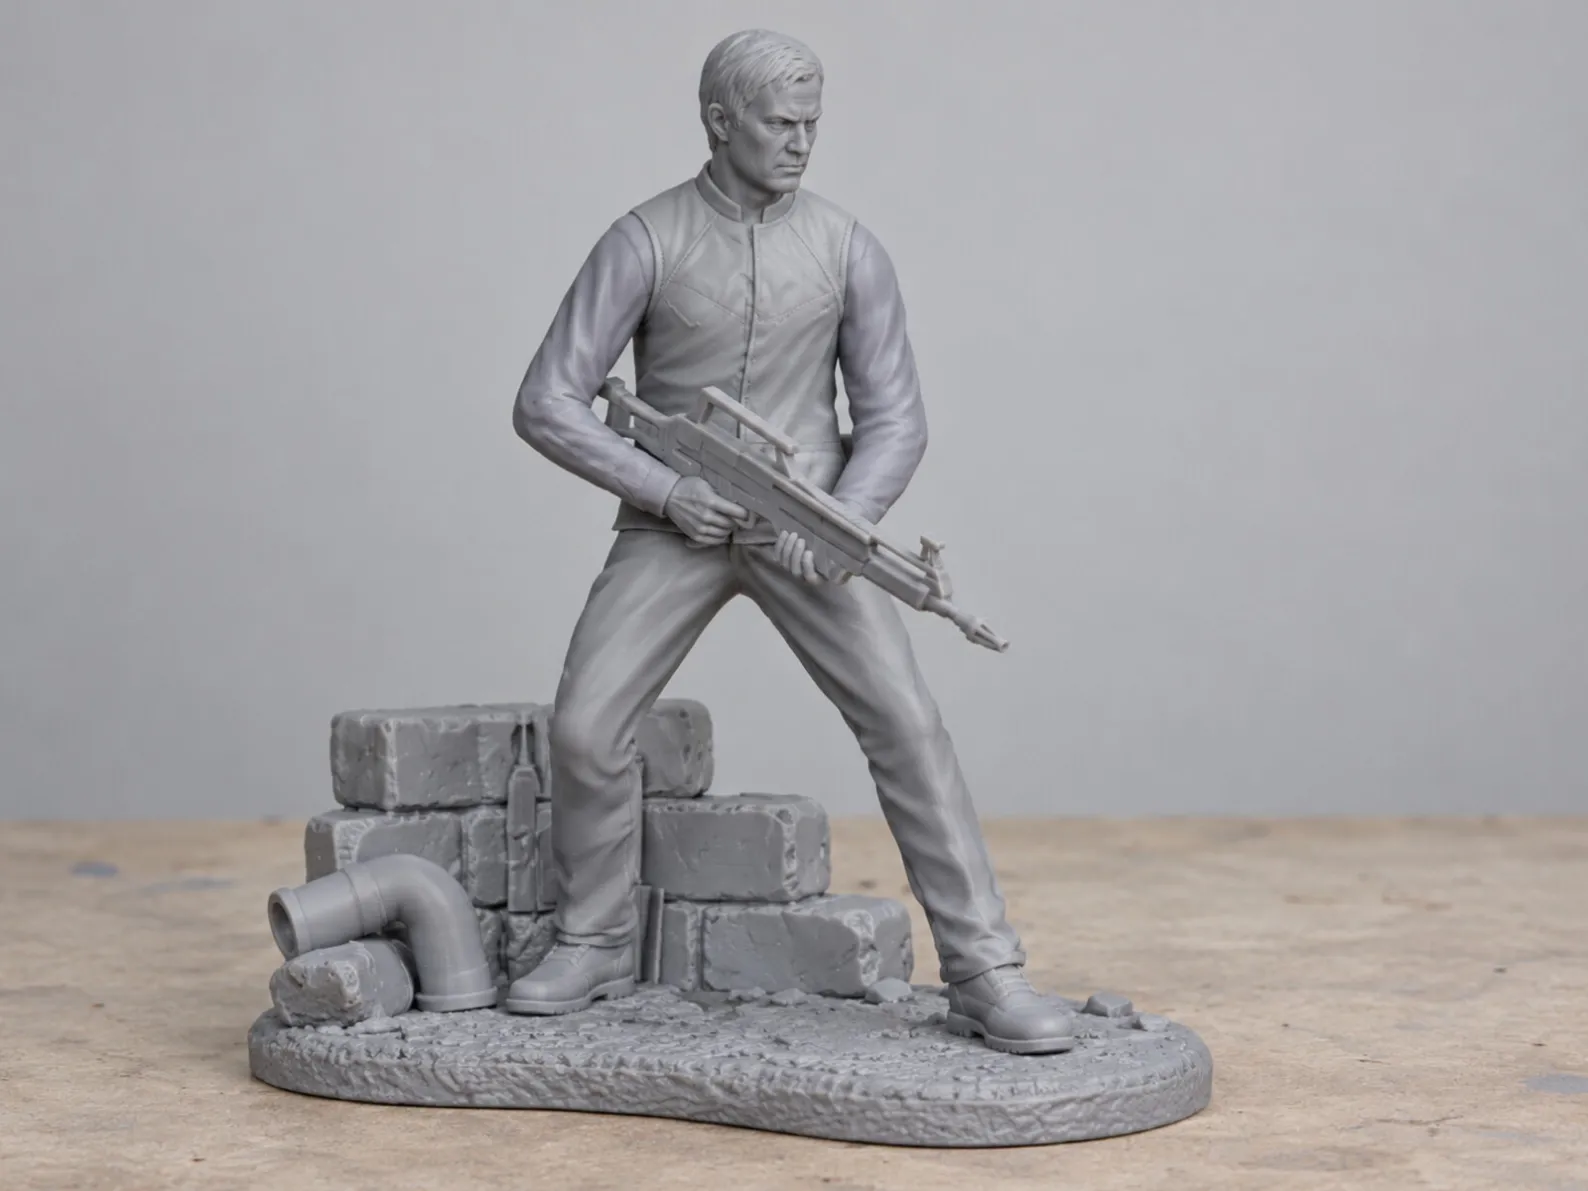
Before painting a resin collectible, inspect each casting for surface defects, loss of sculpted detail, distortion and fit. Remove excess material without changing the intended shape, confirm that repairs preserve the surface, and check that the prepared part is clean and compatible with the coating system. Paint can define color and finish; it cannot reliably correct a weak joint or rebuild missing detail.
What an unpainted part can reveal
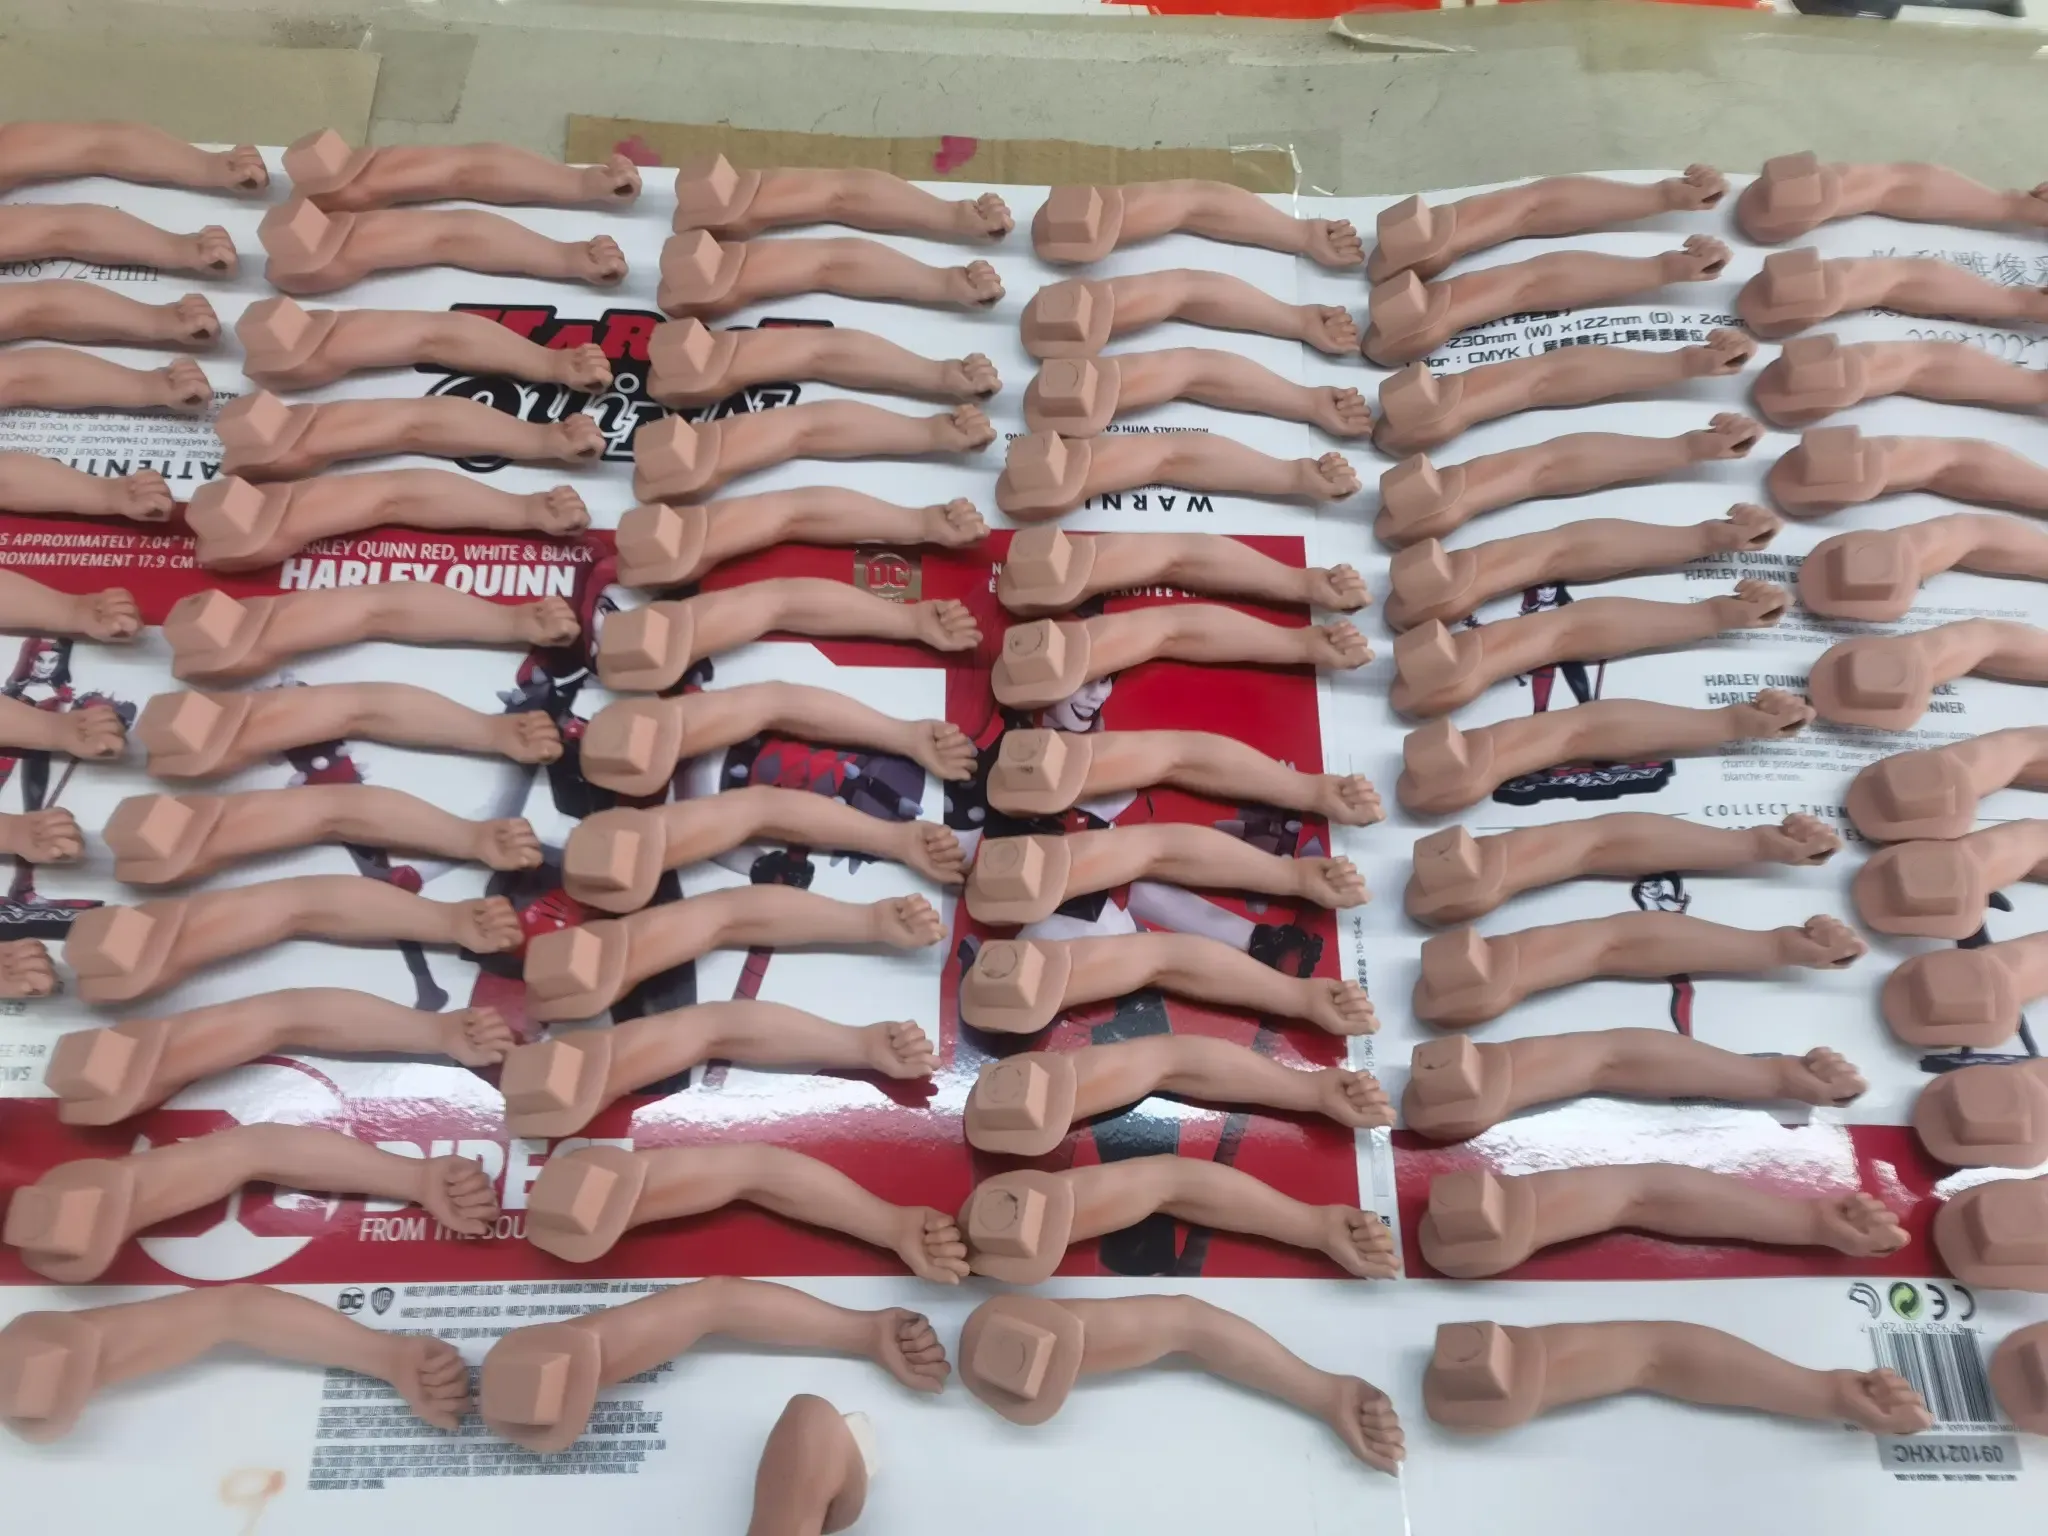
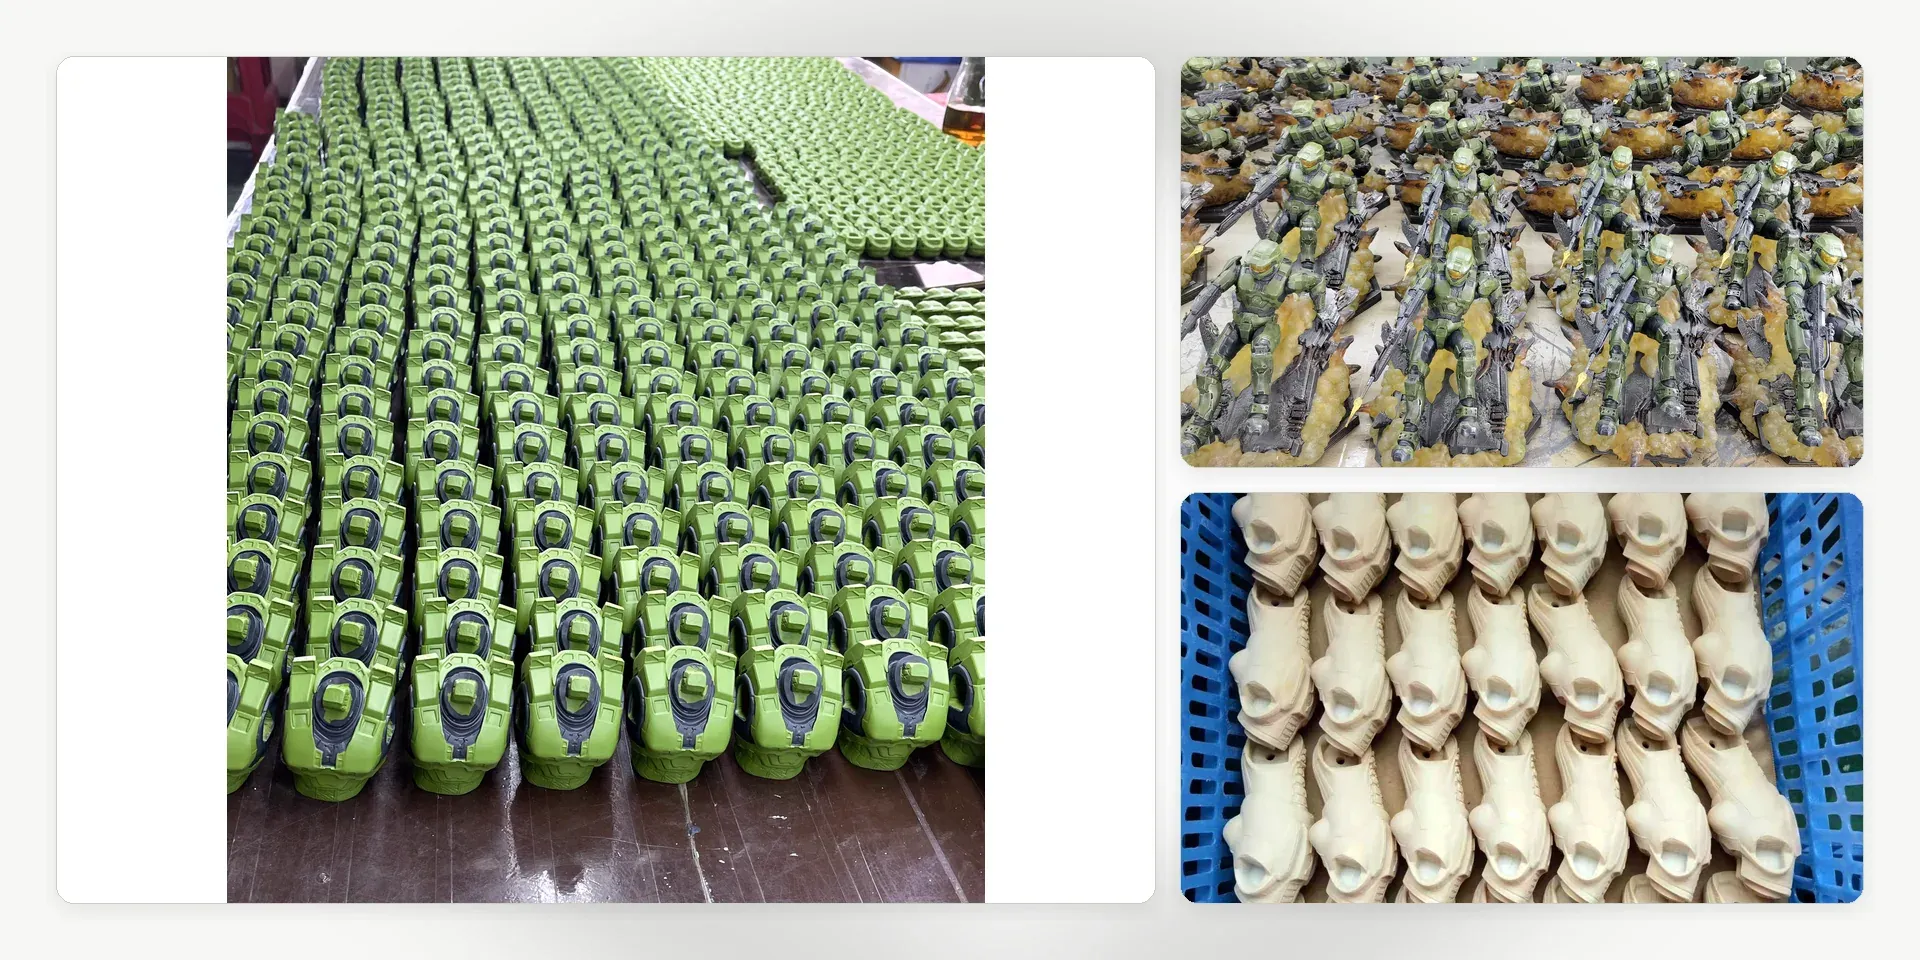
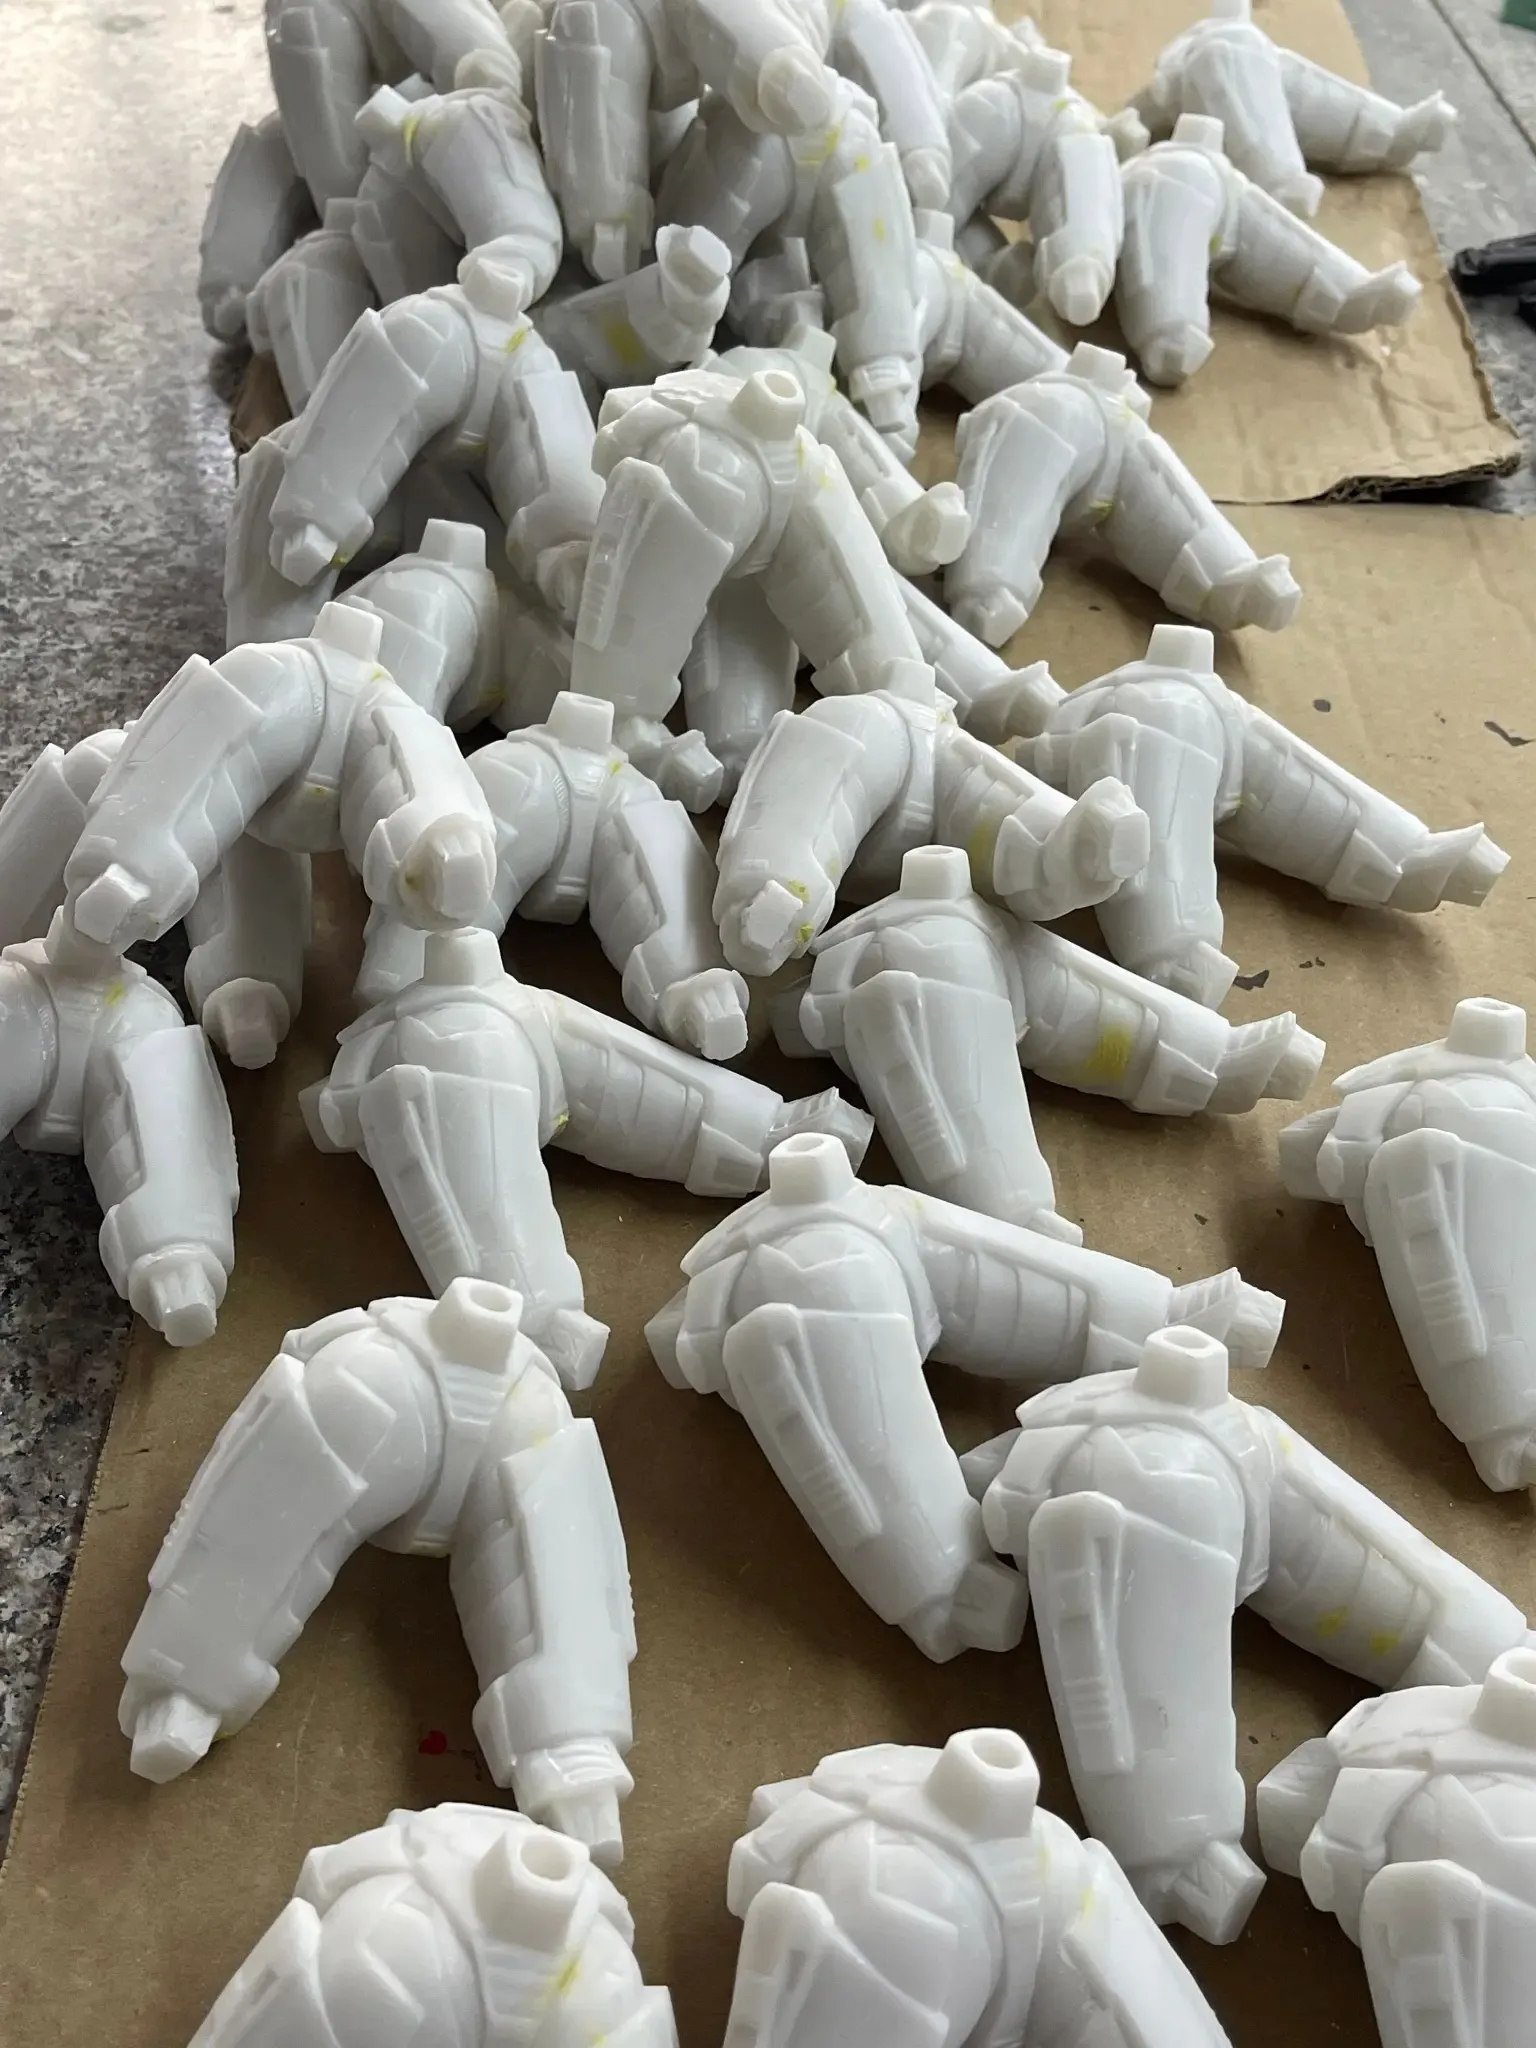
The Mancheng image accompanying this article shows unpainted cast components before finishing. At this stage, the sculpted surface is still exposed. The image documents a preparation stage; it does not establish that every visible part has passed inspection.
For a product team, this is a useful moment to request evidence. A finished sample may look convincing while hiding how much correction was needed underneath. Reviewing prepared castings helps distinguish a repeatable surface from a result that depends on extensive individual repair. This check belongs between casting and painting in the development and production process.
Separate removable excess from missing detail
Mold seams, thin flash and casting attachment areas require different treatment from an incomplete feature or a damaged edge. The first group involves removing unwanted material. The second requires deciding whether a repair can restore the approved geometry or whether the part should be rejected.
Protect the sculpt while cleaning the surface
A seam crossing smooth armor can be easier to assess than one crossing hair, fabric texture or a facial feature. On detailed areas, aggressive sanding can erase a ridge or soften an eyelid even when the seam itself disappears. Compare the prepared part with the physical reference from more than one angle.
The acceptance question is specific: has cleanup removed the seam while retaining the intended contour and texture? A surface that feels smooth is not automatically a correct surface.
Check pinholes, edges and distortion before adding coatings
Small pits, damaged corners and uneven surfaces can become more visible when the finish catches the light. A metallic or glossy area may make a shallow repair noticeable, while a textured matte surface may tolerate a different level of local correction.
Repair decisions should therefore follow the intended finish and the function of the area. A shallow cosmetic pit away from a joint is different from a void at a thin peg or supporting connection. Filling both without distinction can conceal a structural concern.
Also inspect the silhouette, flat mating surfaces and delicate extensions. A part can retain fine texture yet sit at the wrong angle. Painting it first makes the correction more disruptive and risks damaging completed work.
Dry-fit the interfaces that painting will affect
A casting should fit its mating parts before finishing, but a successful raw fit is only the starting point. Primer and paint occupy space. Tight sockets, close overlaps and removable accessories need an agreed treatment so that the finished components can still assemble without forcing.
Record which surfaces should remain unpainted, where a coating edge belongs and which gaps are intentional. Avoid solving an unexpectedly tight fit by sanding finished parts without understanding the cause: that can create visible damage or inconsistent engagement.
For a statue, useful evidence includes a dry-fitted joint viewed from the display angle and a close view of its contact surfaces. These show different things. The first reveals alignment and gaps; the second reveals whether the connection seats as intended.
Confirm surface readiness with the actual coating system
Cleaning, repair materials, primer and paint need to work together. Use the resin and coating suppliers' instructions to set the preparation method rather than assuming one cleaner or primer suits every material. Dust and residues should be addressed before coating.
Use primer to reveal, then reassess
An initial primer layer can help reveal remaining scratches, seams or repair boundaries. It should support inspection, not be built up simply to bury defects. Excess coating can soften texture and alter fit.
After correction, reassess the same critical surfaces and interfaces. A repaired part should not move forward solely because the repair was performed; the result still needs checking.
Ask for evidence that explains the decision
For brands and development studios, a useful casting review is more informative than a general statement that parts are “ready for paint.” Request a clear view of a critical surface before and after preparation, a dry-fit view, and notes distinguishing accepted parts from parts requiring correction or rejection.
These records help identify repeated defects before more finishing work accumulates. If the same feature repeatedly needs repair, investigate the casting or mold condition rather than treating each occurrence as unrelated. Local rework may be practical, but recurring rework can consume detail and introduce variation.
For a project moving from raw components into finishing, contact Mancheng with the physical reference and the areas that matter most visually or structurally.
Frequently asked questions
Can primer hide casting defects?
It may cover small surface irregularities, but it should not substitute for evaluating missing detail, distortion or a weak connection.
Should every casting be sanded to the same smoothness?
No. Preserve intentional texture and match preparation to the approved surface and finish. Uniform sanding can erase details.
Is a raw dry-fit enough to approve assembly?
No. Recheck relevant interfaces with the planned coating treatment, because paint build and masking affect the finished fit.