Oct 23, 2026
How to Plan Swappable Hands and Accessories for a Collectible
Plan swappable collectible hands and accessories around display options, insertion paths, seating, handling, finish protection and compatibility.
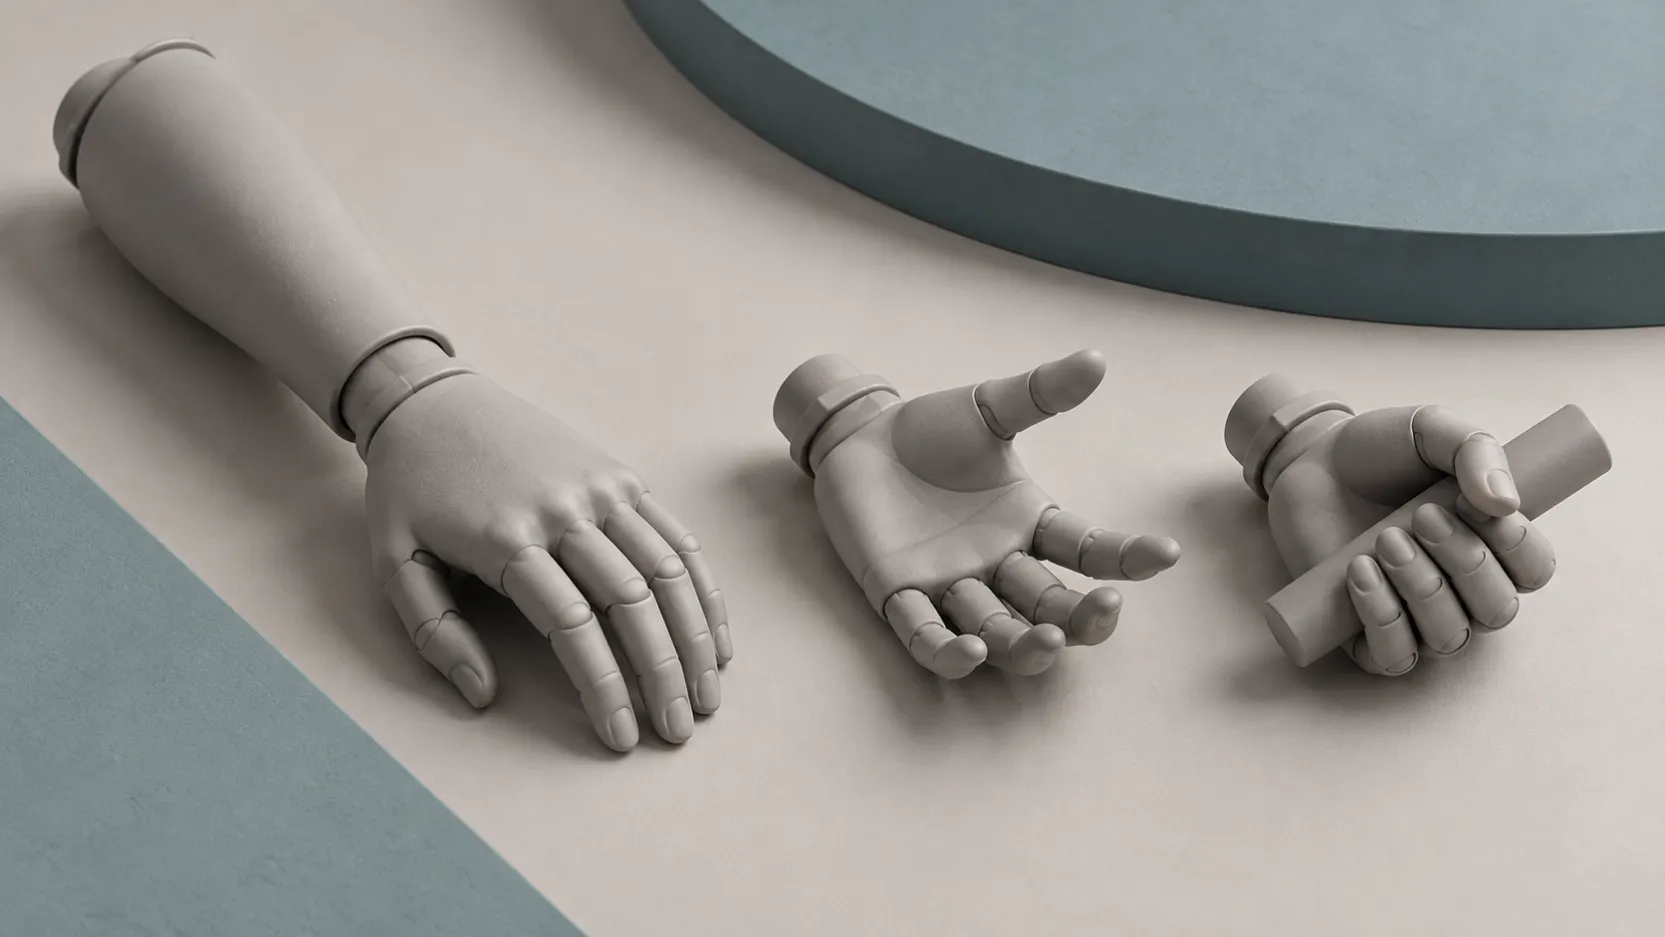
Plan swappable hands and accessories by defining exactly what the collector will change, how each option reaches its final position, and where the user can safely hold the parts during the change. Review the complete set of options on the finished figure, including clothing and nearby details. A connection that works on an exposed prototype may become difficult to use once a cuff, painted surface or projecting accessory surrounds it.
Define the intended change before choosing a connection
Start with the display options. Does the product include an open hand and a gripping hand, two accessories for the same grip, or complete hand-and-accessory assemblies? Identify which combinations are intended and which should never be attempted.
These choices affect both the artwork and the engineering. Separate hands and props provide more flexibility, but introduce more combinations to review. Supplying a hand with its accessory already installed can simplify changing a delicate grip, while increasing the number of distinct finished assemblies.
A factory assembly break also does not automatically become a collector-operated joint. State which parts are changed during manufacture and which remain removable after delivery. That distinction belongs in the product brief before detailed development.
Review the whole path into the final pose
A rendered image usually shows the accessory already in position. Development must also consider the space needed to get it there.
Check whether a handle can enter the hand without pushing against thin fingers. Review whether a long accessory passes the sleeve, shoulder and neighboring objects during installation. For a seated or layered figure, the approach may be more restricted than it looks in an isolated view.
If the intended change requires bending a finished detail out of the way, revisit the arrangement. Possible decisions include changing the insertion direction, supplying the accessory with its own hand, or reducing the number of interchangeable configurations. Each decision changes the collector's experience and the parts that must be approved.
The relevant collectible capabilities should be considered together: sculpted components, articulated bodies, fabric work and mixed materials can all affect access.
Give each option a clear final position
The collector should be able to recognize when the part is seated and how it should face. A connection that can stop at several depths or rotate into an unintended orientation can leave an otherwise correct accessory looking wrong.
Review the proposed locating features, seating surfaces and orientation cues with the engineering team. A round interface, for example, may allow rotation that is useful for posing but unsuitable for an accessory that must point in one direction.
The visible seam also deserves attention. A cuff can conceal a wrist interface, but it should not be relied upon to compensate for unclear seating. Check every approved option from the normal display angle and closer views, using the intended body position.
Separate retention from the user's grip
A part must remain in its intended display position while still being practical to remove in the agreed manner. These are related requirements, but neither should be expressed simply as “make it tighter.”
Describe where the user can hold the figure and the removable part. A tiny finger, thin blade or painted ornament is a poor place to apply removal force. The handling surface should be accessible without squeezing nearby details or pulling the whole figure off balance.
Where magnets, pegs or mechanical features are proposed, their attachment and surrounding construction need review as part of the complete product. Magnetic attraction alone does not establish orientation or prevent leverage from a long accessory.
Avoid setting a universal removal-force value without a product-specific assessment. Materials, geometry, leverage and the intended handling method all affect the useful acceptance criteria.
Check the finished interface, including clothing
An unpainted fit can change after finishing. Coating thickness, masked areas and contact between decorative surfaces can affect both seating and the appearance after a change.
Identify the surfaces intended to contact and those that should remain clear. Inspect the complete sequence with representative finished parts, rather than treating a successful unpainted trial as final approval. Look for rubbing at the cuff, witness marks around the wrist and unwanted movement in the neighboring joint.
For a fabric sleeve, review its position with every approved hand. A cuff that covers the connection in one pose may bunch up or become trapped during another change. The development and manufacturing process should allow these interactions to be reviewed before the construction is released.
Approve a compatibility set, not one successful pair
When several options share an interface, record the intended combinations in a simple compatibility list. Identify left and right parts, accessory variants, the body version and any restrictions on the pose.
Check representative combinations across the planned options. One hand fitting one prototype does not demonstrate that the full set is compatible. Confirm which references govern the sculpted appearance and which govern seating, alignment and handling.
The review should also cover repeated changing under an agreed method. Observe loosening, surface wear or damage to neighboring details, and define what would require a revised construction. Do not describe an arbitrary number of changes as a proven service life without supporting validation.
Plan storage and instructions around the same change
Loose alternatives need a clear home in the package. Protect projecting fingers and accessories while allowing removal without pulling on the most vulnerable feature. Keep visually similar options identifiable so the collector can choose the correct combination.
A short illustrated instruction should show the intended holding points, direction of movement and any preparation required. Confirm it against the actual finished sample: instructions cannot make an inaccessible interface easy to use.
For a new project, contact Mancheng with the proposed display options and the parts the collector is expected to change. That gives the engineering discussion a specific starting point before an interchangeable feature becomes a late addition.
FAQs
Should every accessory have a separate gripping hand?
Not necessarily. Decide from the insertion path, finger vulnerability, display options and handling requirements. A shared hand offers flexibility; a dedicated hand-and-accessory assembly can simplify a difficult change.
Can a removable wrist be approved before the clothing is ready?
Its basic construction can be reviewed earlier, but final approval should include the intended sleeve and finished parts. Clothing may restrict access or change where the user can hold the connection.
What should a buyer request at sample review?
Request all intended combinations, a demonstrated changing method, clear seating and orientation references, and observations from an agreed repeated-change review.
Cover: conceptual illustration of interchangeable parts, not a photograph of a Mancheng product or a validated connection design.