Oct 13, 2026
What Should Be Checked Before Assembling a Mixed-Material Collectible?
Check material interfaces, finish order, fit, alignment and handling before assembling a mixed-material collectible.
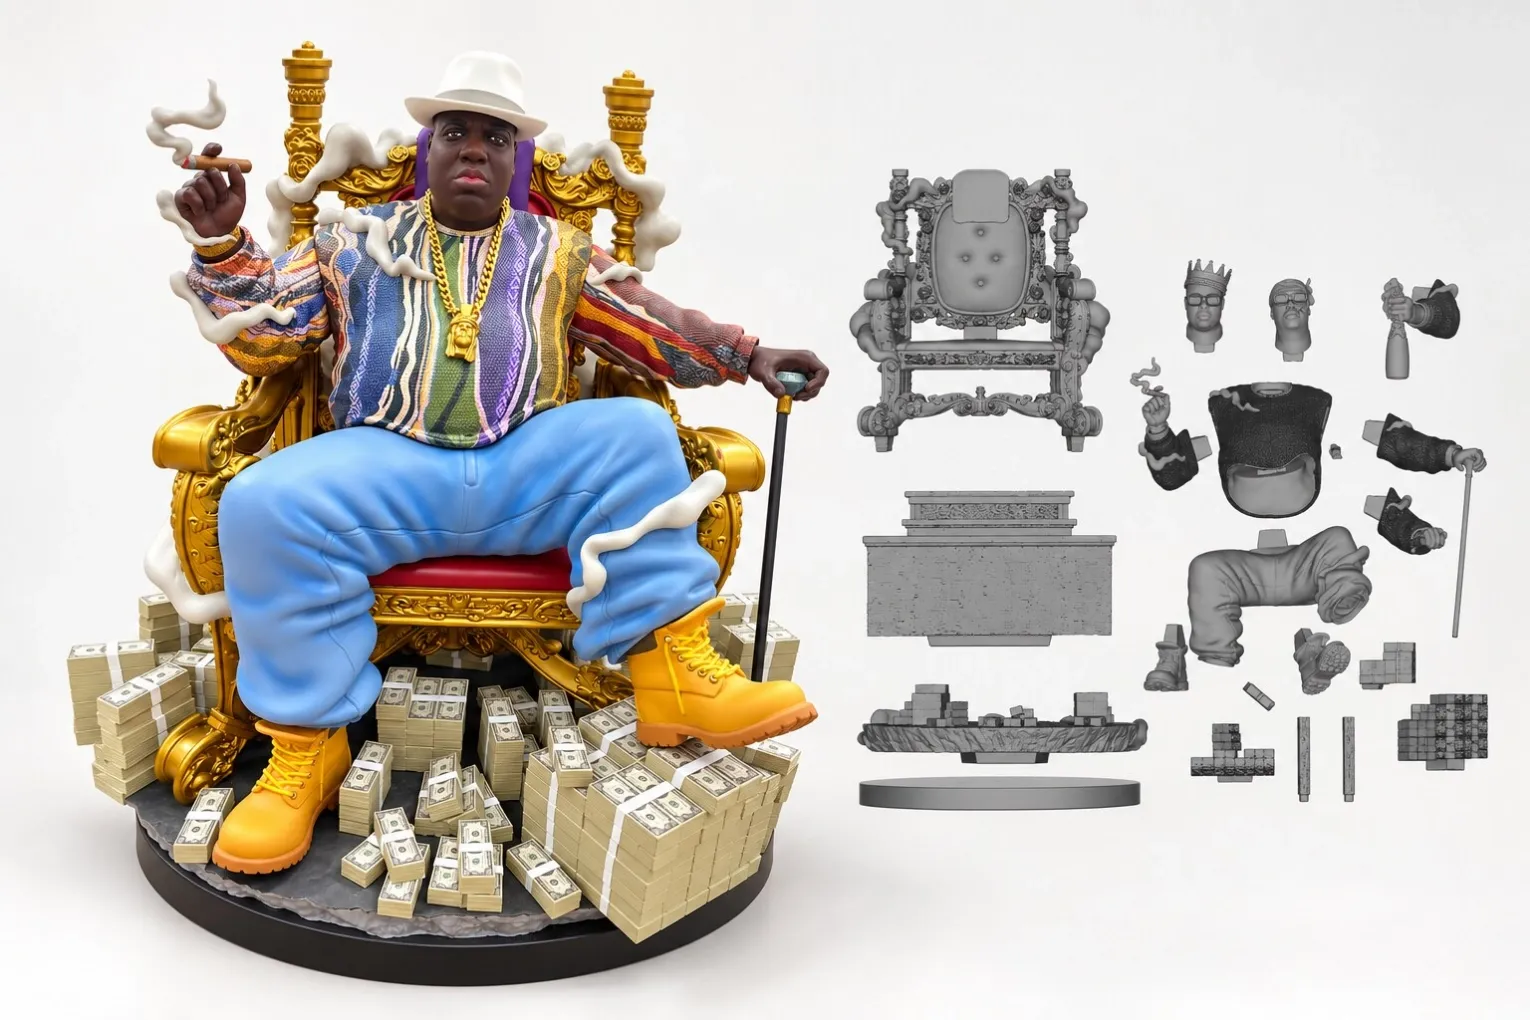
Before assembling a mixed-material collectible, check every interface between parts, confirm the finishing and assembly sequence, dry-fit the complete structure, and define how finished surfaces and flexible elements will be protected during handling. Different materials do not behave identically, so a connection that looks correct in a digital model can still create alignment, pressure or finish problems in the physical product.
The purpose of the pre-assembly review is not simply to confirm that each part exists. It is to make sure the parts can meet in the intended position without forcing, rubbing or concealing a later operation.
Identify every material interface
Start with a simple interface map. Mark where rigid molded parts meet other rigid parts, where fabric sits against painted surfaces, and where accessories or functional components pass through the main structure. For each junction, define which side controls position and which feature prevents movement.
This matters because a joint can perform several jobs at once. It may locate the pose, carry weight and hide a seam. If those functions are not separated during review, a small fit correction may improve one area while weakening another.
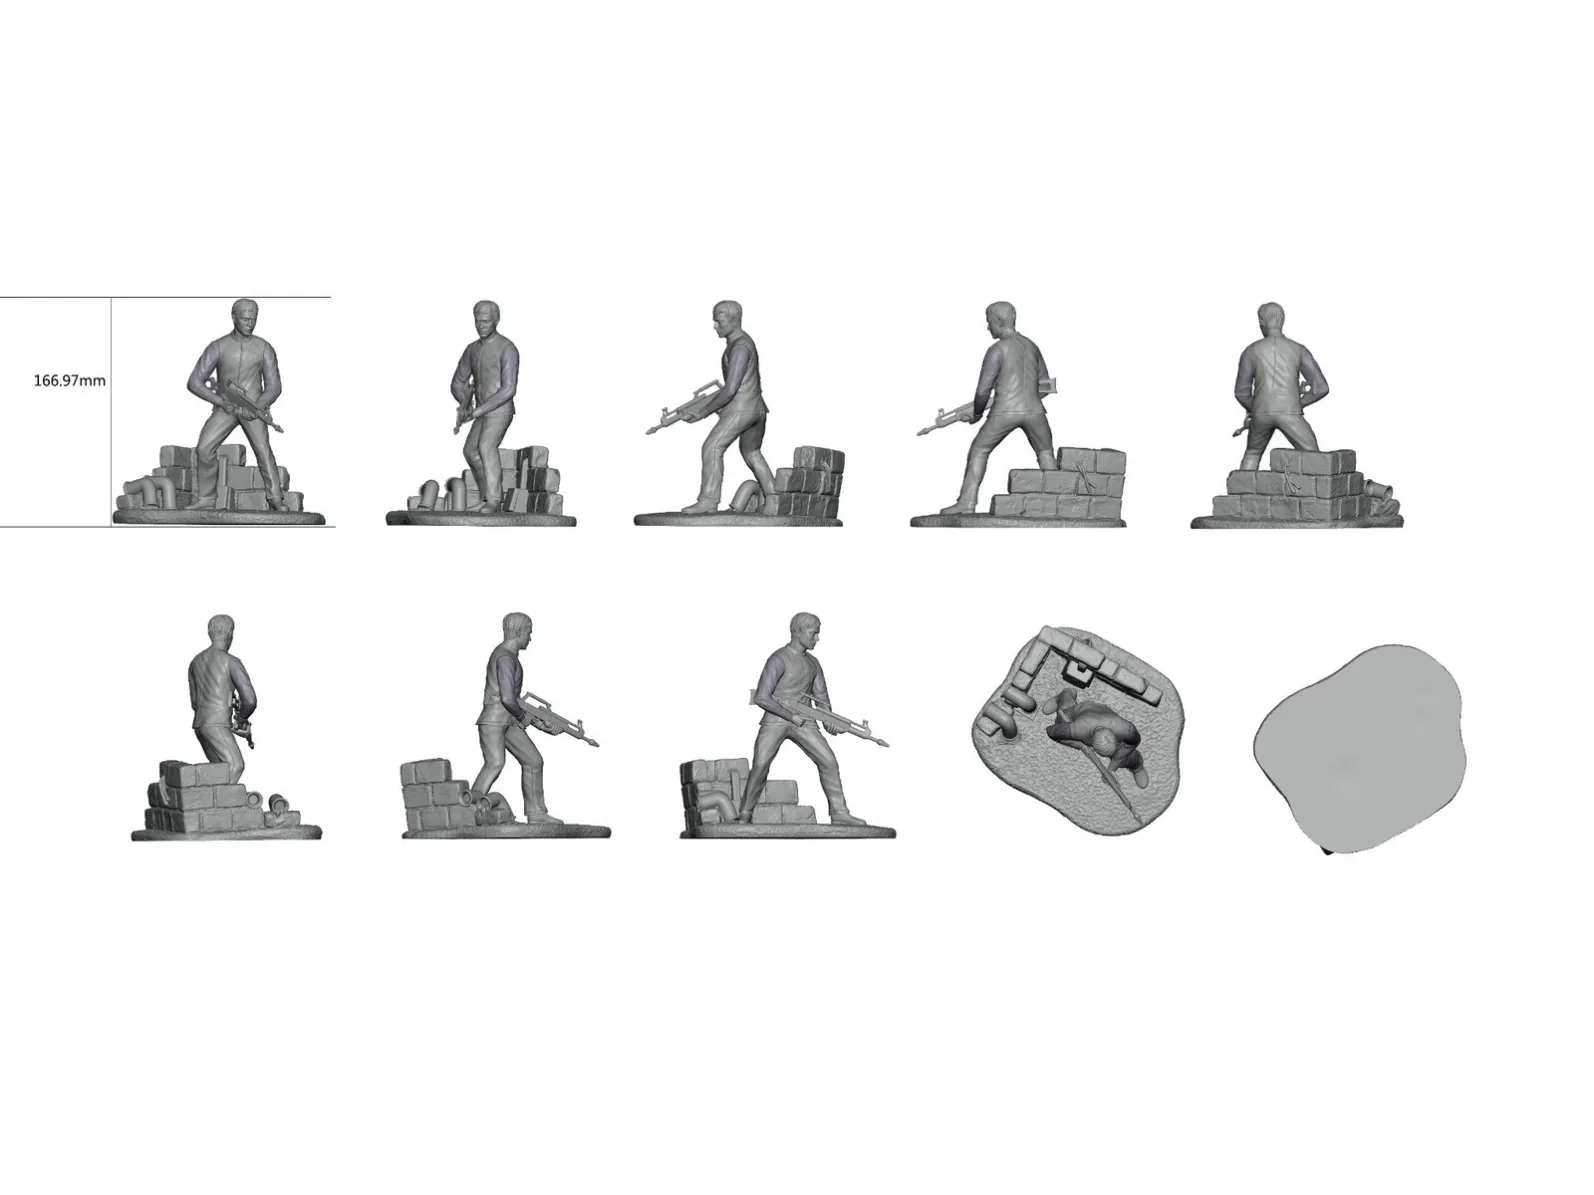
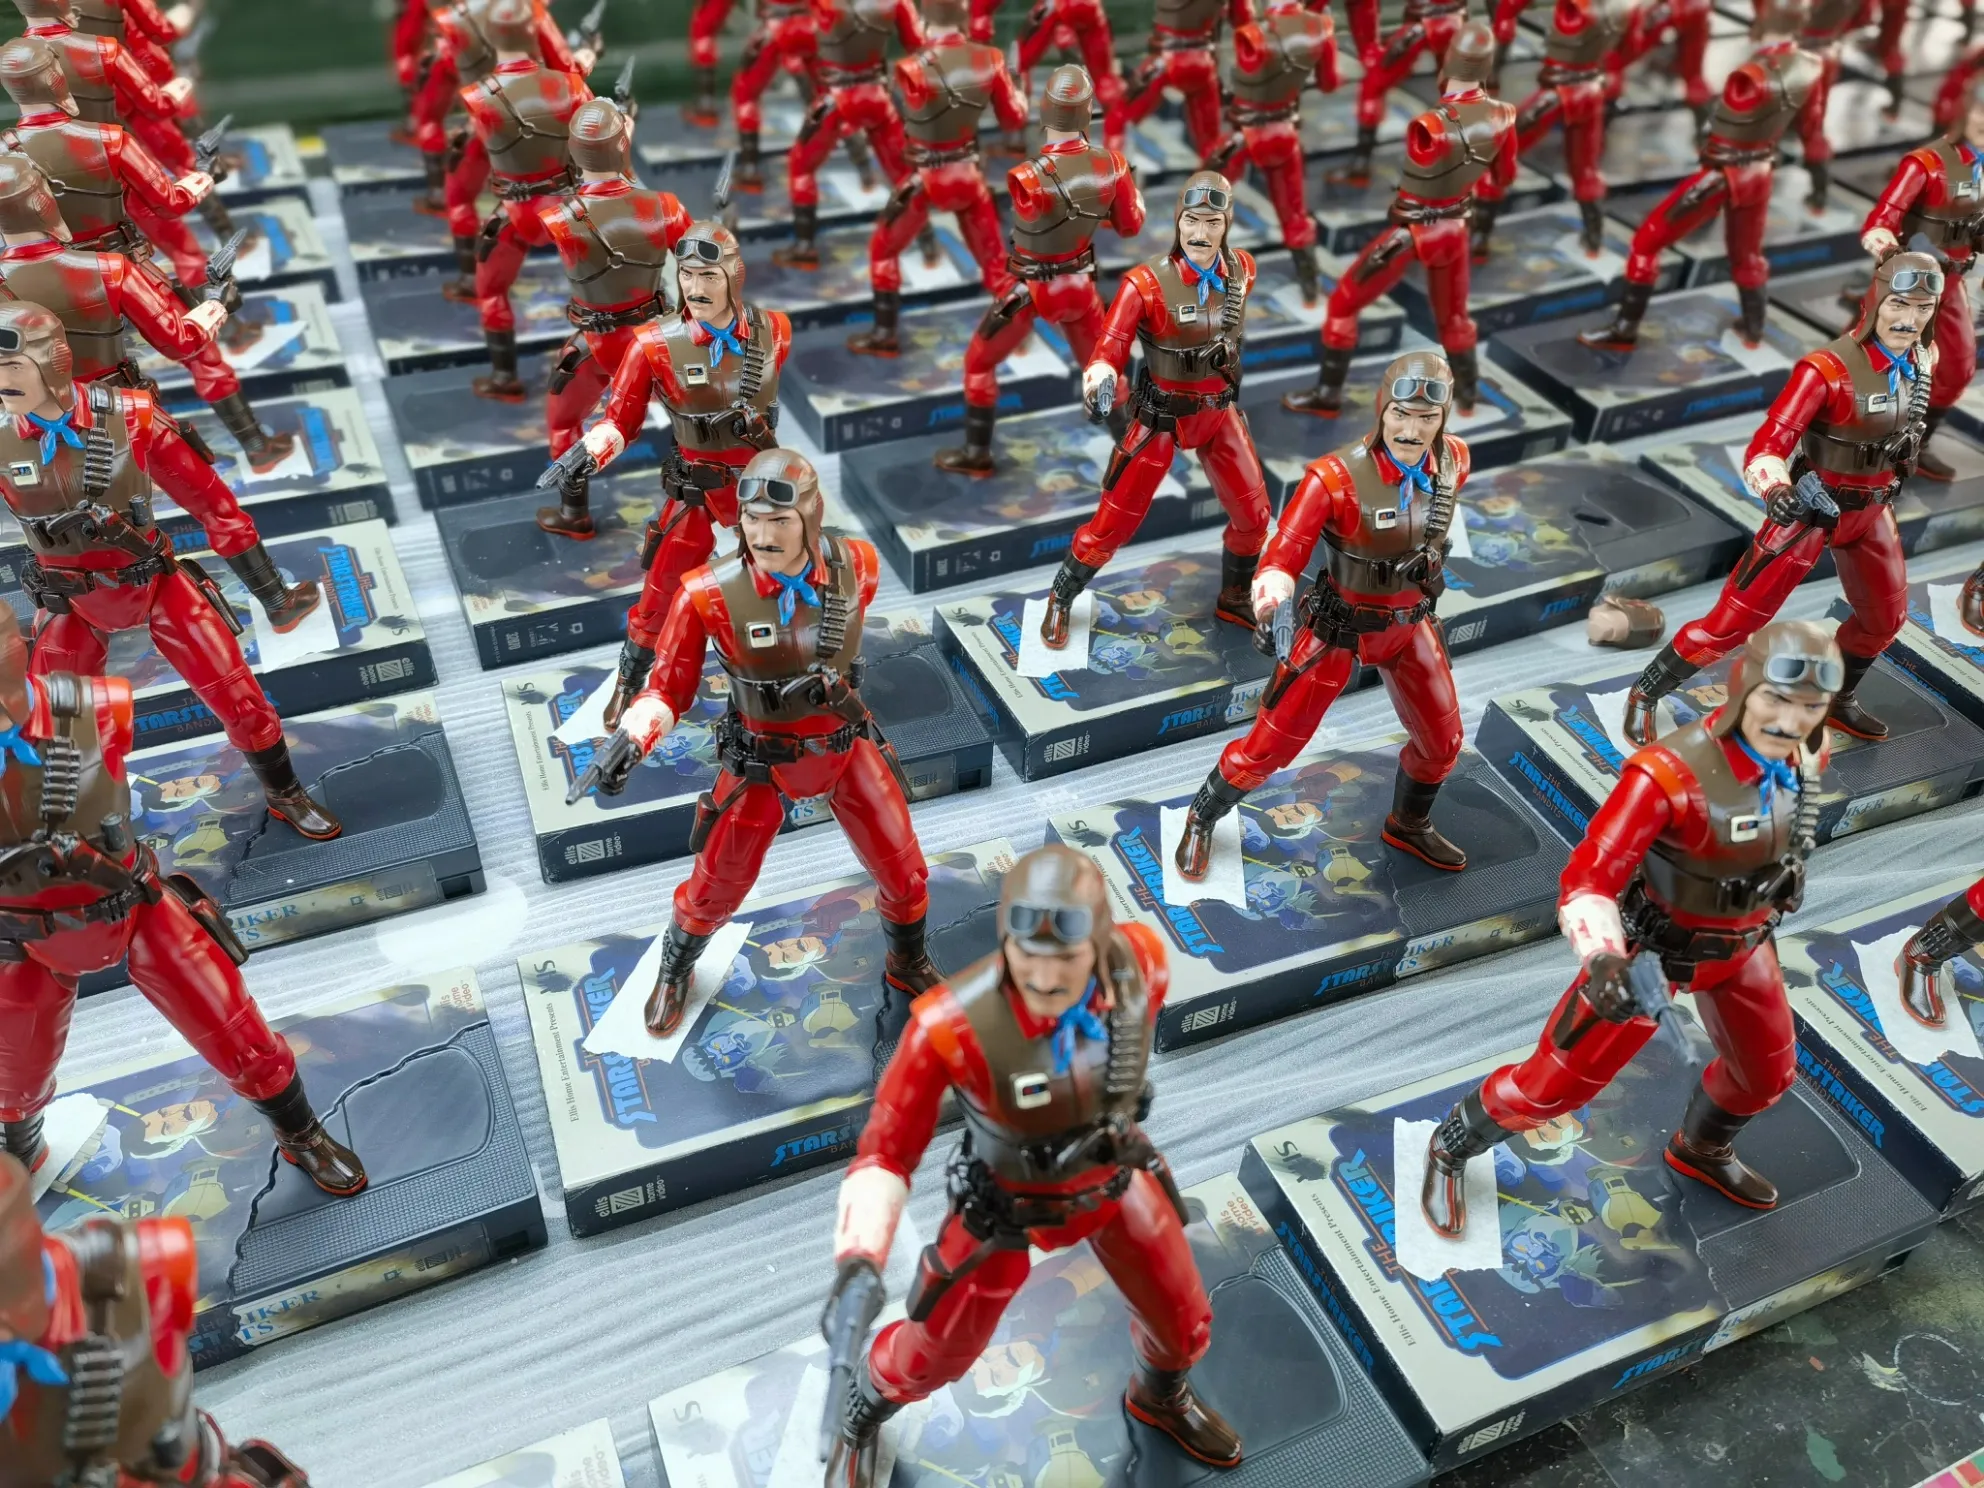
The Mancheng product range includes resin statues and busts, PVC/ABS figures, articulated figures with fabric work, mixed-material collectibles and functional replicas. Each combination needs its own interface logic rather than one standard allowance applied everywhere.
Confirm the finishing and assembly order
Ask which parts must be painted or finished before assembly and which areas need to remain accessible afterward. A decorative surface may be easier to complete as a separate part, but the finished edge then needs protection when the parts are joined. An assembled seam may look cleaner when finished together, but that can restrict access to adjacent details.
Fabric creates another sequence decision. Dressing a figure too early can expose the garment to paint, adhesive or repeated handling. Dressing it too late can make closures difficult to reach or require the finished body to be flexed more than intended. The correct sequence should be demonstrated with actual parts rather than assumed from the digital assembly.
Contact zones also need clear treatment. Paint or coating on a locating surface can change the fit, while an unplanned hard edge can mark a soft component. Define which areas are cosmetic, which are functional and which must remain free for assembly.
Dry-fit the complete structure, not isolated pairs
Two parts may fit correctly on their own but shift when a third component closes the assembly. Dry-fit the full stack in the intended order and check the principal viewing angles. Confirm that the pose, silhouette and visible gaps remain consistent without forcing parts into position.
Pay particular attention to long accessories, seated figures, layered clothing and scenic bases. These features can connect through several points, so a local adjustment may move the final position elsewhere. The review should consider the assembled load path as well as surface alignment.
A dry fit is also the right time to verify access. If a connection cannot be reached or inspected after another component is installed, the sequence should include a check before that area is closed.
Protect finished surfaces during handling
Mixed-material assembly often requires more repositioning than a single-material object. Identify the surfaces most likely to touch a fixture, glove, tool or neighboring part. Use handling points that do not depend on delicate paint, translucent effects, fabric edges or small projections.
Protection should not hide the area being controlled. For example, covering a decorative surface is useful only if the operator can still see whether the adjoining seam is aligned. Temporary support should stabilize the piece without transferring pressure to a fragile detail.
These controls belong in the development and production process, not only in final QC. Once a surface has been marked or a flexible element has been trapped, a later inspection can identify the problem but cannot prevent the rework.
Define acceptance checks before closing the assembly
Create hold points for areas that will become difficult to see. Check connection security, orientation, cable or feature routing where applicable, accessory clearance, garment position and the condition of neighboring finishes. Confirm optional parts in the configuration used for approval.
The approved sample should show both the final appearance and the intended assembly logic. If a sample was carefully adjusted by hand, record the adjustment instead of treating it as an invisible exception. Production instructions need to distinguish an acceptable controlled adjustment from a sign that the interface should be corrected.
After assembly, repeat the visible alignment, stability, function and surface checks in the final configuration. Teams planning a mixed-material project can share the intended components and assembly priorities through project enquiries before the prototype sequence is locked.
Frequently asked questions
Should all mixed-material parts be finished before assembly?
Not necessarily. Finish parts separately when access and edge quality benefit, but review contact zones and the risk of marking completed surfaces during joining.
Is a successful two-part dry fit enough?
No. Fit the complete assembly in order because later components can change alignment, pressure and access at earlier connections.
What should be checked before an area becomes hidden?
Confirm fit, orientation, connection security, nearby surface condition and any routed or functional element that cannot be inspected after closure.