Oct 16, 2026
What Drives the Cost of Manufacturing a Custom Collectible?
Learn which decisions drive custom collectible manufacturing cost, including scale, materials, part count, finishes, functions, tooling, packaging and approvals.
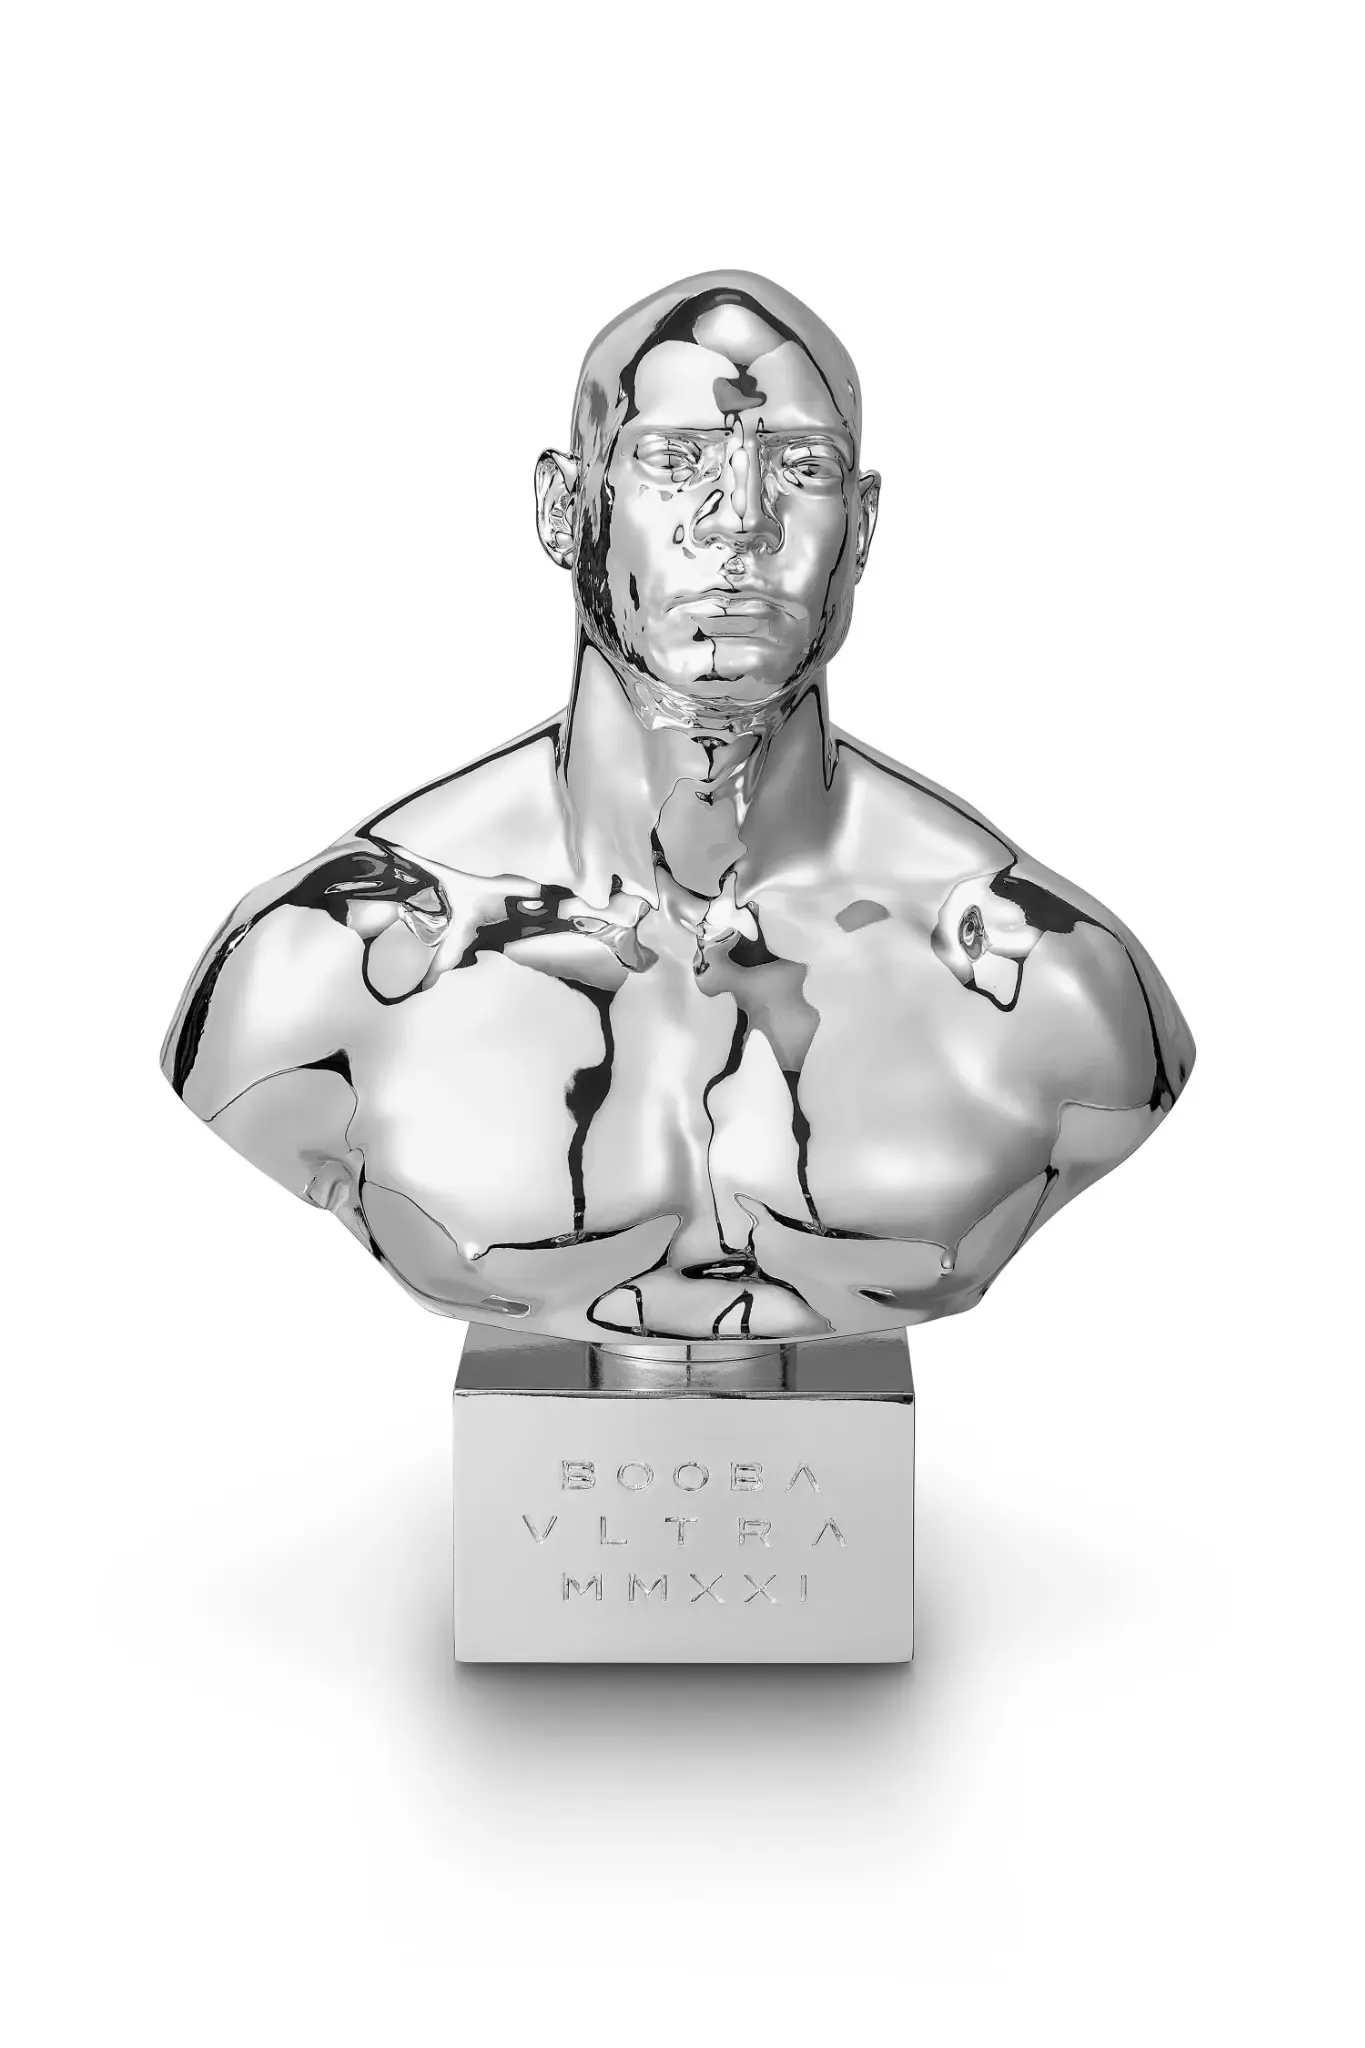
The cost of manufacturing a custom collectible is driven by the material, tooling, manual work, engineering control and rework risk built into the design. Overall size matters, but it rarely explains a quotation on its own. Part count, material mix, paint operations, assembly sequence, functional features, packaging and approval discipline can change the production burden more than a small change in height.
Read the quotation as a production system
A collectible moves through connected stages: file review, prototyping, tooling or casting preparation, finishing, assembly, quality control and shipment preparation. A decision that simplifies one stage can add work somewhere else. Splitting a complex form may improve molding and painting access, for example, while introducing another joint that must be aligned, bonded and inspected.
This is why two products of similar height can have very different cost structures. A compact resin bust with a controlled finish is not equivalent to a mixed-material figure with fabric, small accessories and an illuminated base. The relevant comparison is the sequence of operations required to reproduce the approved result.
Mancheng's product capabilities span resin, PVC/ABS, articulated and mixed-material collectibles, which combine these operations differently.
Scale and mass affect more than material use
Increasing size normally increases material use, but it can also change wall strategy, internal support, joint design, base stability and handling. A large projecting element may need a stronger connection even if the main body remains hollow. A heavier scenic base may improve stability while increasing packing and lifting demands.
Width, depth, base footprint and the reach of weapons, wings or effects can determine mold layout, assembly access and carton volume. A visually slender design may still be costly to protect if it has long unsupported projections.
Before requesting a firm quotation, define assembled dimensions and the intended materials. If those inputs are still provisional, the estimate should identify them as assumptions rather than hide them inside one number.
Geometry and part count determine tooling and handling
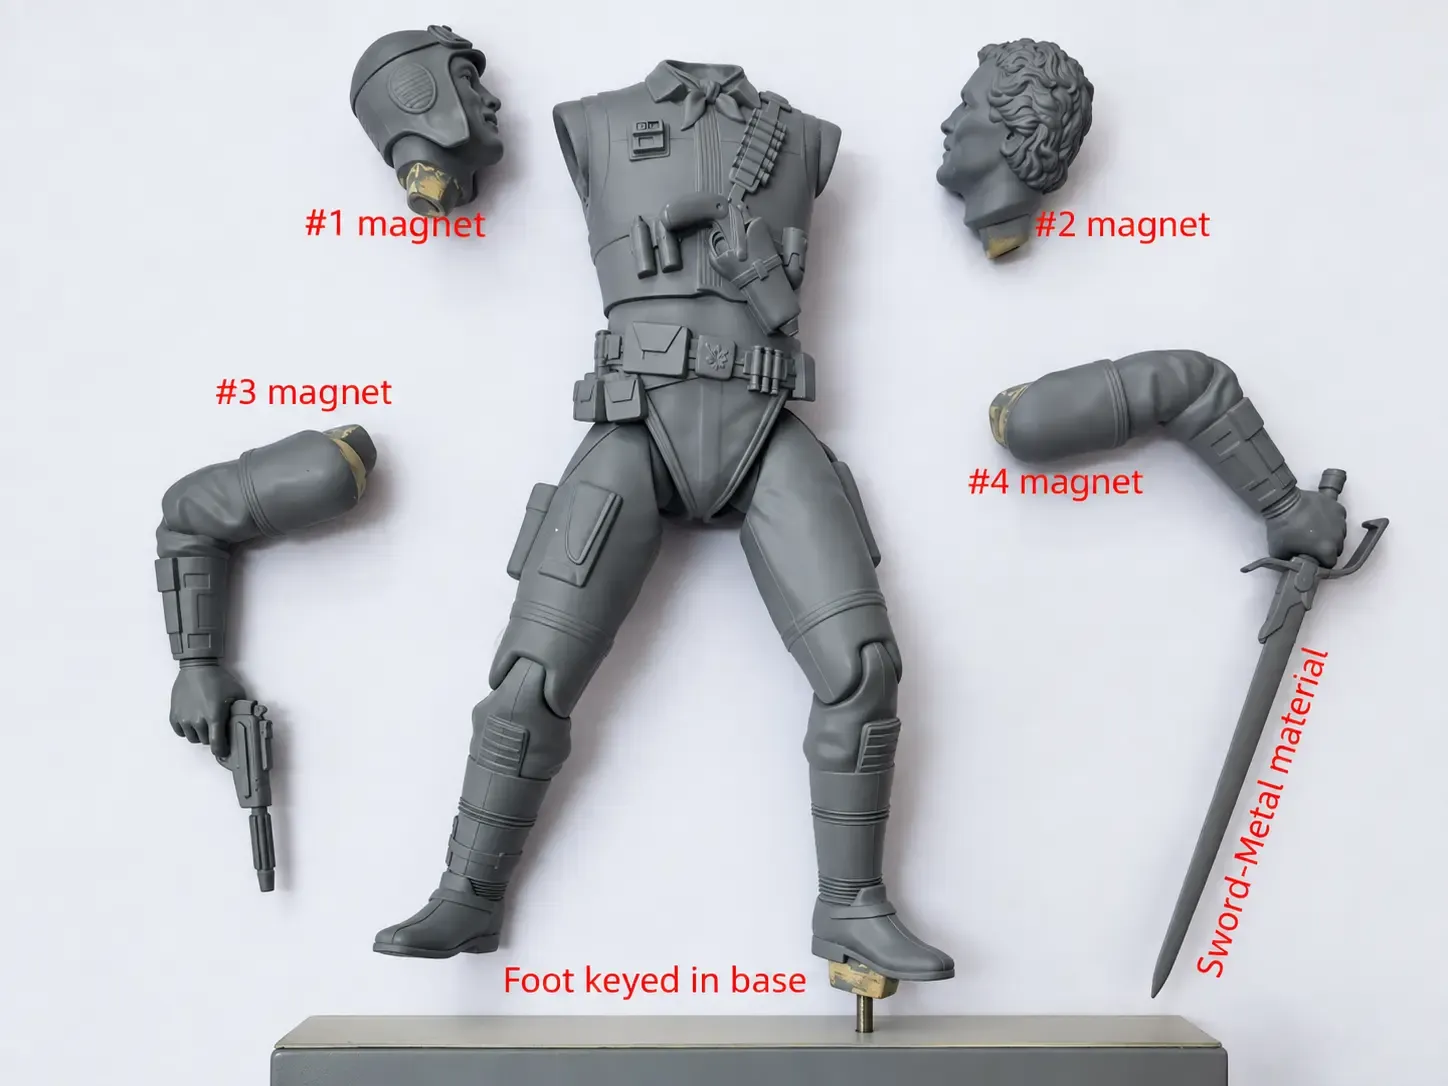
Part breaks are engineering decisions with direct cost consequences. Separate parts can release undercuts, protect sculpted detail and give painters access to difficult areas. Too many parts, however, add tools or molds, trimming, sorting, fixtures, bonding, seam control and inspection points.
The lowest part count is not automatically the lowest total cost. Combining forms may create a difficult mold, trap paint access or force a visible seam into a sensitive area. The goal is a part plan that balances reliable reproduction with practical finishing and assembly.
Review every proposed part for a clear reason. It may be needed for molding direction, material change, paint separation, shipping protection, articulation or service access. A part that has no production purpose may be adding cost without improving the collectible.
Materials change the process, not only the raw input
Resin, PVC, ABS, fabric, translucent components and metal or electronic elements require different preparation and joining methods. Material selection affects tooling, wall thickness, tolerances, surface preparation, paint systems and final weight. A mixed-material design also creates interfaces where parts expand, flex or accept coatings differently.
Choose materials around the function of each part. Resin can suit crisp sculpted forms; PVC/ABS supports different production and structural strategies; fabric adds tailoring operations; translucent parts require control of diffusion and light leakage. Every interface needs a repeatable fit and finish standard.
Paint and finishing are often operation-heavy
Paint cost follows the number and difficulty of controlled operations rather than the number of colors printed in a specification. Masking edges, gradients, realistic skin, metallic layers, weathering, translucent effects and clean graphics each demand different setup, access and inspection.
Complexity also depends on where the finish sits. A simple color on an exposed panel is easier to control than the same color inside deep texture or beside a fragile edge. Repeated handling between layers can add protection and touch-up work.
Use the paint master to define appearance, but also document the sequence that produces it. A finish that can only be achieved through unrecorded adjustments creates uncertainty when production begins. The development and production process should convert the approved look into clear references, controlled samples and in-line checks.
Functions add integration and testing steps
LED, sound and mechanical features add more than purchased components. The product needs space, access, routing, switches or controls, secure mounting and a method to test the function before final closure. Translucent parts may require diffusion and light-blocking treatment. Moving features need clearance that remains stable after finishing and assembly.
These elements should be designed into the structure early. Adding them after the main geometry is approved often creates avoidable revisions to the sculpt, part breaks, base or packaging. The quotation should state which functional components, tests and supplied accessories are included.
Packaging is part of manufacturing cost
Packaging must restrain the finished product without loading delicate surfaces. A wide base, tall silhouette or removable accessory changes the insert layout and carton dimensions. Soft garments, metallic finishes and translucent effects may need different contact protection.
Packaging choices can also feed back into the product. A removable projection may reduce carton volume but add a keyed joint and an assembly step for the collector. A fully assembled piece may present better out of the box but require more space and stronger restraint. Evaluate that trade-off before tooling, not after production parts are complete.
Clear approvals reduce uncertainty and rework
Incomplete approvals do not remove cost; they move it into contingency, revision or delay. Lock the design brief, scale, materials, part plan, functional requirements, finish references and packaging assumptions at defined gates. When a change is necessary, record which approved elements it affects.
For a useful quotation, provide:
- the intended product type and assembled dimensions;
- final or reviewable 3D files and reference art;
- proposed materials and removable parts;
- finish references and critical appearance areas;
- LED, sound or mechanical requirements;
- packaging format and shipment-preparation expectations; and
- the approval path and decision owners.
This information allows the manufacturer to explain the main cost drivers and identify decisions that still carry risk. Teams preparing a project can contact Mancheng with these inputs for a production-focused review.
Frequently asked questions
Is a larger collectible always more expensive to manufacture?
Usually it uses more material and packaging space, but geometry, part count, finish complexity and functions can outweigh size alone. Compare the full production sequence.
Does reducing the number of parts always reduce cost?
No. Fewer parts can reduce handling and assembly, but combining forms may make molding, painting or shipping less reliable. Part breaks should minimize total production difficulty.
When can a manufacturer give a dependable quotation?
A quotation becomes more dependable when dimensions, files, materials, finishes, functions, part strategy and packaging assumptions are defined. Provisional inputs should remain visible as assumptions.