How to Review a Collectible Assembly Sequence Before Sculpt Lock
Review a collectible assembly sequence before sculpt lock by checking join order, access, paint-safe handling, fragile parts and practical rework routes.
A production-ready collectible needs more than parts that fit. Before the sculpt is locked, the team should review the order in which those parts can be joined, painted, inspected and, if necessary, reworked. An assembly sequence turns a promising sculpt into a repeatable product plan.
Start with the complete intended configuration
List the pieces that the buyer will receive and the condition in which they are meant to be displayed. Include the body, base, clothing, accessories, alternate hands or heads and any electrical or mechanical elements that are actually in scope. A sequence built around a simplified render can fail when a real accessory blocks a later connection.
Name the visual decisions that must survive the sequence. A hand may need to hold a prop at a particular angle; a cape may need to pass behind an arm; a scenic element may need to remain visible after the figure is seated. These are assembly constraints as well as art-direction decisions.
Map the joining order
Review which parts must be installed first, which can be added later and which should remain removable for inspection or packing. Work from stable, accessible interfaces rather than from the most dramatic silhouette. A hidden connection that becomes inaccessible after a shoulder, weapon or collar is installed deserves an explicit checkpoint.
Separate permanent joins from owner-installed components. The factory may have access to a tool or a bare surface that a collector will never see. If a feature is expected to be assembled by the owner, the route, grip area and orientation need their own review. Do not call a component “easy to install” when the sample has not shown the intended handling.
The sequence also affects final assembly QC. QC should be able to inspect critical joints before a later part hides them, rather than discovering a problem only after the finished silhouette is closed.
Protect painted and fragile surfaces
Decide where painted surfaces may be touched during each step and where temporary protection is needed. A glossy trim edge, hair spike or thin prop can be visually correct yet vulnerable when another part is pressed into place. The solution may be a different order, a larger handling area, or a revised connection—not an unsupported claim that the finish will be safe.
Mark fragile projections and define the direction of force at each interface. Avoid a sequence that asks a narrow decorative element to act as a lever while a larger part is aligned. If a piece must flex, slide or rotate, describe that movement precisely and identify the surfaces that must remain clear.
Keep inspection and rework possible
A sample review should show how a joint is inspected before it disappears under clothing, paint or a scenic shell. Ask where a measurement, visual check or fit comparison can be made. If a correction requires dismantling three finished layers, the sequence is carrying unnecessary risk.
Plan a rework route for the decisions most likely to change: accessory angle, hand position, base seating, wire access or a concealed seam. This does not predict a defect or a failed test. It gives the development team a controlled way to revise the same record instead of improvising after finishing.
Use the development and sample process to record the approved order, the open questions and the evidence still required. A sculpt lock is stronger when it records how the product will be built, not only how it looks from one view.
Review the sequence on the physical sample
Renders can reveal overlaps, but a physical sample exposes reach, clearance, grip and gravity. Walk through the sequence with the actual parts and intended accessories. Photograph or annotate each meaningful checkpoint when the project needs a shared reference, while keeping the record factual about what was actually observed.
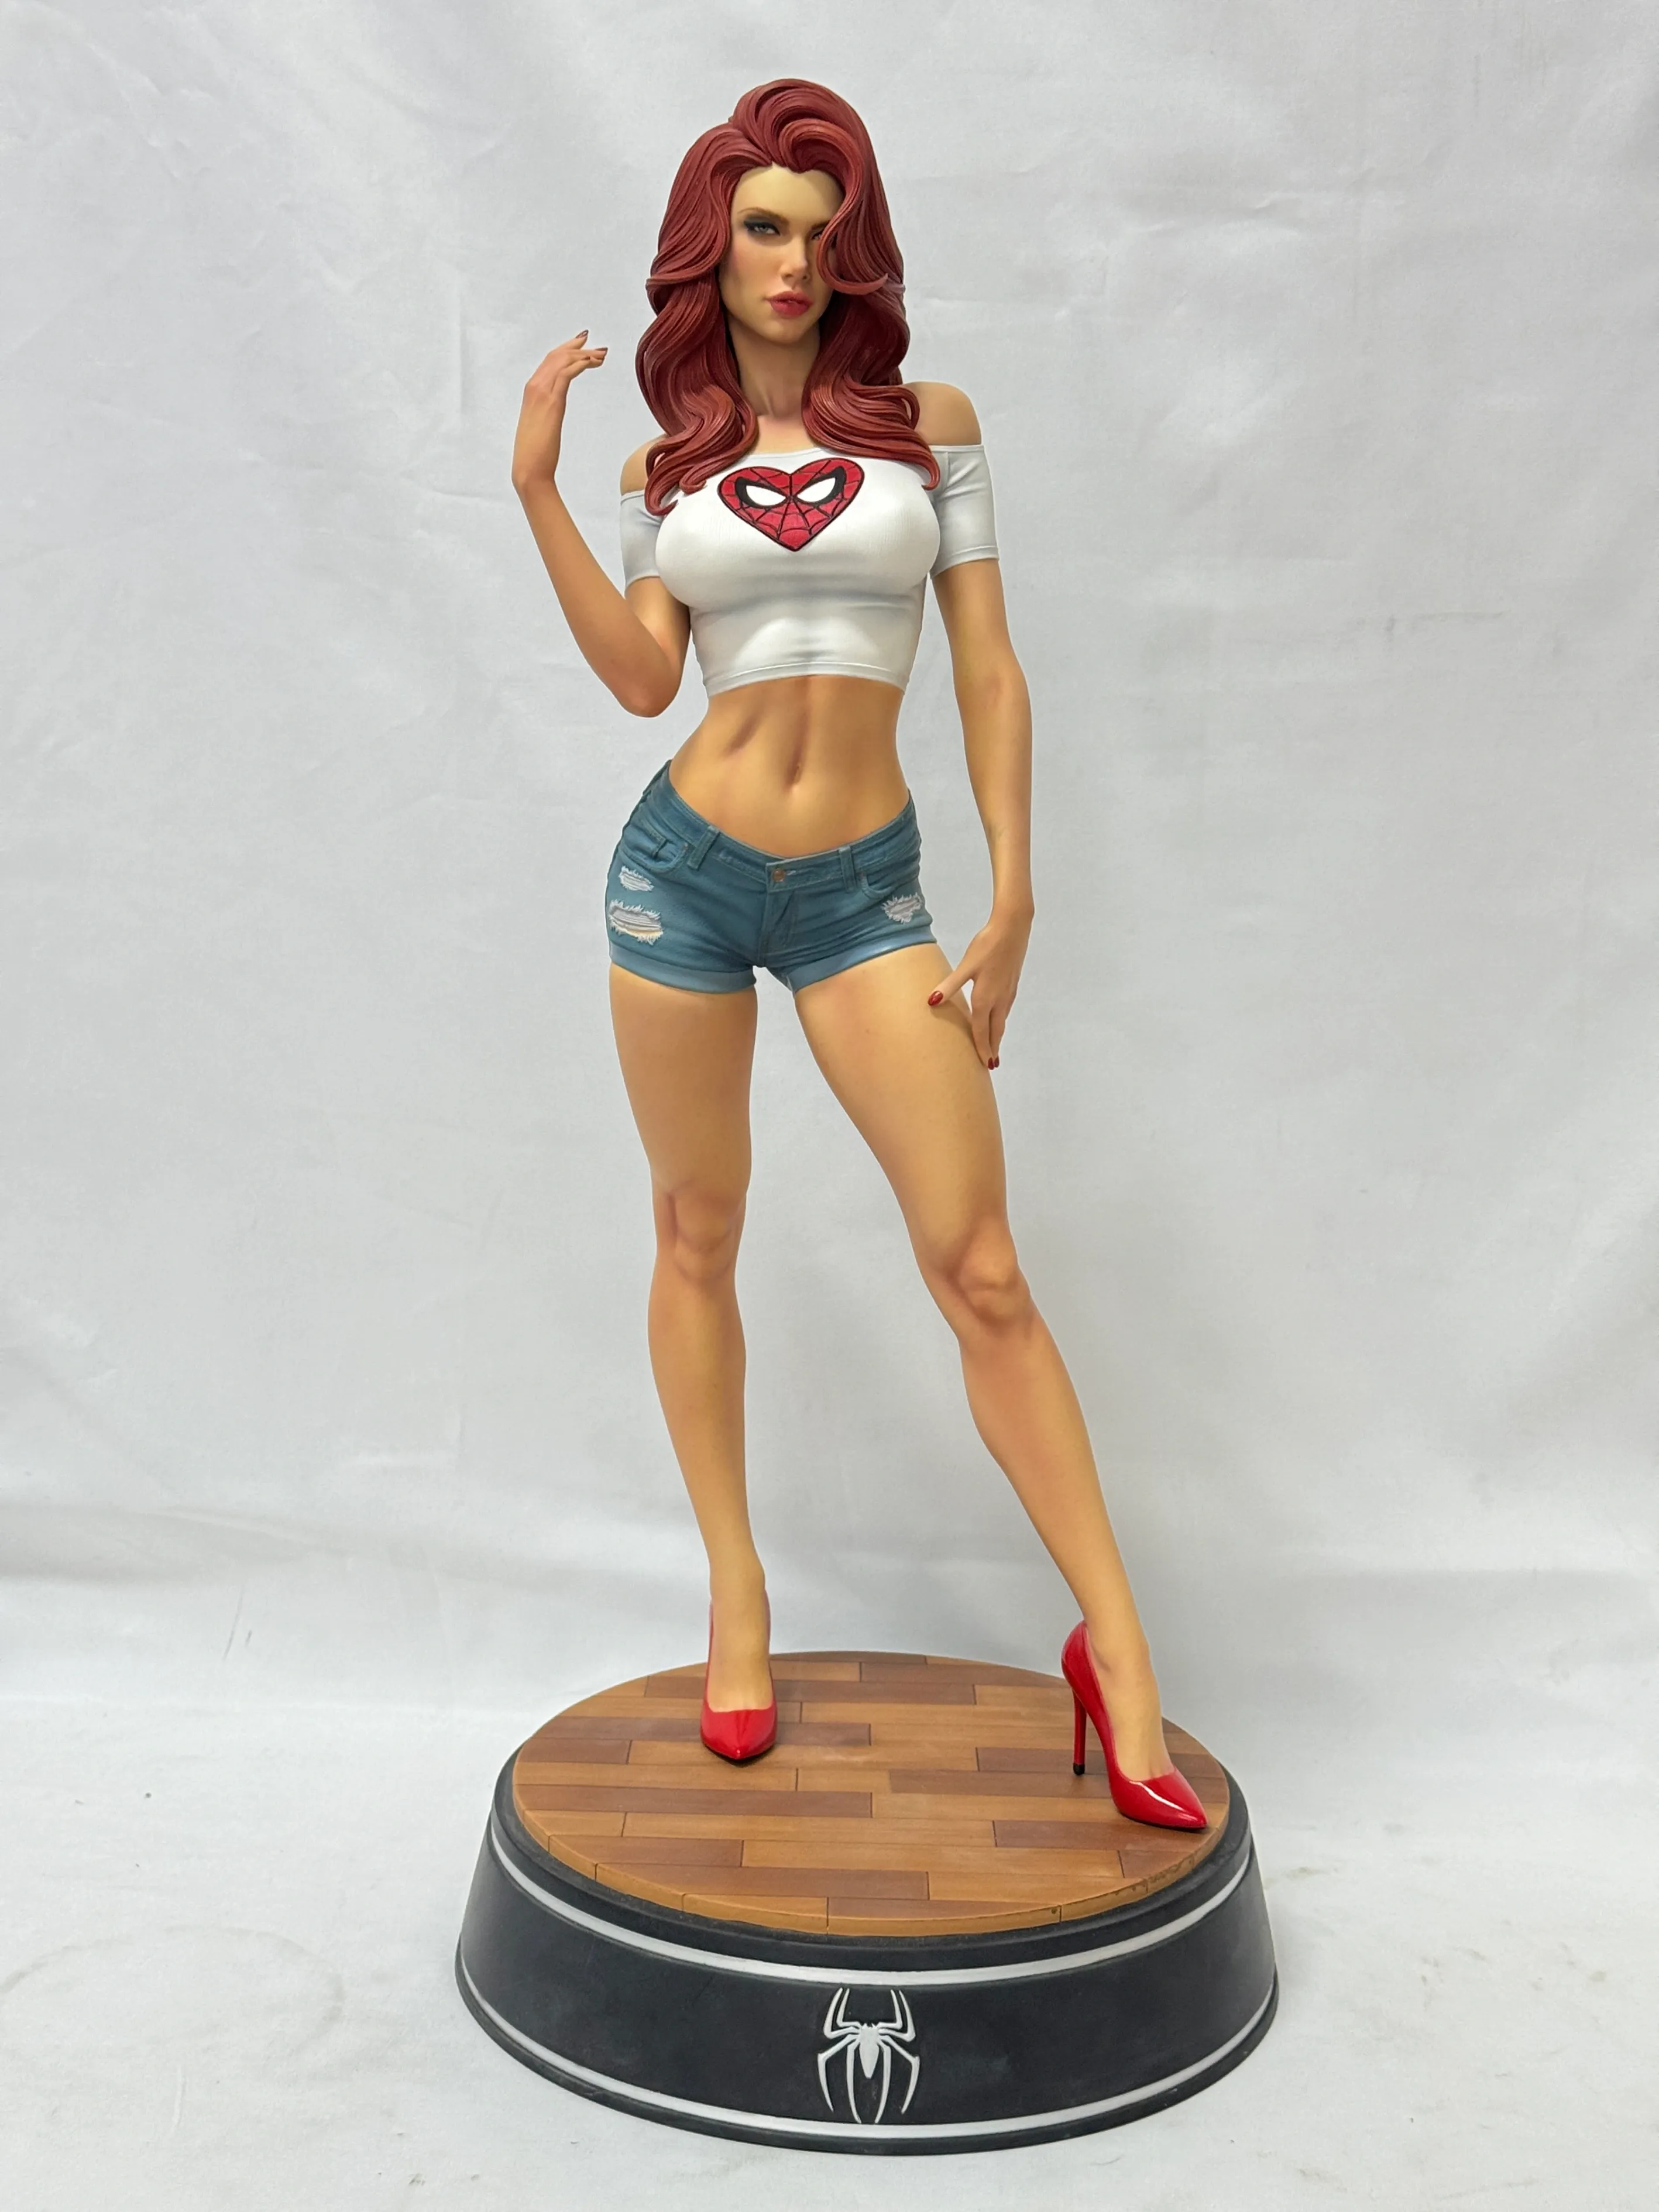
The accompanying photograph shows a finished standing character with extended hand accessories on a layered base. It illustrates a complete configuration and the relationships that an assembly plan must respect. It does not prove a particular assembly order, joint strength or production test result.
Frequently Asked Questions
Should every part be permanently fixed?
No. Permanence depends on the product promise, transport needs, inspection access and whether the owner is expected to install a component. Define each interface deliberately.
Is a clean render enough to approve the sequence?
No. Use the render to find visual conflicts, then review the intended order with a physical sample or an explicitly documented prototype condition.
Does an approved sequence prove the product is ready for mass production?
No. It settles one development question. Materials, tooling, paint, QC, packaging and any functional features still require their own evidence.