Oct 26, 2026
How to Plan Assembly Instructions for a Collectible Before Production
Plan collectible assembly instructions around unpacking order, safe handling, part identification, insertion direction and a checked production-intent sample.

Plan collectible assembly instructions before production by deciding what the collector must do after opening the box, then checking that sequence with a representative physical sample. The instructions should identify parts, show safe support points and make the intended connection direction clear without asking the collector to force, bend or guess.
A product can look straightforward when assembled on a development table and still be confusing when its components arrive in separate cavities. Instructions connect the engineering decision to the first display experience; they are not simply artwork added after the packaging is finished.
Separate factory assembly from collector assembly
Start with a list of connections. Mark which are permanent factory joints, which are fitted by the collector and which are intended to be exchanged later. A packing decision must not quietly turn a factory operation into a consumer operation.
For each collector-fitted part, confirm the intended insertion path, support method and final seated appearance. If the operation requires alignment tools, adhesive preparation or force that cannot be controlled comfortably by hand, review the construction rather than writing a more insistent instruction. A removable part is not automatically suitable for repeated swapping.
Design the sequence around the actual packed product
Draft the opening sequence while the tray structure is still being developed. Identify the main object, base, accessories and protective pieces in the order they become accessible. Explain which temporary protections should stay in place until the heavier parts are safely supported.
Where appropriate, position the base on a stable surface before adding projecting accessories. Avoid an instruction that makes someone turn an already assembled object upside down or balance it on a finished surface. The simplest-looking sequence on paper may be awkward once the size and weight of the physical pieces are considered.
Our development and production process includes prototyping, assembly and packaging considerations. Treat the instruction sequence as a shared input across those stages rather than a separate graphic-design exercise.
Make parts recognizable without relying on color alone
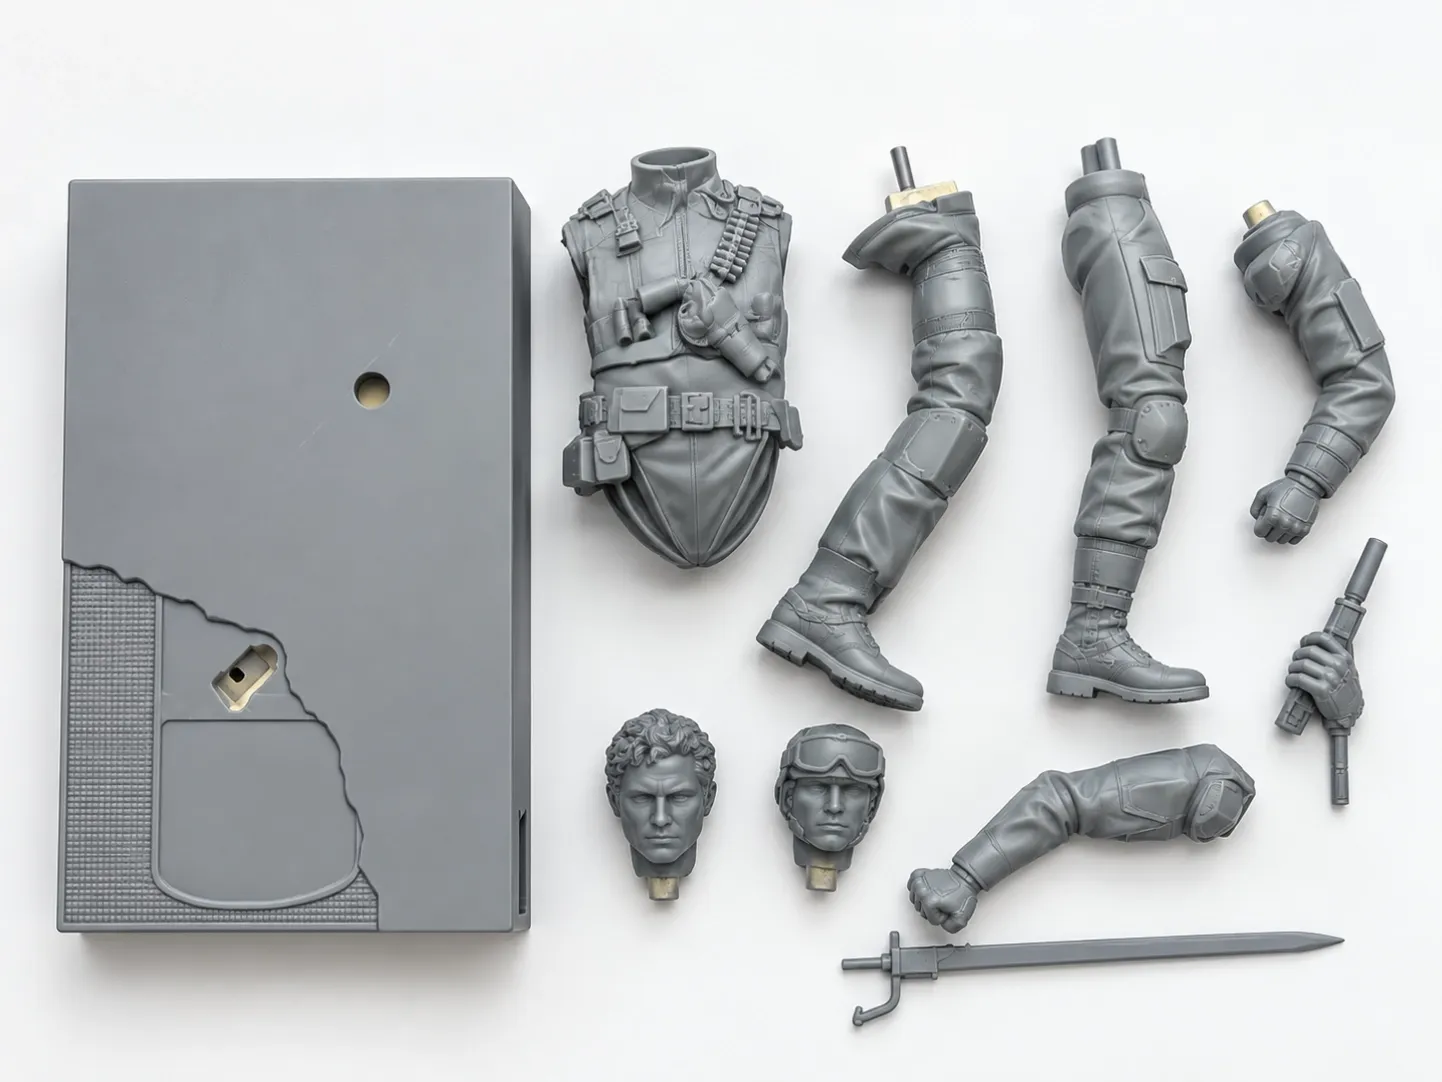
Use consistent part labels and views that reveal the distinguishing geometry. Two small hands, mirrored decorations or similar support pieces may be difficult to identify in a small printed photograph. A close view of the connection can be more useful than another overall beauty shot.
Match labels in the parts overview, tray diagram and assembly steps. If several versions use different accessories, identify the applicable version clearly. Do not show optional pieces as though they are included in every box. A shared instruction sheet saves duplication only if its branching remains easy to follow.
Show where to hold, not only where to connect
A direction arrow explains movement but not how the object should be supported. Identify robust handling areas and avoid encouraging pressure on fingers, hair, narrow props, translucent tips or painted projections. The exact safe points depend on the approved construction, not on a generic hand symbol.
Show the connection before it is obscured by the adjoining piece. State whether the motion is straight, angled or rotational only after that behavior has been physically confirmed. If a part does not seat as expected, the instruction should tell the collector to stop and check orientation; it should not prescribe extra force as a universal remedy.
Use drawings and photographs for different jobs
A clear line drawing can remove background distractions and expose the insertion path. A photograph can show the real orientation, surface and seated appearance. Choose the medium that explains the operation, and keep it consistent enough that readers do not have to reinterpret the same part at every step.
Never add an internal pin, magnet or locking feature to a diagram merely because it seems plausible. Illustration must follow the approved engineering. If the final product differs from the photographed sample, update the image and instruction together. The finished statue pictured here illustrates display complexity, not a verified assembly sequence for that particular product.
Validate the instructions without verbal coaching
Give the draft, packed sample and applicable accessories to a reviewer who did not write the instructions. Observe where they hesitate, choose a wrong orientation or reach for a fragile feature. The useful question is whether the document supports the intended task without an engineer standing nearby.
Record the unclear step and revise the view, wording, part label or physical arrangement. Check the revised sequence again with production-intent parts and finishes. A bare prototype may fit differently from a painted component, while a loose mock-up tray may conceal an access problem in the final insert.
This review is not a substitute for product-specific safety assessment or required testing. It is a practical usability check of the instructions against the approved object and packaging.
Release the sheet with the correct revision
Link the instruction revision to the product version, parts list and packaging artwork. Changes to an accessory, connection or tray can invalidate an otherwise polished sheet. Confirm language, readable print size, arrow contrast and the final printed orientation before releasing files for production.
Keep approved artwork and reference photos together so later production runs do not mix an old diagram with a new accessory. For a project with several display configurations, document which combinations were actually reviewed. Browse our collectible formats, or contact us to discuss the assembly and packaging information your design will need.
FAQs
When should assembly instructions be drafted?
Draft them once the proposed part split and packing arrangement are understandable, then revise them as physical samples confirm fit, handling and access. Do not wait until printed packaging is already locked.
Can one sheet cover several collectible versions?
Yes, when common steps remain clear and version-specific parts are identified explicitly. Separate sheets may be more practical when the sequence or included accessories differs substantially.
Are assembly instructions needed for a fully assembled collectible?
An assembly sequence may not be needed, but removal from the tray, temporary protection, display support or accessory placement can still require clear handling guidance.