Oct 24, 2026
What Should Be Checked Before Adhesive Cures During Collectible Assembly?
Check alignment, seating, adhesive squeeze-out, finish protection and fixture support before adhesive cures during collectible assembly.
The parts should be checked for alignment, full seating, controlled adhesive placement, finish protection and stable support before the adhesive cures. This is the last practical moment to correct a shifted connection or remove excess adhesive without turning a small assembly issue into a visible repair.
Treat the cure window as an inspection stage
Applying adhesive is not the end of an assembly step. The connection still has to reach its intended position and remain there while the adhesive develops enough strength to hold it.
The available correction time depends on the adhesive, material, amount applied, temperature and joint design. A production instruction therefore needs more than a generic “glue here” note. It should identify the joining surfaces, intended orientation, seating reference, hold method and the point at which the assembly may be moved.
This check belongs inside the production process, not only at final QC. Once a joint has cured, correcting it can risk the sculpt, paint or surrounding parts.
Confirm orientation before judging the joint
Some parts can enter a connection in more than one plausible position. A hand, strap, small armor plate or scenic component may look seated while still being rotated or angled incorrectly.
The inspector needs a reliable reference: an approved sample, marked fixture, alignment feature or clear view showing where the part should sit relative to the rest of the collectible. The useful question is not only “Is it attached?” but “Is it attached in the approved orientation?”
Check the complete silhouette where practical. A small angular error at the joint can become much more obvious at the tip of a long accessory.
Verify full seating without forcing the finish
A part that stops short can leave an open seam, change the pose or reduce the designed contact area. The cause may be trapped air, excess adhesive, paint buildup, a hidden obstruction or an incorrect insertion path.
Forcing the part is not a neutral correction. It can polish a matte surface, chip an edge or stress a projecting detail. The assembly instruction should identify safe pressure points and any surface that must not be used as a grip.
When the connection is intentionally shadowed or textured, confirm seating from the defined reference surfaces rather than expecting every seam to look identical.
Control adhesive squeeze-out while cleanup is accessible
More adhesive does not automatically create a better result. Excess can move into a visible seam, stain a porous surface, alter sheen or interfere with a neighboring feature.
The in-process check should look around the full accessible perimeter of the joint. Any cleanup method needs to be compatible with the actual paint, coating and material; a method that is safe on bare resin may not be safe on a finished surface.
The goal is controlled placement, not a cosmetic repair after cure. If repeated squeeze-out appears in the same location, review the amount, application point and joint clearance instead of treating every unit as an isolated cleanup problem.
Hold the assembly in its approved position
A correctly seated part can still drift while curing. Weight, cable tension, a soft component or an unbalanced projection may pull it away from the intended position.
A fixture or temporary support should hold the assembly without marking painted surfaces or deforming flexible parts. Its contact points, pressure and removal direction matter. The assembly must also remain identifiable so that different options or left/right parts are not mixed during the hold period.
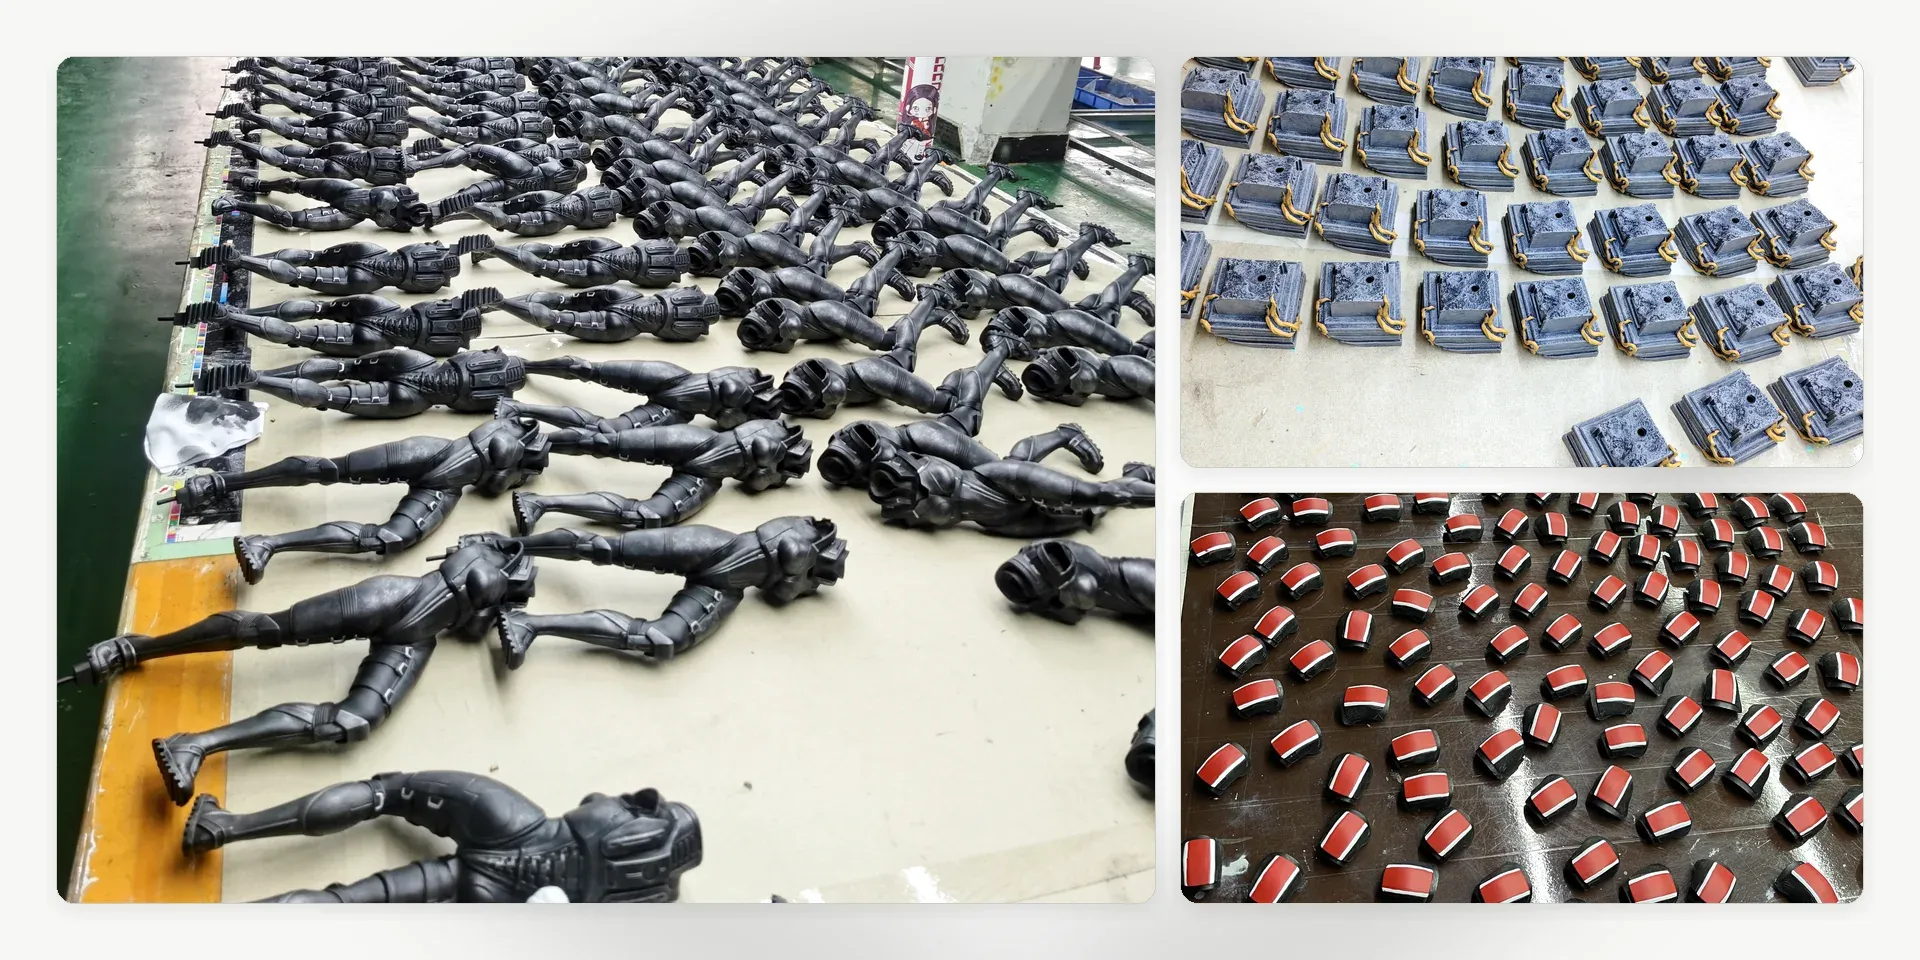
This is especially important for the mixed-material and functional work shown in our collectible capabilities, where a joined part may interact with fabric, wiring or a mechanical feature.
Release the part only after the defined checkpoint
Visual alignment immediately after joining does not prove that the connection is ready to move. The work instruction should define when the support can be removed and what must be rechecked at that point.
Typical observations include whether the part has shifted, whether the seam changed, whether adhesive migrated and whether the assembly can proceed without loading the new joint. These are observable conditions; they should not be replaced by an assumed cure based only on the clock.
If the next assembly step hides the connection, complete and record the check before access is lost.
Build feedback into the assembly method
Repeated issues during this cure-stage inspection are useful process feedback. A recurring gap may point to part variation or paint allowance. Frequent squeeze-out may show that the specified amount is difficult to control. A fixture that needs constant manual correction may not be locating the part clearly enough.
The purpose of the check is not to add an isolated inspection point. It is to stabilize the assembly method while the causes are still visible. For a project with sensitive finishes or difficult joining sequences, contact us with the assembly views and intended materials so the joining and inspection plan can be reviewed together.
FAQs
Should adhesive strength be tested during this check?
This stage confirms the assembly condition before and during cure. Any strength or durability requirement should use a defined method at the appropriate later stage; pulling on a fresh joint can disturb a correct assembly.
Can final QC catch a part that shifted during curing?
It may catch a visible shift, but correction can be much harder after cure or after surrounding parts hide the joint. The earlier checkpoint protects both access and finish quality.
What should a buyer approve for adhesive assembly?
Approve the joining surfaces, orientation reference, adhesive location, safe handling points, support method, cleanup limits and the condition required before the assembly moves to the next step.