Oct 19, 2026
How Should Paint Edges Be Checked on a Collectible Sample?
Check collectible paint edges for correct placement, crisp or blended boundaries, overspray, touch-up quality and the finished assembled appearance.
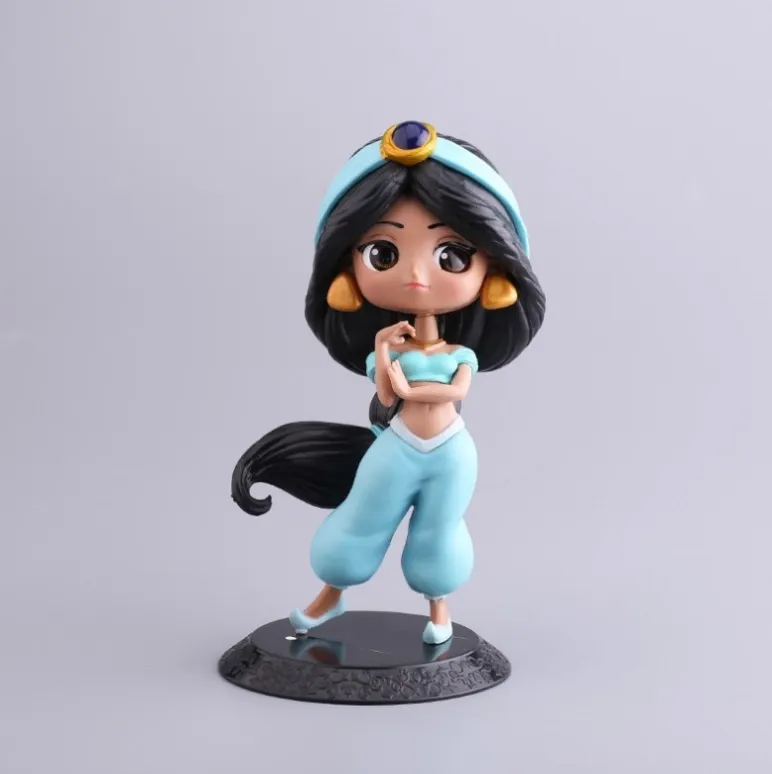
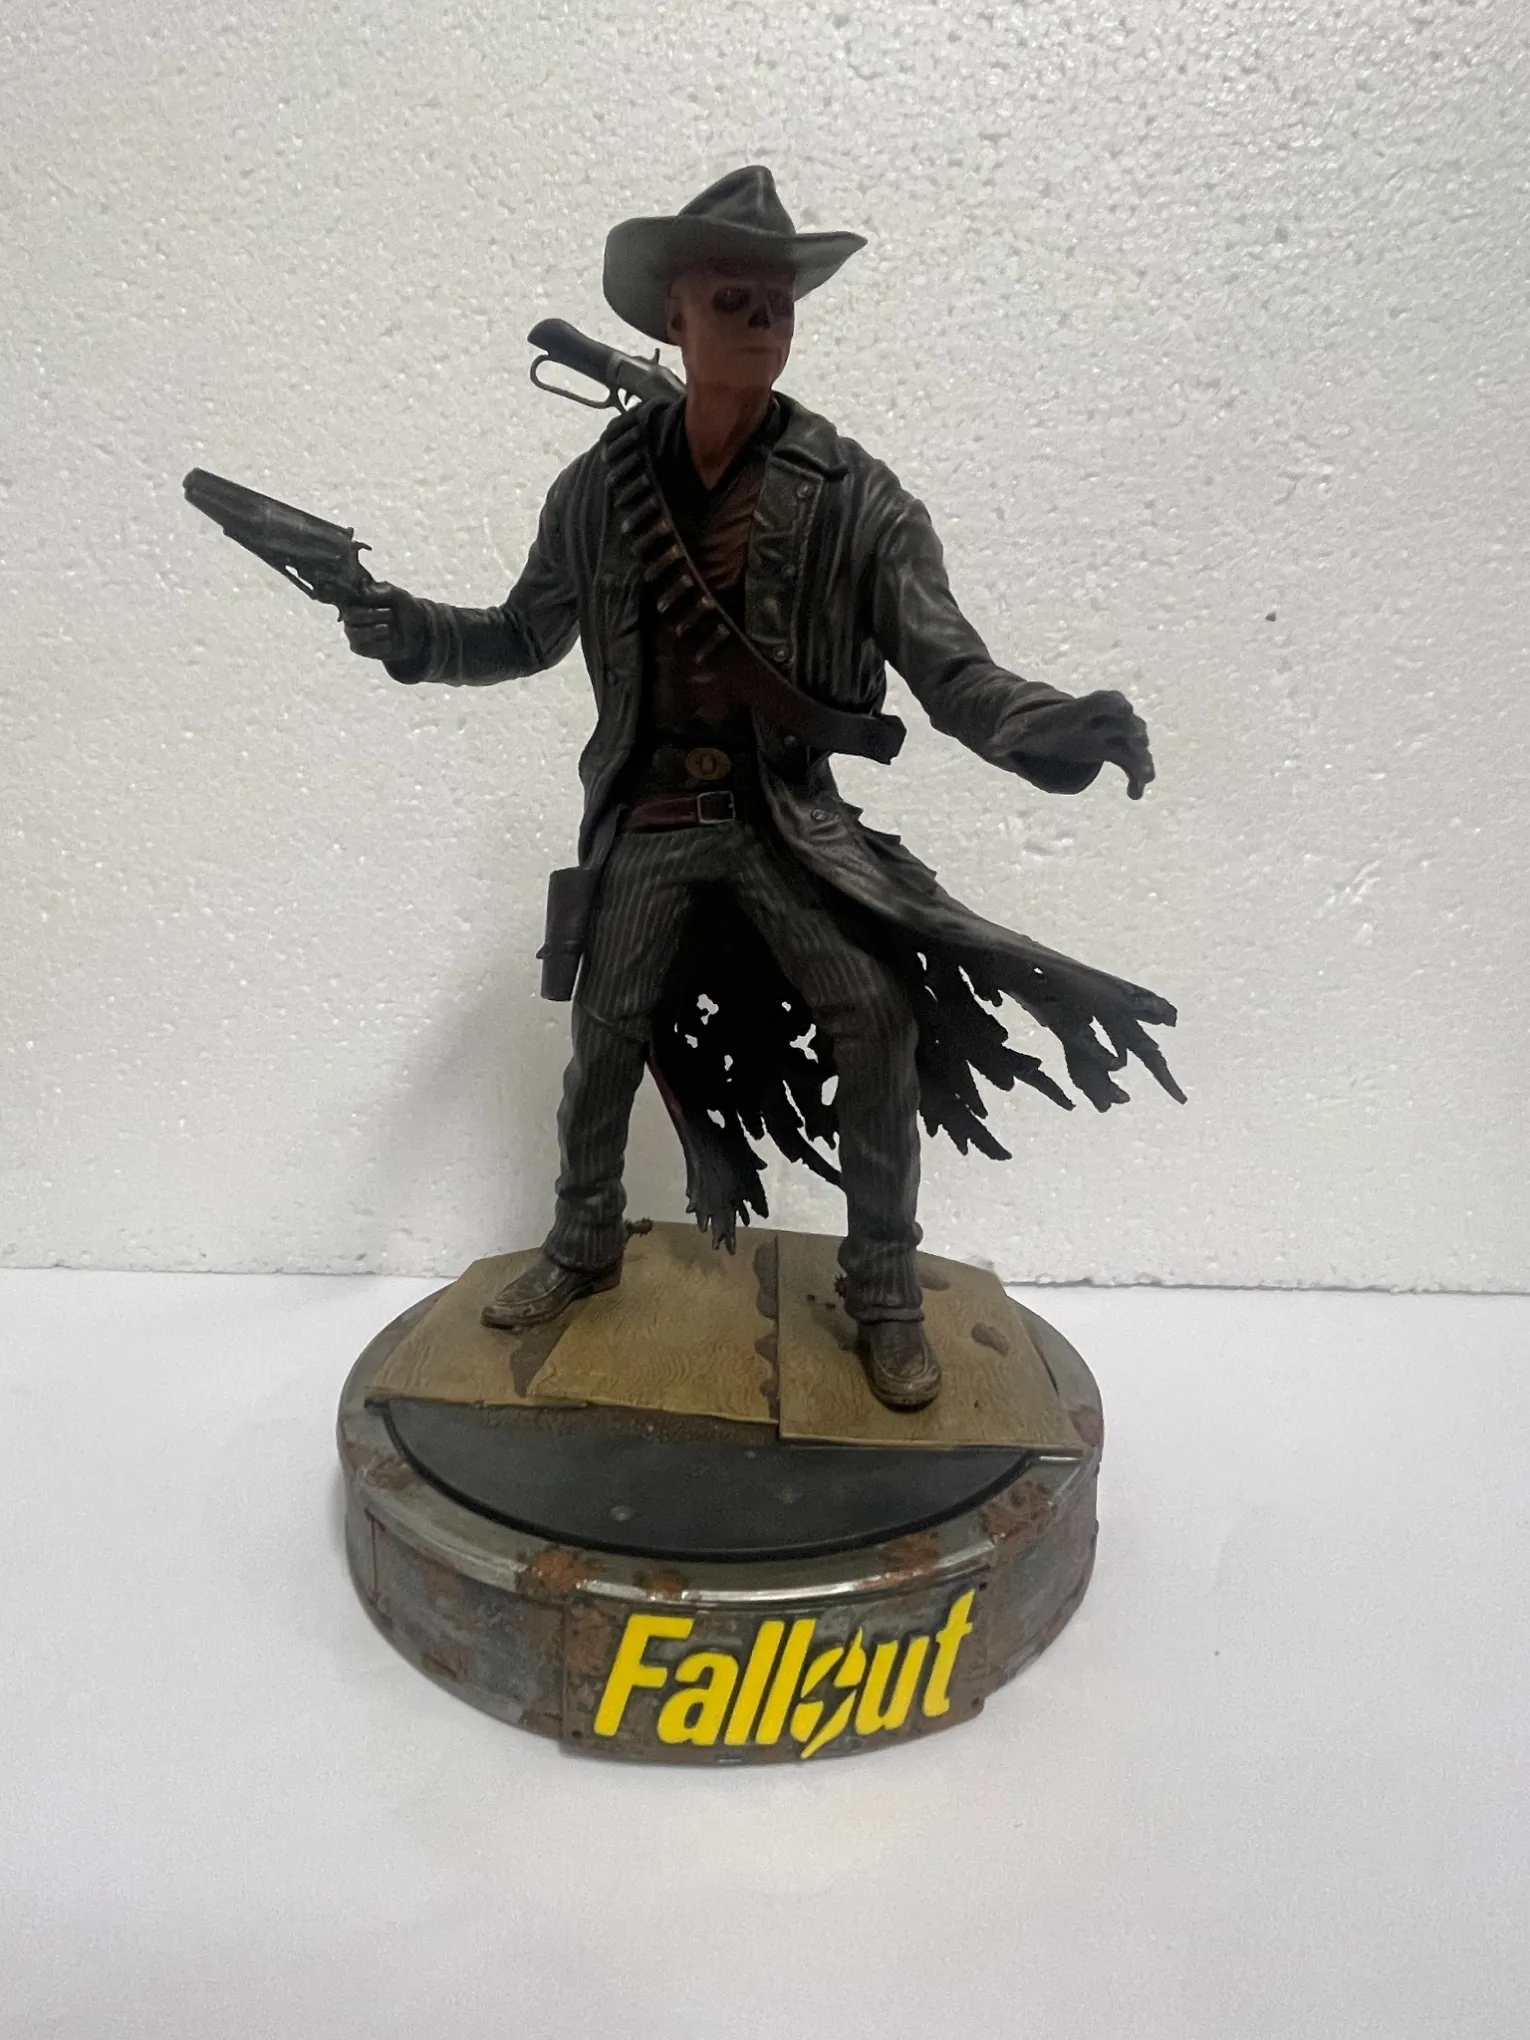
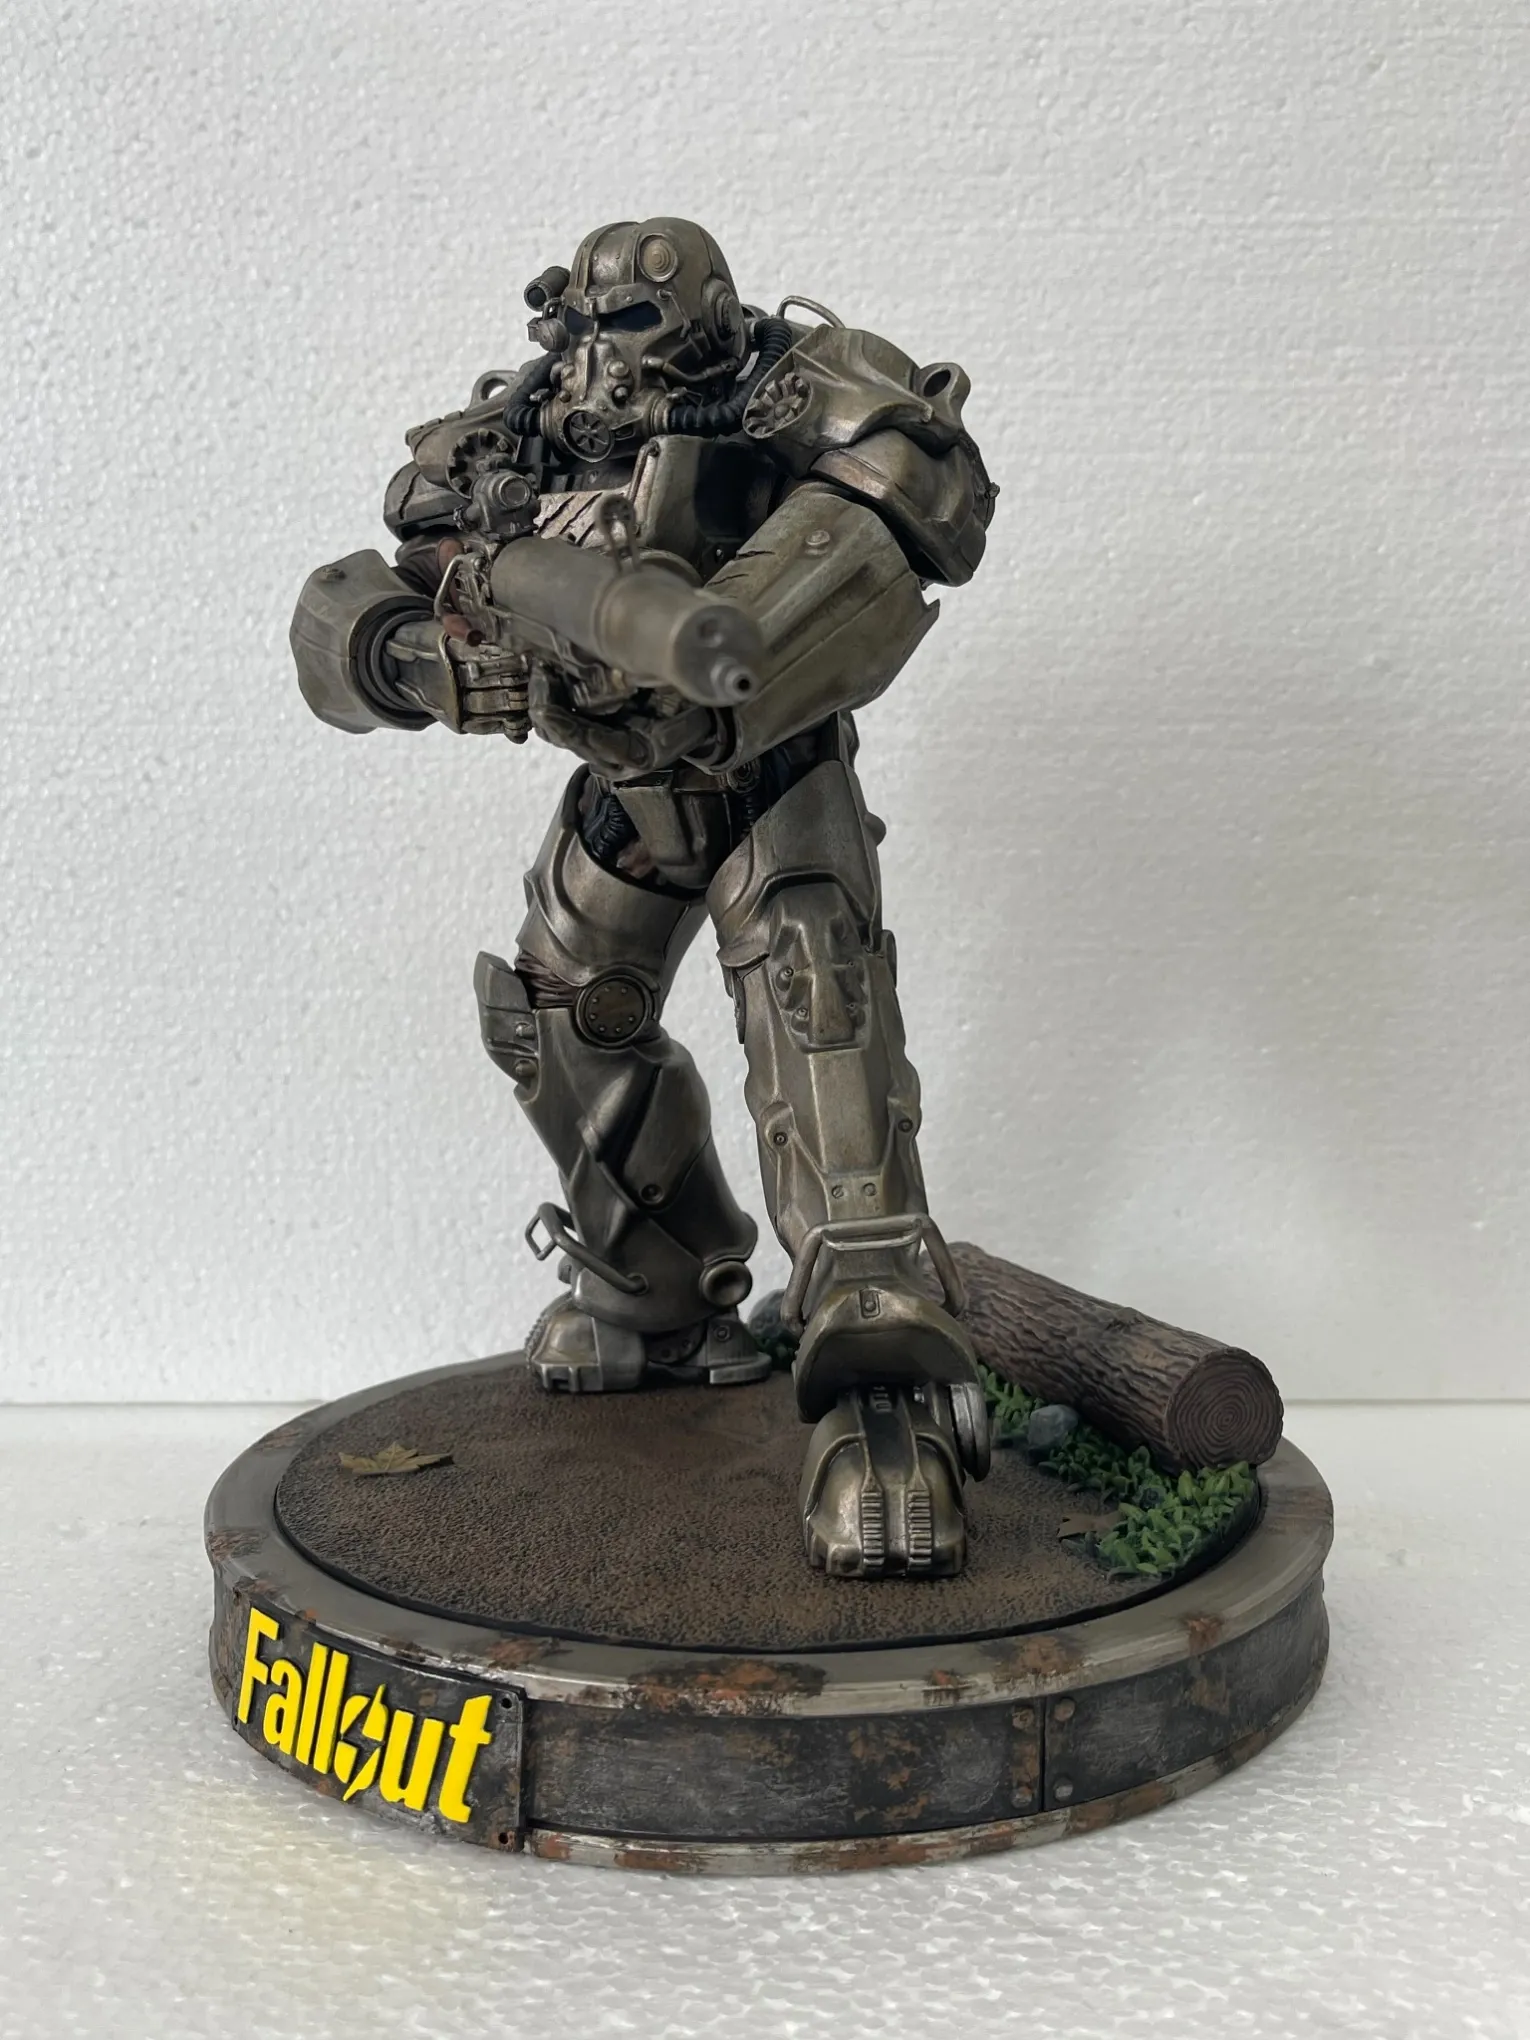
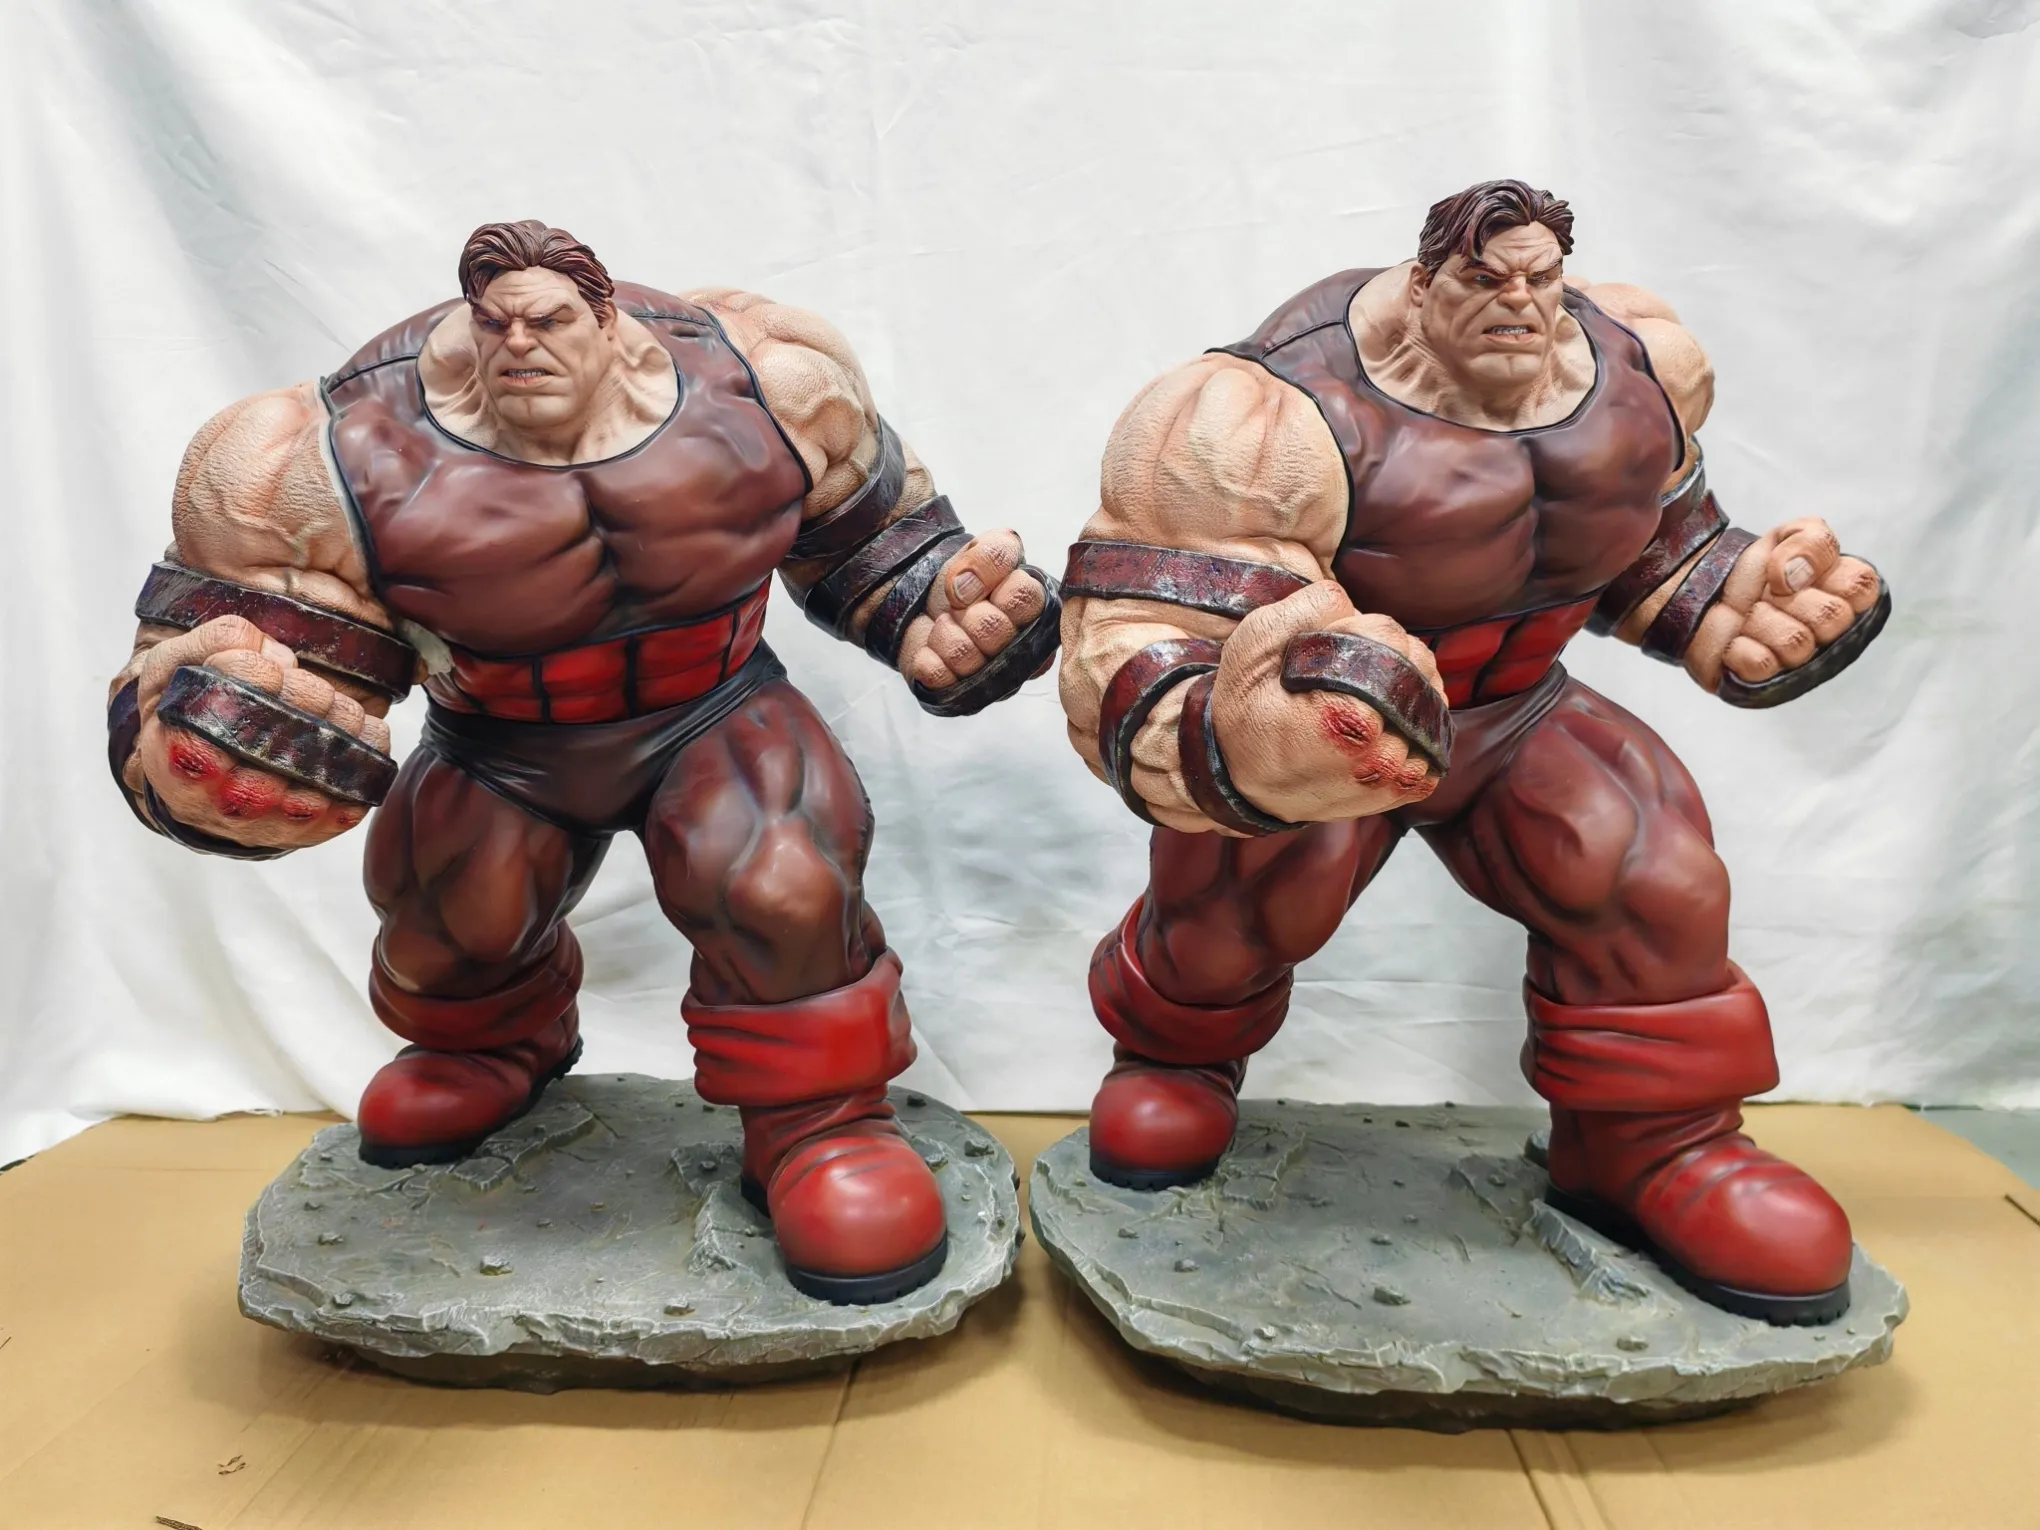
Check paint edges on a collectible sample against the intended color layout, then review their placement, sharpness and appearance on the finished assembly. Look for color crossing into adjacent areas, uneven line widths, overspray and touch-ups that change the surface. Decide which boundaries should be crisp and which are intentional blends before calling an edge acceptable.
A clean-looking photograph is useful for locating a question, but approval needs consistent views and a representative physical sample. A boundary can look precise from the front while drifting around a curve or disappearing behind an assembled part.
Define what each boundary is meant to do
Separate hard color breaks from shading, blush, weathering and other transitions. A hair-to-skin boundary may need a clear contour; a cheek shadow usually should not read as a cut line. Asking for every transition to become sharper can damage the intended finish.
Mark the critical areas on the current artwork or sample views. Include the start and end of narrow trims, the intended width of a stripe and where a color should stop inside a recess. A sculpted groove can guide a boundary, but it does not automatically define the approved paint position.
Check placement before judging neatness
An edge can be smooth and still be in the wrong place. Compare its position with the sculpt and approved layout before focusing on tiny irregularities.
For facial features, check the relationship between the eyes, brows, lips and surrounding sculpt. Review paired features together: a small difference in placement can change the expression even when each individual line looks tidy. Keep deliberate asymmetry where the design calls for it.
For clothing and accessories, follow the boundary along its full length. Look for a trim that widens at a corner, a color break that moves away from a raised detail, or a small unpainted strip between intended adjoining colors.
Turn the sample and inspect difficult transitions
Review curves, undercuts, hair tips, fingers, collars and recessed details from more than one direction. A front view may hide a ragged return edge or a patch of color on an adjacent surface.
Distinguish overspray, where unintended paint appears beyond the target area, from a soft transition that belongs to the artwork. Also check whether a dark recess is deliberate shading or simply an area the intended color has not reached.
The painting approach may combine masking and hand work according to access, geometry and the required effect. Review the result on the actual shape rather than prescribing one method for every boundary. Mancheng's collectible manufacturing capabilities include painting and finishing across figures, statues and mixed-material products.
Review the finished surface and assembled appearance
Check edges after the intended finishing stages. A change in sheen can make a boundary look stronger or weaker, while a raised paint ridge can become conspicuous under angled light.
Inspect corrections for a different gloss, visible brush texture or a widening contour. A touch-up that hides one stray mark but changes the surrounding finish is not automatically an acceptable repair.
Use the intended assembly for the appearance review. Parts painted separately may leave a visible mismatch where they meet, or a boundary may become difficult to inspect once an accessory is attached. Identify those areas early so they can also be checked while accessible.
Make the acceptance reference usable
Begin at the agreed display distance, then use closer inspection for critical details. Keep lighting, viewing angle and sample orientation consistent when comparing revisions. Highly enlarged phone photographs can help locate a mark, but they should not silently become the acceptance standard.
Record the reference sample revision and the specific areas that need attention. If numerical limits are necessary, agree them for the feature, scale and inspection conditions. A universal allowance borrowed from another product does not explain whether an eye line or decorative trim preserves the intended appearance.
The development and production process should connect the appearance reference with the checks used during painting, assembly and final review.
Give feedback that identifies the actual correction
Replace “clean up the paint” with a marked location, the observed issue and the intended result. For example, identify a trim that crosses its sculpted border and show where that border should remain visible.
Keep color, position, edge quality and sheen as separate comments. This helps avoid a painter changing an approved color while trying to solve a placement issue. After correction, recheck the whole local area and the assembled appearance.
Teams preparing a paint approval can share their artwork and sample requirements so the important boundaries are clear before the finish is released.
Frequently asked questions
Should every paint edge be perfectly sharp?
No. Hard color breaks and intentional gradients serve different purposes. Judge each against the approved design.
Can close-up photographs replace the physical sample?
No. They help communicate locations, but scale, sheen and viewing angle also need a representative sample.
Does a molded groove automatically define the paint boundary?
No. It can provide a useful guide, but the intended color position must still be agreed.