Oct 19, 2026
How to Plan Packaging Contact Points for a Painted Collectible
Plan collectible packaging contact points around load-bearing areas, fragile projections, painted finishes, closure pressure and safe unpacking.
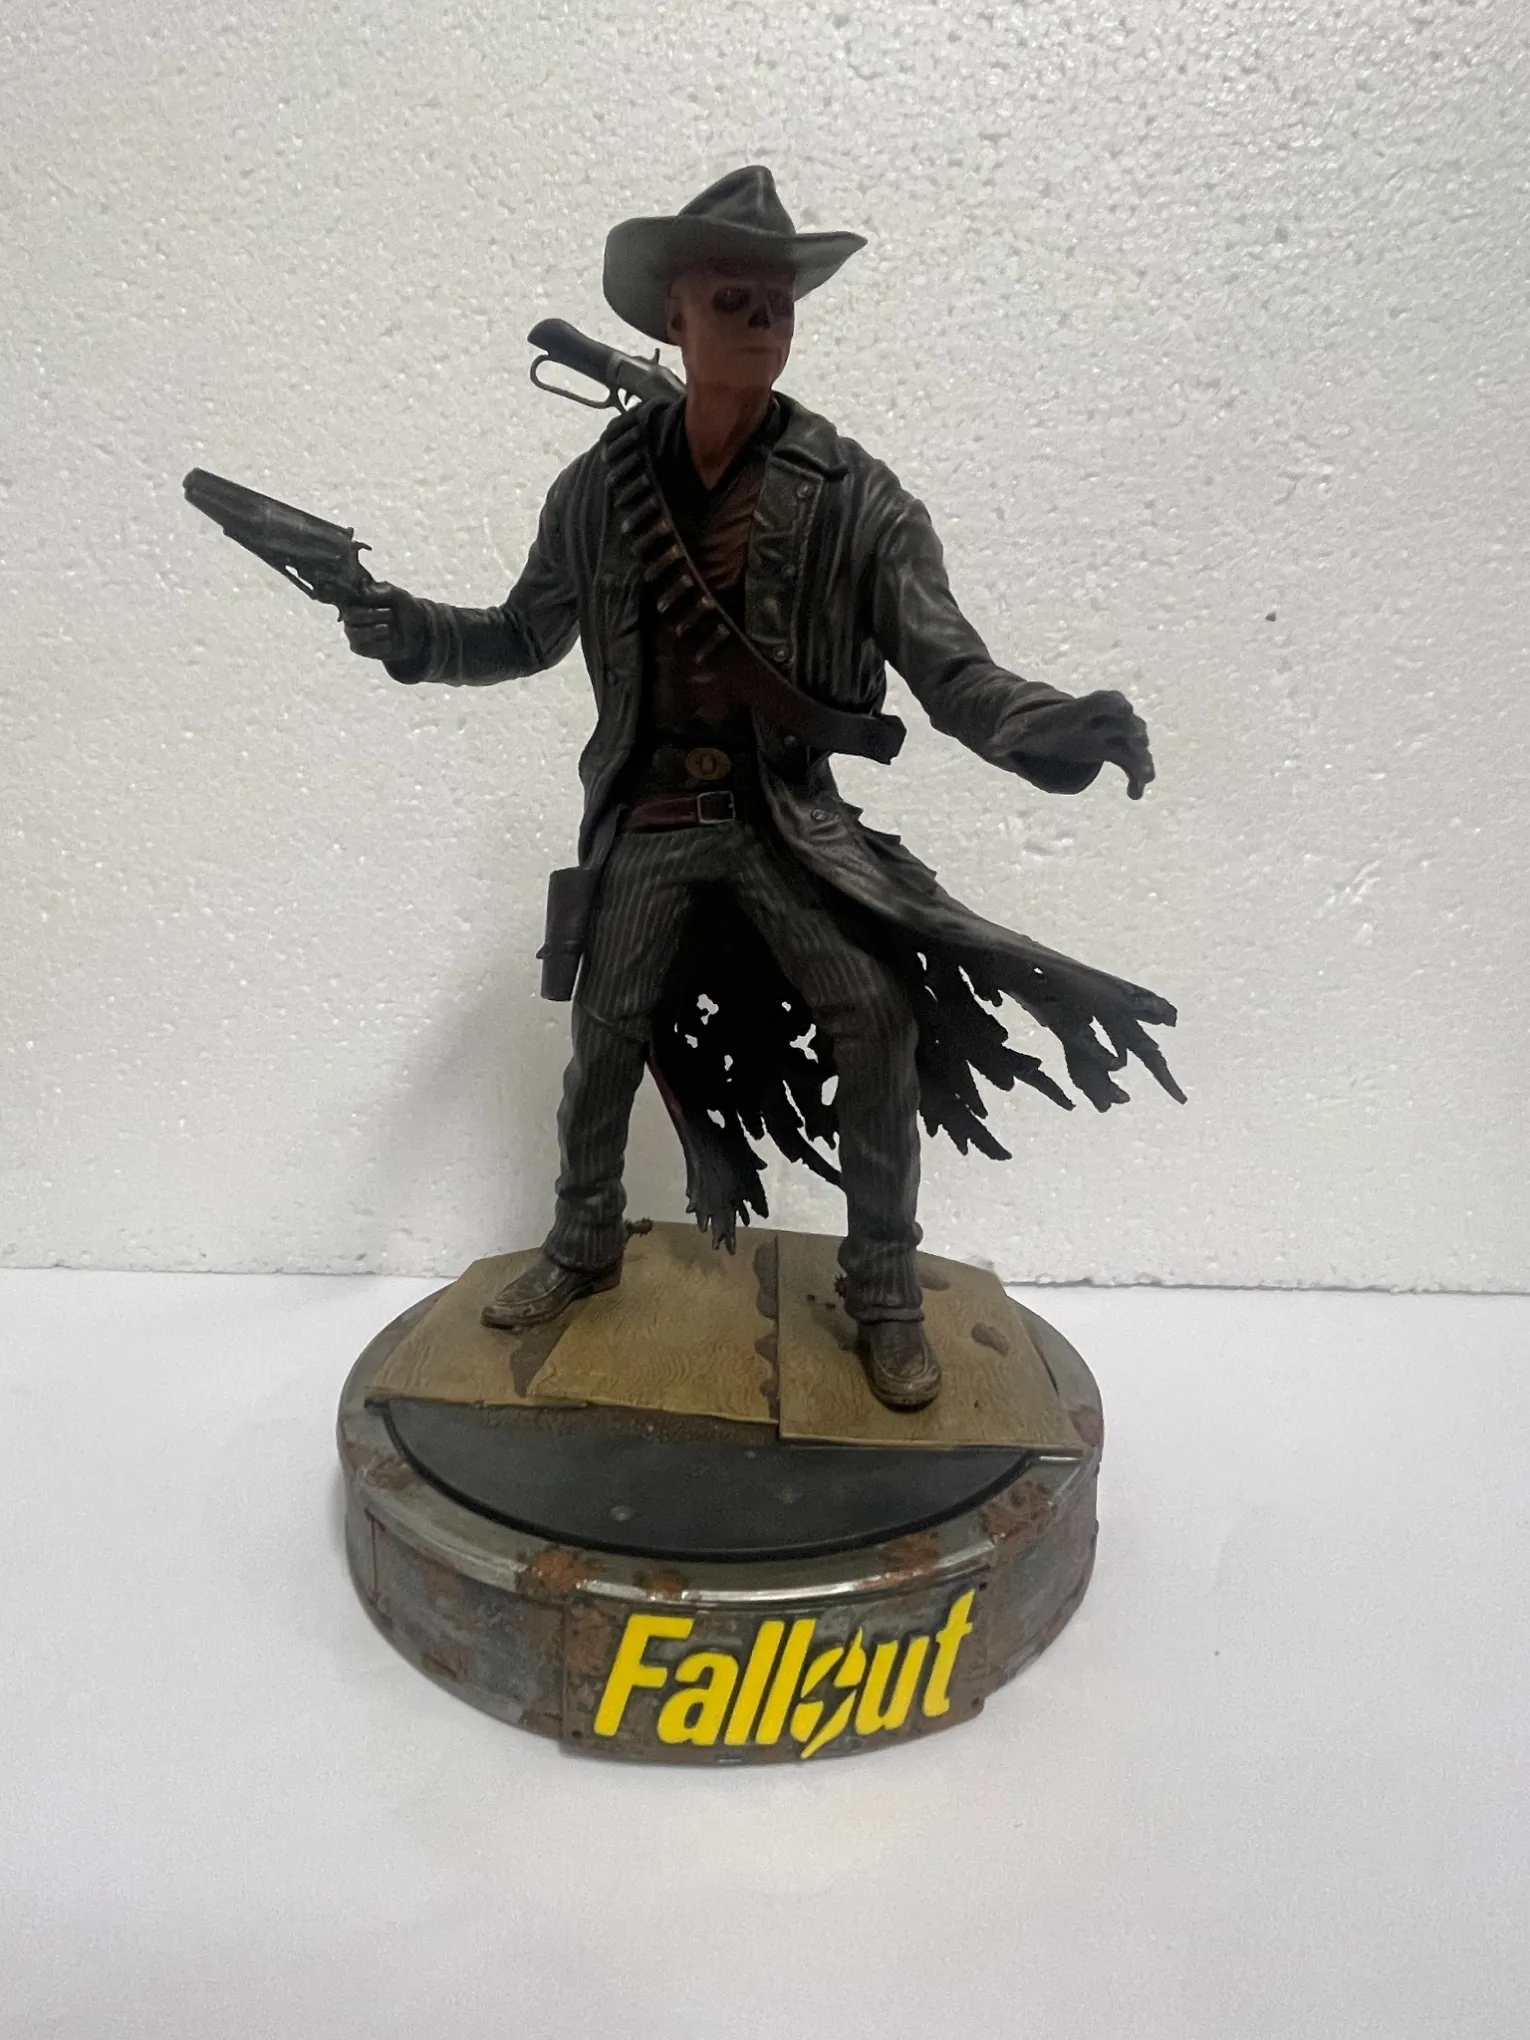
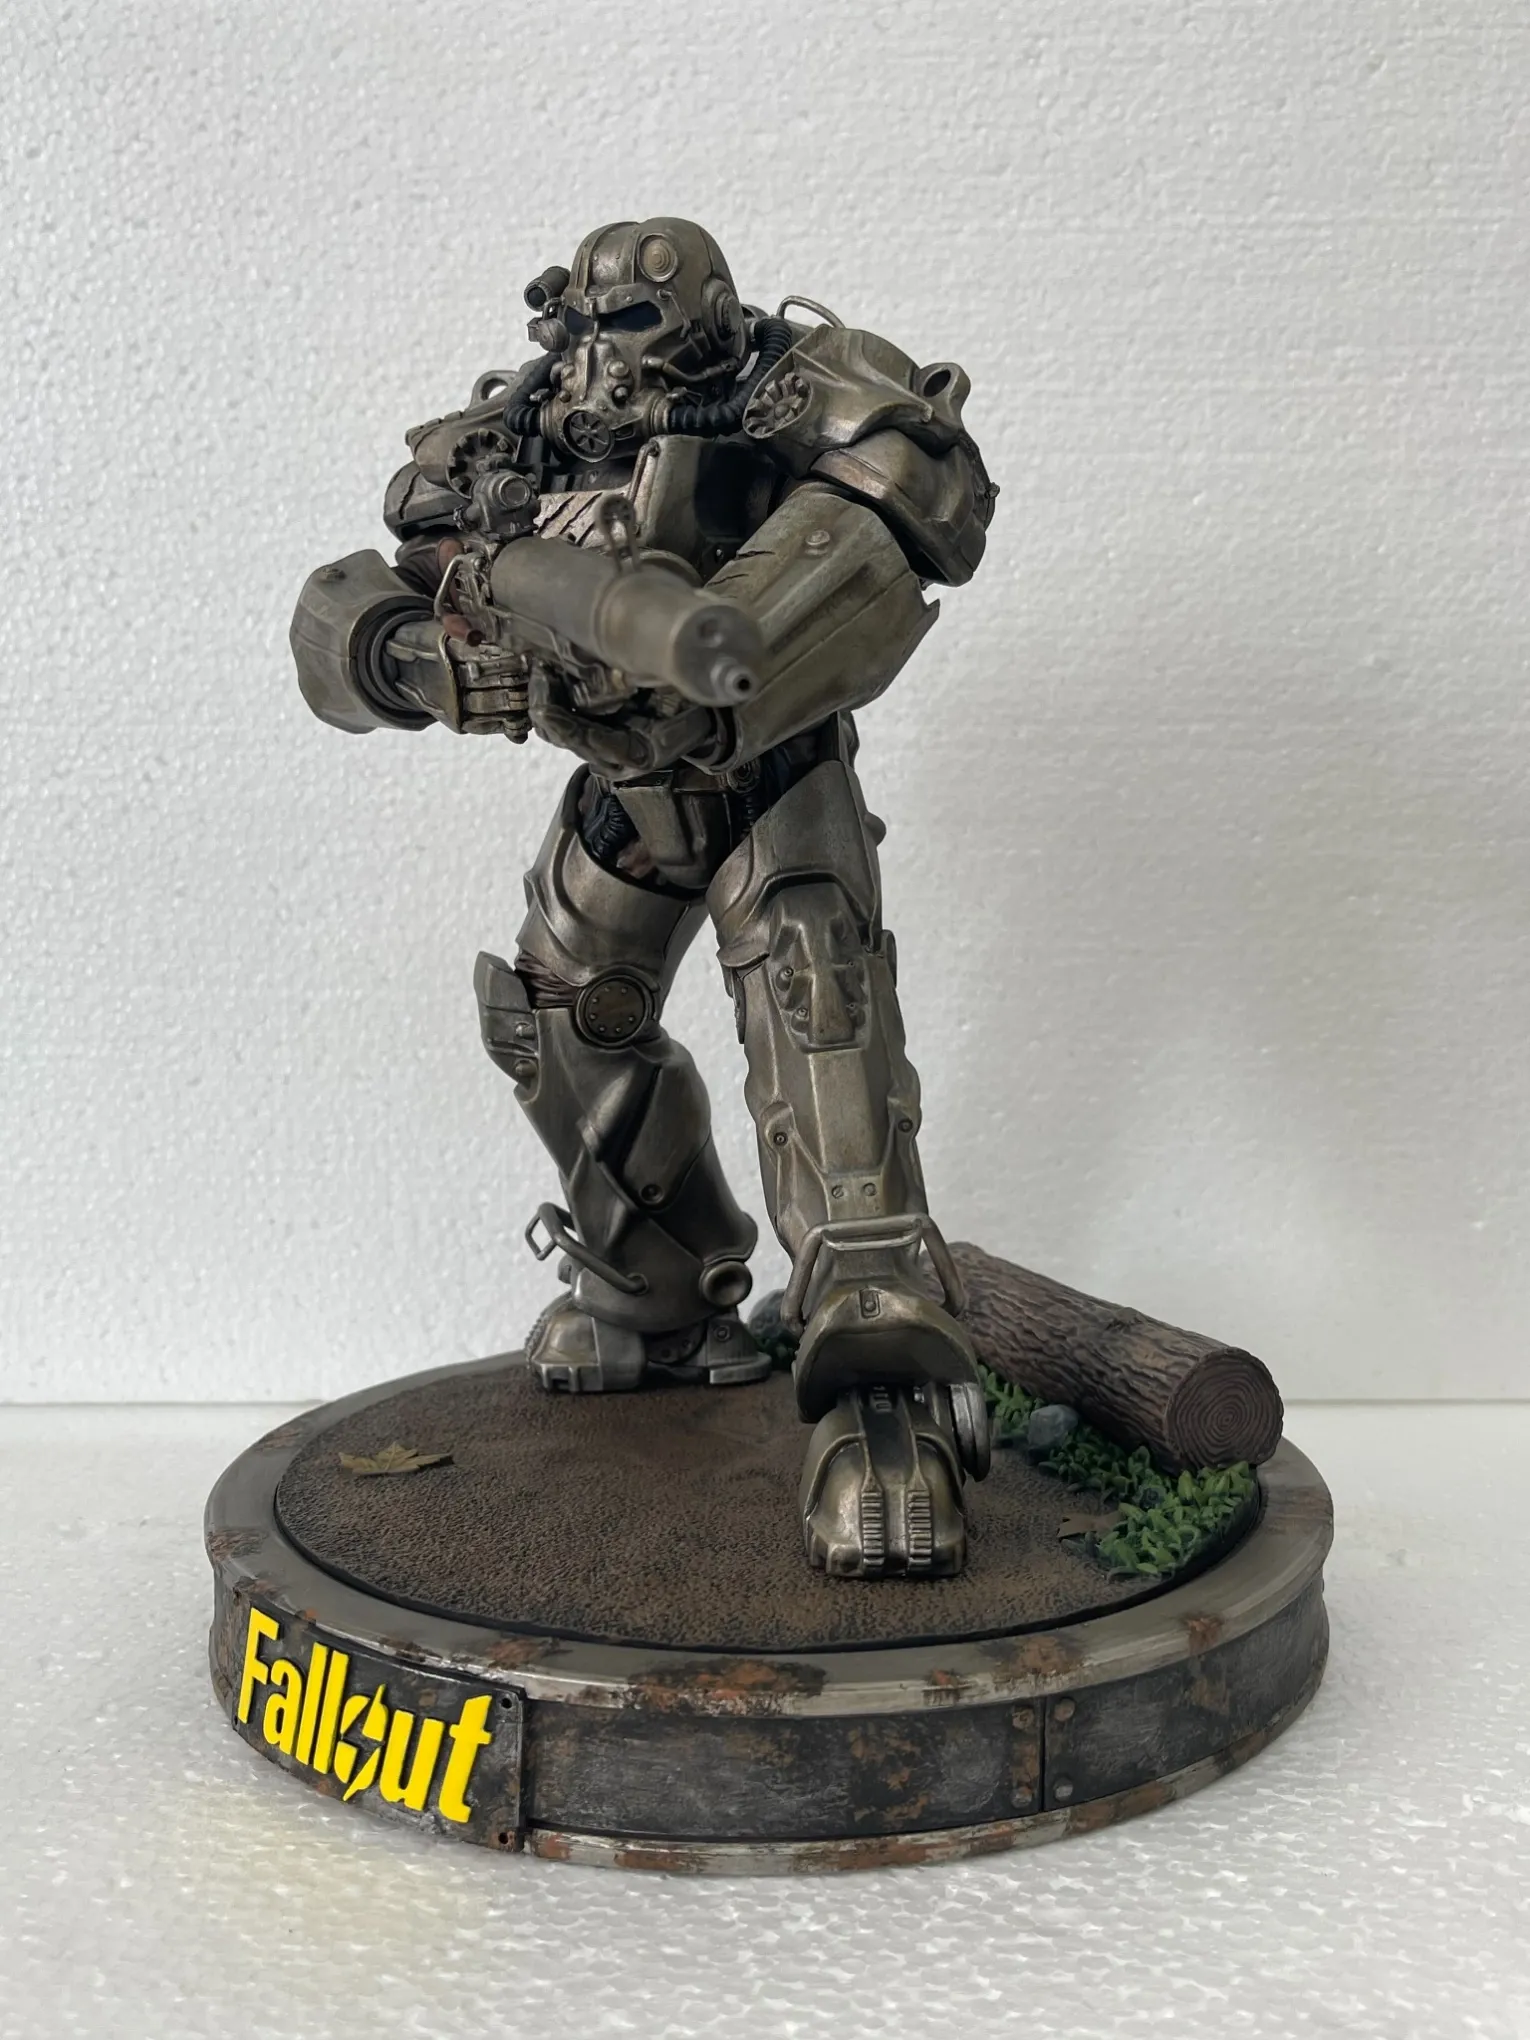
Plan collectible packaging contact points by identifying which parts can carry the packed product's weight, which finished surfaces may touch protective materials, and which projections need clearance. Define those zones on the current assembly before choosing an insert. A cavity that follows the silhouette closely is not automatically a safe support arrangement.
The packaging brief should explain how the product is restrained in every relevant direction and how it can be removed without pulling on a weak feature. Treat this as a design decision while the product and pack can still be reviewed together, rather than leaving contact placement to the final packing stage.
Start with the packed configuration, not the display pose
Confirm exactly what enters the pack: an assembled statue, a figure separated from its base, or components with accessories packed individually. Record the product revision and intended orientation. A connection that carries weight comfortably in an upright display may be loaded differently when the same product lies on its side.
Mark the heavier masses and their route into the packaging. Identify which components remain connected during shipment and which joints could receive force if one part moves while another is restrained. This review is about the packed assembly, not simply whether the finished collectible stands securely.
Separating a projecting accessory may reduce its exposure, but it introduces another cavity, a retained connection and a collector assembly step. Compare the complete experience before deciding.
Map support, restraint and no-contact areas separately
An annotated view can distinguish areas proposed for bearing weight, areas intended to limit movement, and areas that must remain clear. Add notes where contact is allowed only through an agreed protective layer.
A broad underside or substantial base section may be a support candidate, subject to review of its construction and finish. A narrow brim, coat edge, blade, fingertip or translucent effect should not become a convenient stop merely because it is near the cavity wall.
The map should also show how rotation is restrained. Supporting the main body without controlling a heavy base can leave the connecting joint exposed to relative movement. Conversely, holding the base tightly while allowing the figure to move can concentrate force at the same interface.
Mancheng's collectible manufacturing capabilities include resin statues, figures and mixed-material products. Their different constructions need different contact decisions; one generic cavity rule cannot cover every format.
Check what happens when the insert is closed
Review both halves of the insert, the lid and any added pads or restraints. A recess that looks generous when open may press on a feature once the upper section is seated.
Trace where closure force goes. It should not rely on compressing a fragile projection to make the pack fit. Check that the main assembly seats in its intended position rather than resting high on an accessory or catching on a raised detail.
Avoid using more pressure as the default response to movement. A tighter fit may improve restraint in one area while increasing local stress or rubbing elsewhere. Equally, excessive clearance can allow repeated contact with a surface that was meant to remain protected.
Agree the intended clearance and restraint approach with reference to the actual product and insert materials. There is no reliable universal gap that can be selected from an attractive product photograph.
Treat surface protection as a separate requirement
A contact point can be structurally reasonable yet unsuitable for the finish. Review gloss surfaces, metallic-looking coatings, subtle skin finishes and transparent parts individually. Their appearance can make a small pressure mark or rub especially noticeable.
Evaluate the actual contacting material, not only its description as “soft.” Include films, sleeves, tissue or other protective layers if they form part of the proposed pack. Consider their edges, seams and movement during packing and removal.
Do not assume that a protective layer solves poor support geometry. A wrap may separate two surfaces but cannot make a delicate feature suitable for carrying a heavy component. Likewise, a supporting insert still needs a suitable contact surface.
Use finished representative samples when checking compatibility. A bare prototype can confirm the cavity geometry without showing how the final coating behaves at the same contact.
Design a removal route the collector can follow
Review unpacking with the product in its intended position. Identify where hands can reach substantial areas and how the product clears the insert. A closely fitted pack can protect the product in transit yet encourage someone to lift it by a projecting accessory.
Provide access around safe lifting areas. If removal requires a particular order, make that order clear through the arrangement and instructions. Accessories should not trap the main product or fall into a painted surface when the pack opens.
Consider repacking as well. A collector should be able to identify the correct orientation without forcing parts into a nearly matching recess. Clear orientation and recognizable component locations can support this without adding unnecessary handling.
Review a representative pack before release
Bring the product, protective layers, insert and outer pack into the same review. Check seating, closure, restraint and removal using the proposed configuration. Record where contact actually occurs, rather than relying only on the drawing.
Appropriate transport evaluation should then reflect the product, pack and intended distribution conditions. A successful fit review does not establish shipment performance. Photographs of a loaded carton or finished product do not prove that the internal protection has been validated.
Mancheng's development and production process includes packaging and shipment preparation. Teams can share their product and packaging requirements so contact restrictions, assembly choices and finish expectations are discussed before the pack is finalized.
Keep the contact map linked to product changes
Recheck the pack when an approved revision changes a pose, accessory position, base, joint or finish. Even a small outward change can create an unintended contact with a cavity designed around an earlier sample.
Retain the product revision, insert revision, contact map and review notes together. This gives packing staff a clear reference and helps distinguish a changed product from a packing error. The useful approval is a defined product-and-pack combination, not an insert approved in isolation.
Frequently asked questions
Should the insert touch every part of the collectible?
No. Support and restraint should be deliberate. Fragile projections may need clearance rather than close contact.
Is soft foam always safe for painted surfaces?
No. Check the actual material, pressure, movement and finished surface together. Softness alone does not establish compatibility.
Can packaging be approved with an unpainted prototype?
It can support a geometry review, but finish contact and the complete packing arrangement should also be checked with representative finished samples.